
Rubus Blackberry Wheat
Actually this cock up ended up working out fairly well. I mean, don’t get me wrong, I was pretty annoyed to lose so much beer, but it’s not exactly a style I’d usually brew often and there were a few tweaks I wanted to make to the recipe. Most significantly to the malt bill. Despite the decent amount of Special B in the grist, it was still pretty pale, and my favourite dubbels (Westmalle, Rochefort 8, Westvleteren 8) are all pretty dark, compared to say a Chimay, which is the same sort of amber colour as my wort. So in went another order to the brewing shop and back came some Carafa Special III to darken things up a bit without adding any roasted character, as well as this time Wyeast Abbey II, which apparently is the Rochefort yeast strain. The good news here was that, unlike the last batch, the yeast wasn’t delivered on the hottest week of the year, which I suspect didn’t exactly do the previous stuff any favours. Also it’s packaging date was only a couple of months ago, whereas the previous lot was getting on for a year old. All in all, I wasn’t exactly thrilled with my supplier over the original incident, and they still keep sending hops with unbelievably low alpha acid contents. But I guess the first issue with the yeast was really my fault for not checking viability and with the hops I imagine home brewing shops are pretty low in the hop supply chain pecking order.
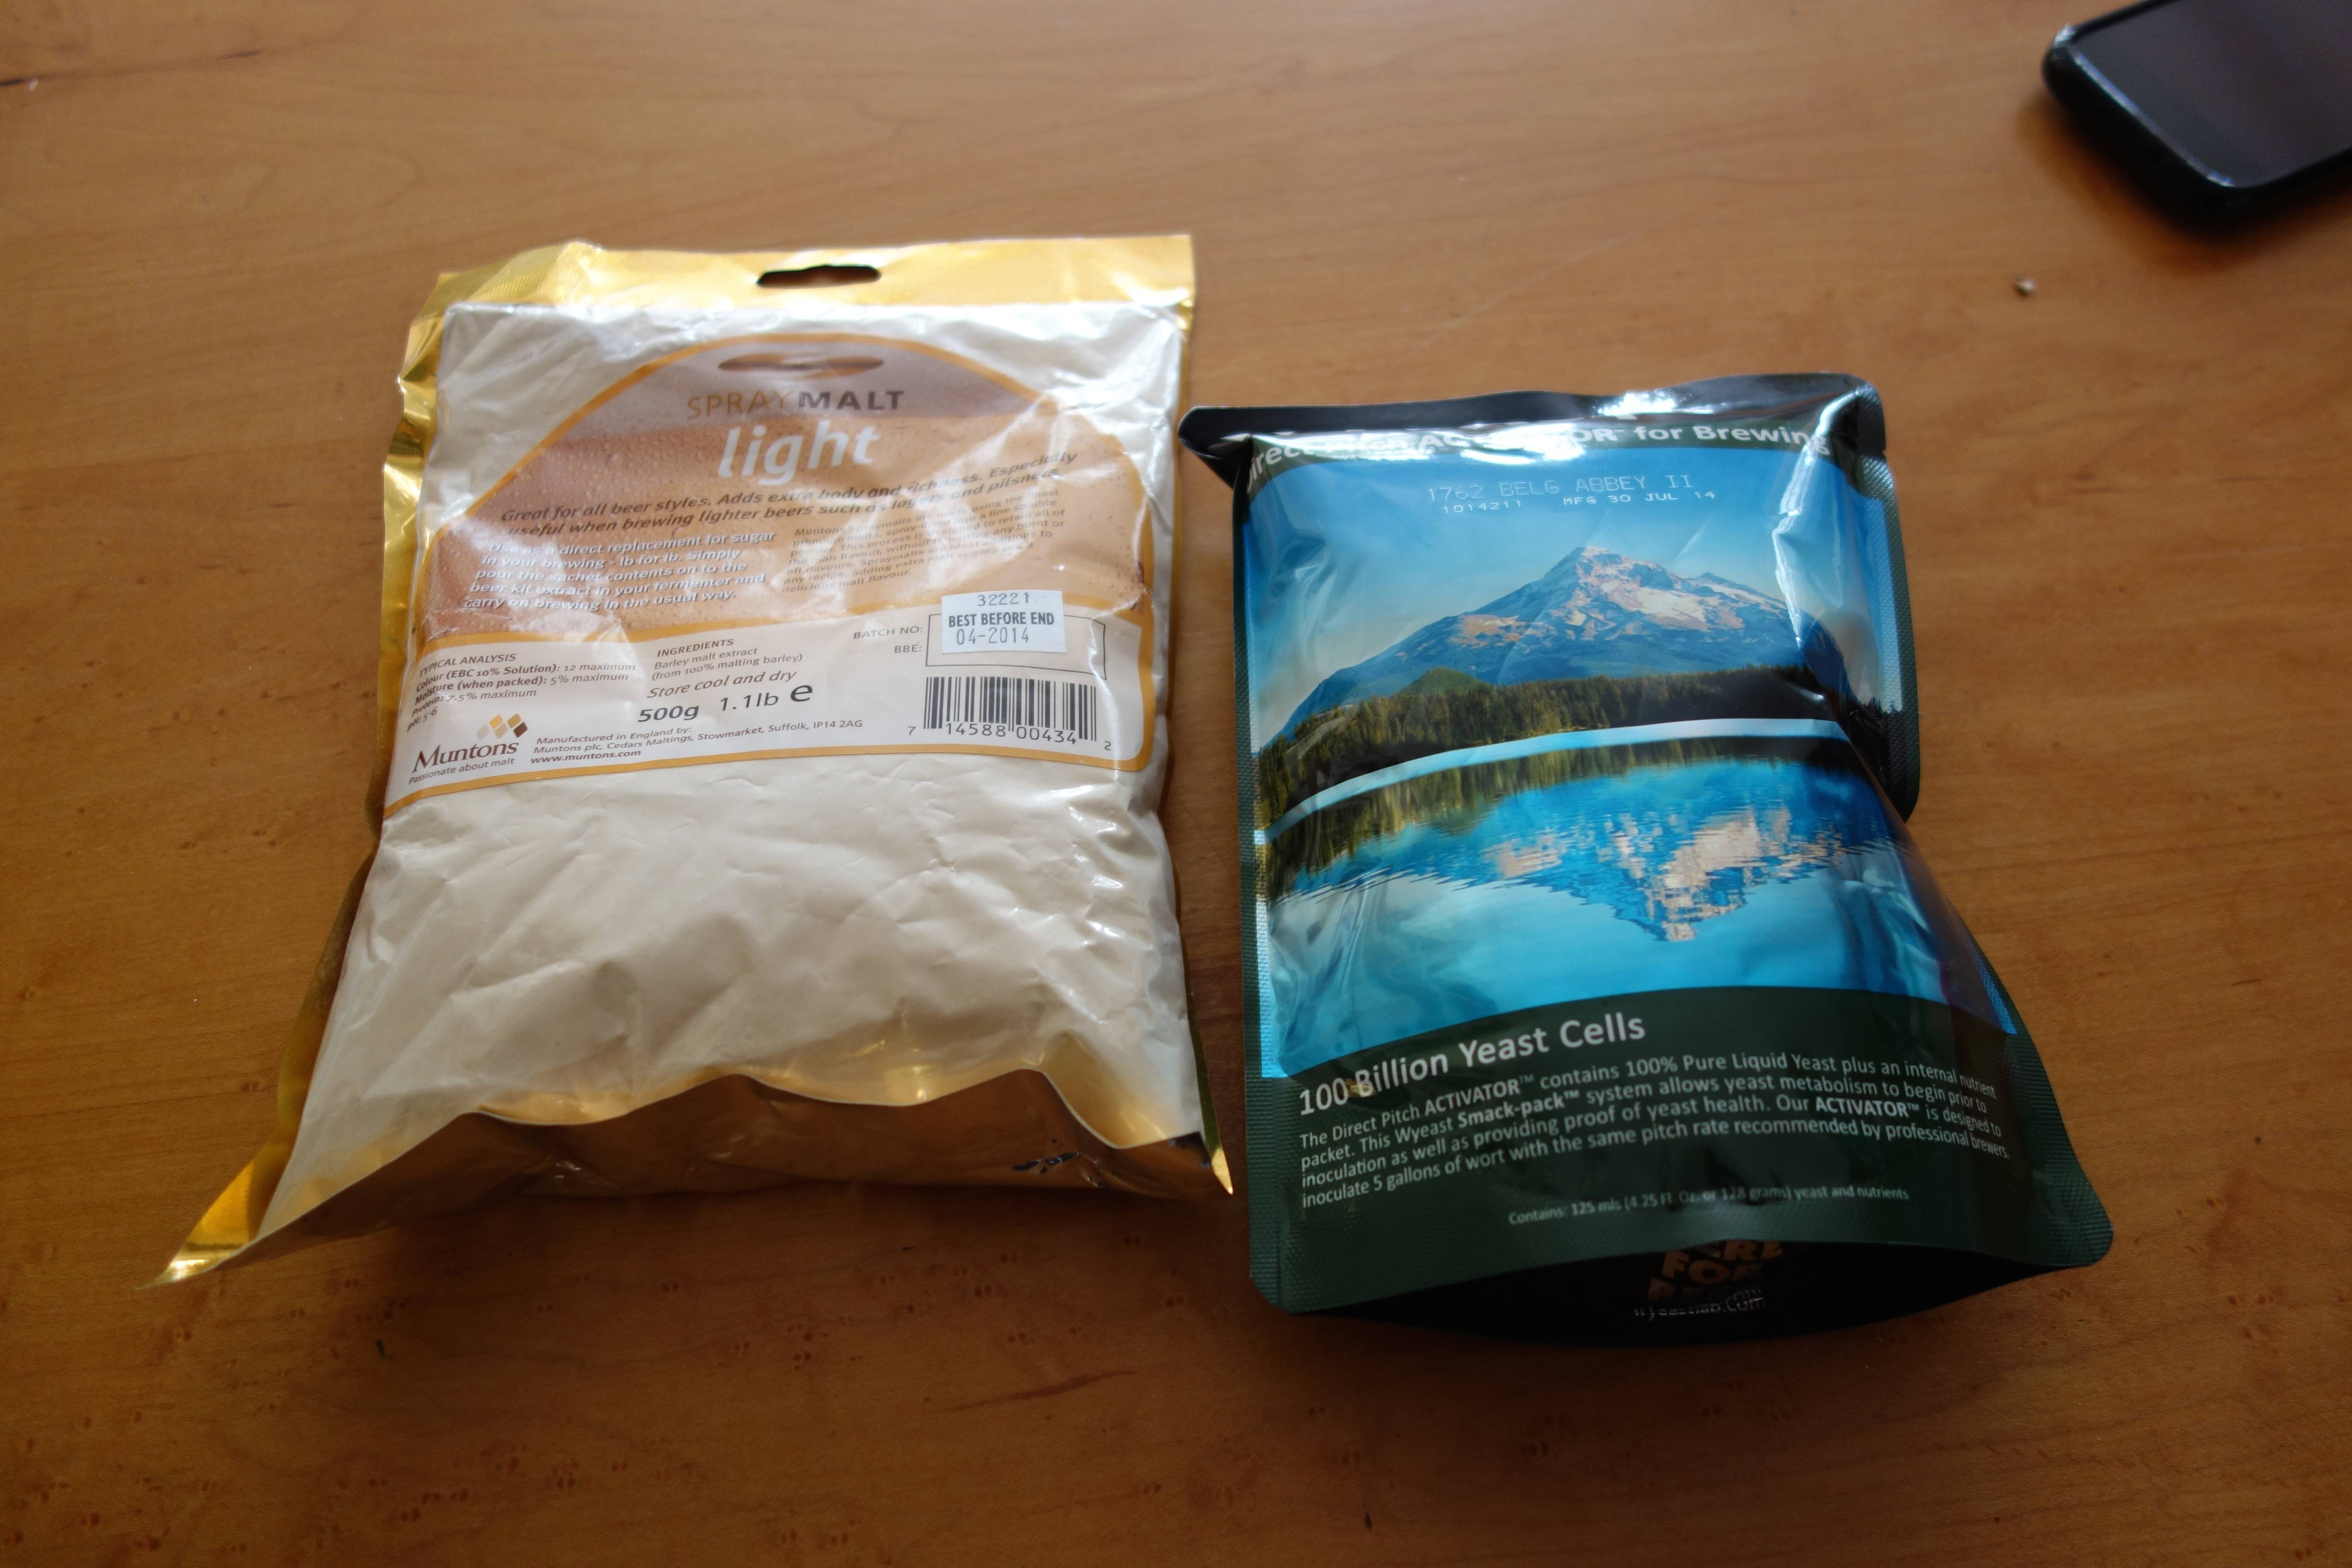
Wyeast smack pack- actually working!
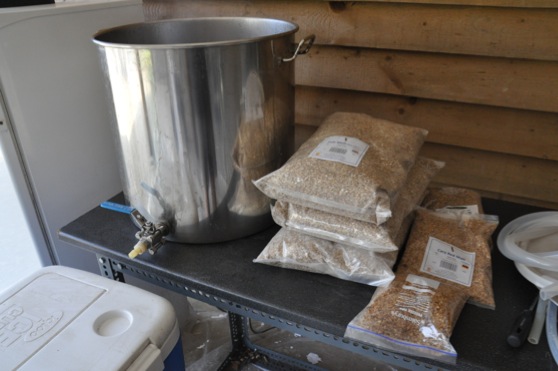
Up came the August bank holiday anyway, and I even had the day off work on the Friday, so I had enough time to make amends with the dubbel and brew another beer on my list, a blackberry wheat beer. I made one of these a few years ago and it was one of the best fruit beers I’ve made, and given that there’s been a bit of a bumper crop of the things this year it seemed a shame not to make use of some free brewing ingredients. More on this later. I also had time to do a bit of DIYing/buying things to patch up a few process issues I’d been having. The first of these was the fact that given my high spoilage rates (although obviously dead yeast wasn’t helping), I decided it was time to alter my wort chilling procedure. So out went the old plate chiller which I didn’t really trust despite cleaning it as thoroughly as possible (caustic, boiling water, oven and there was still crud coming out) and in came an expensive, more efficient version with metal rather than plastic fittings. Sadly my Therminator, excellent as it is, is still in Canada.
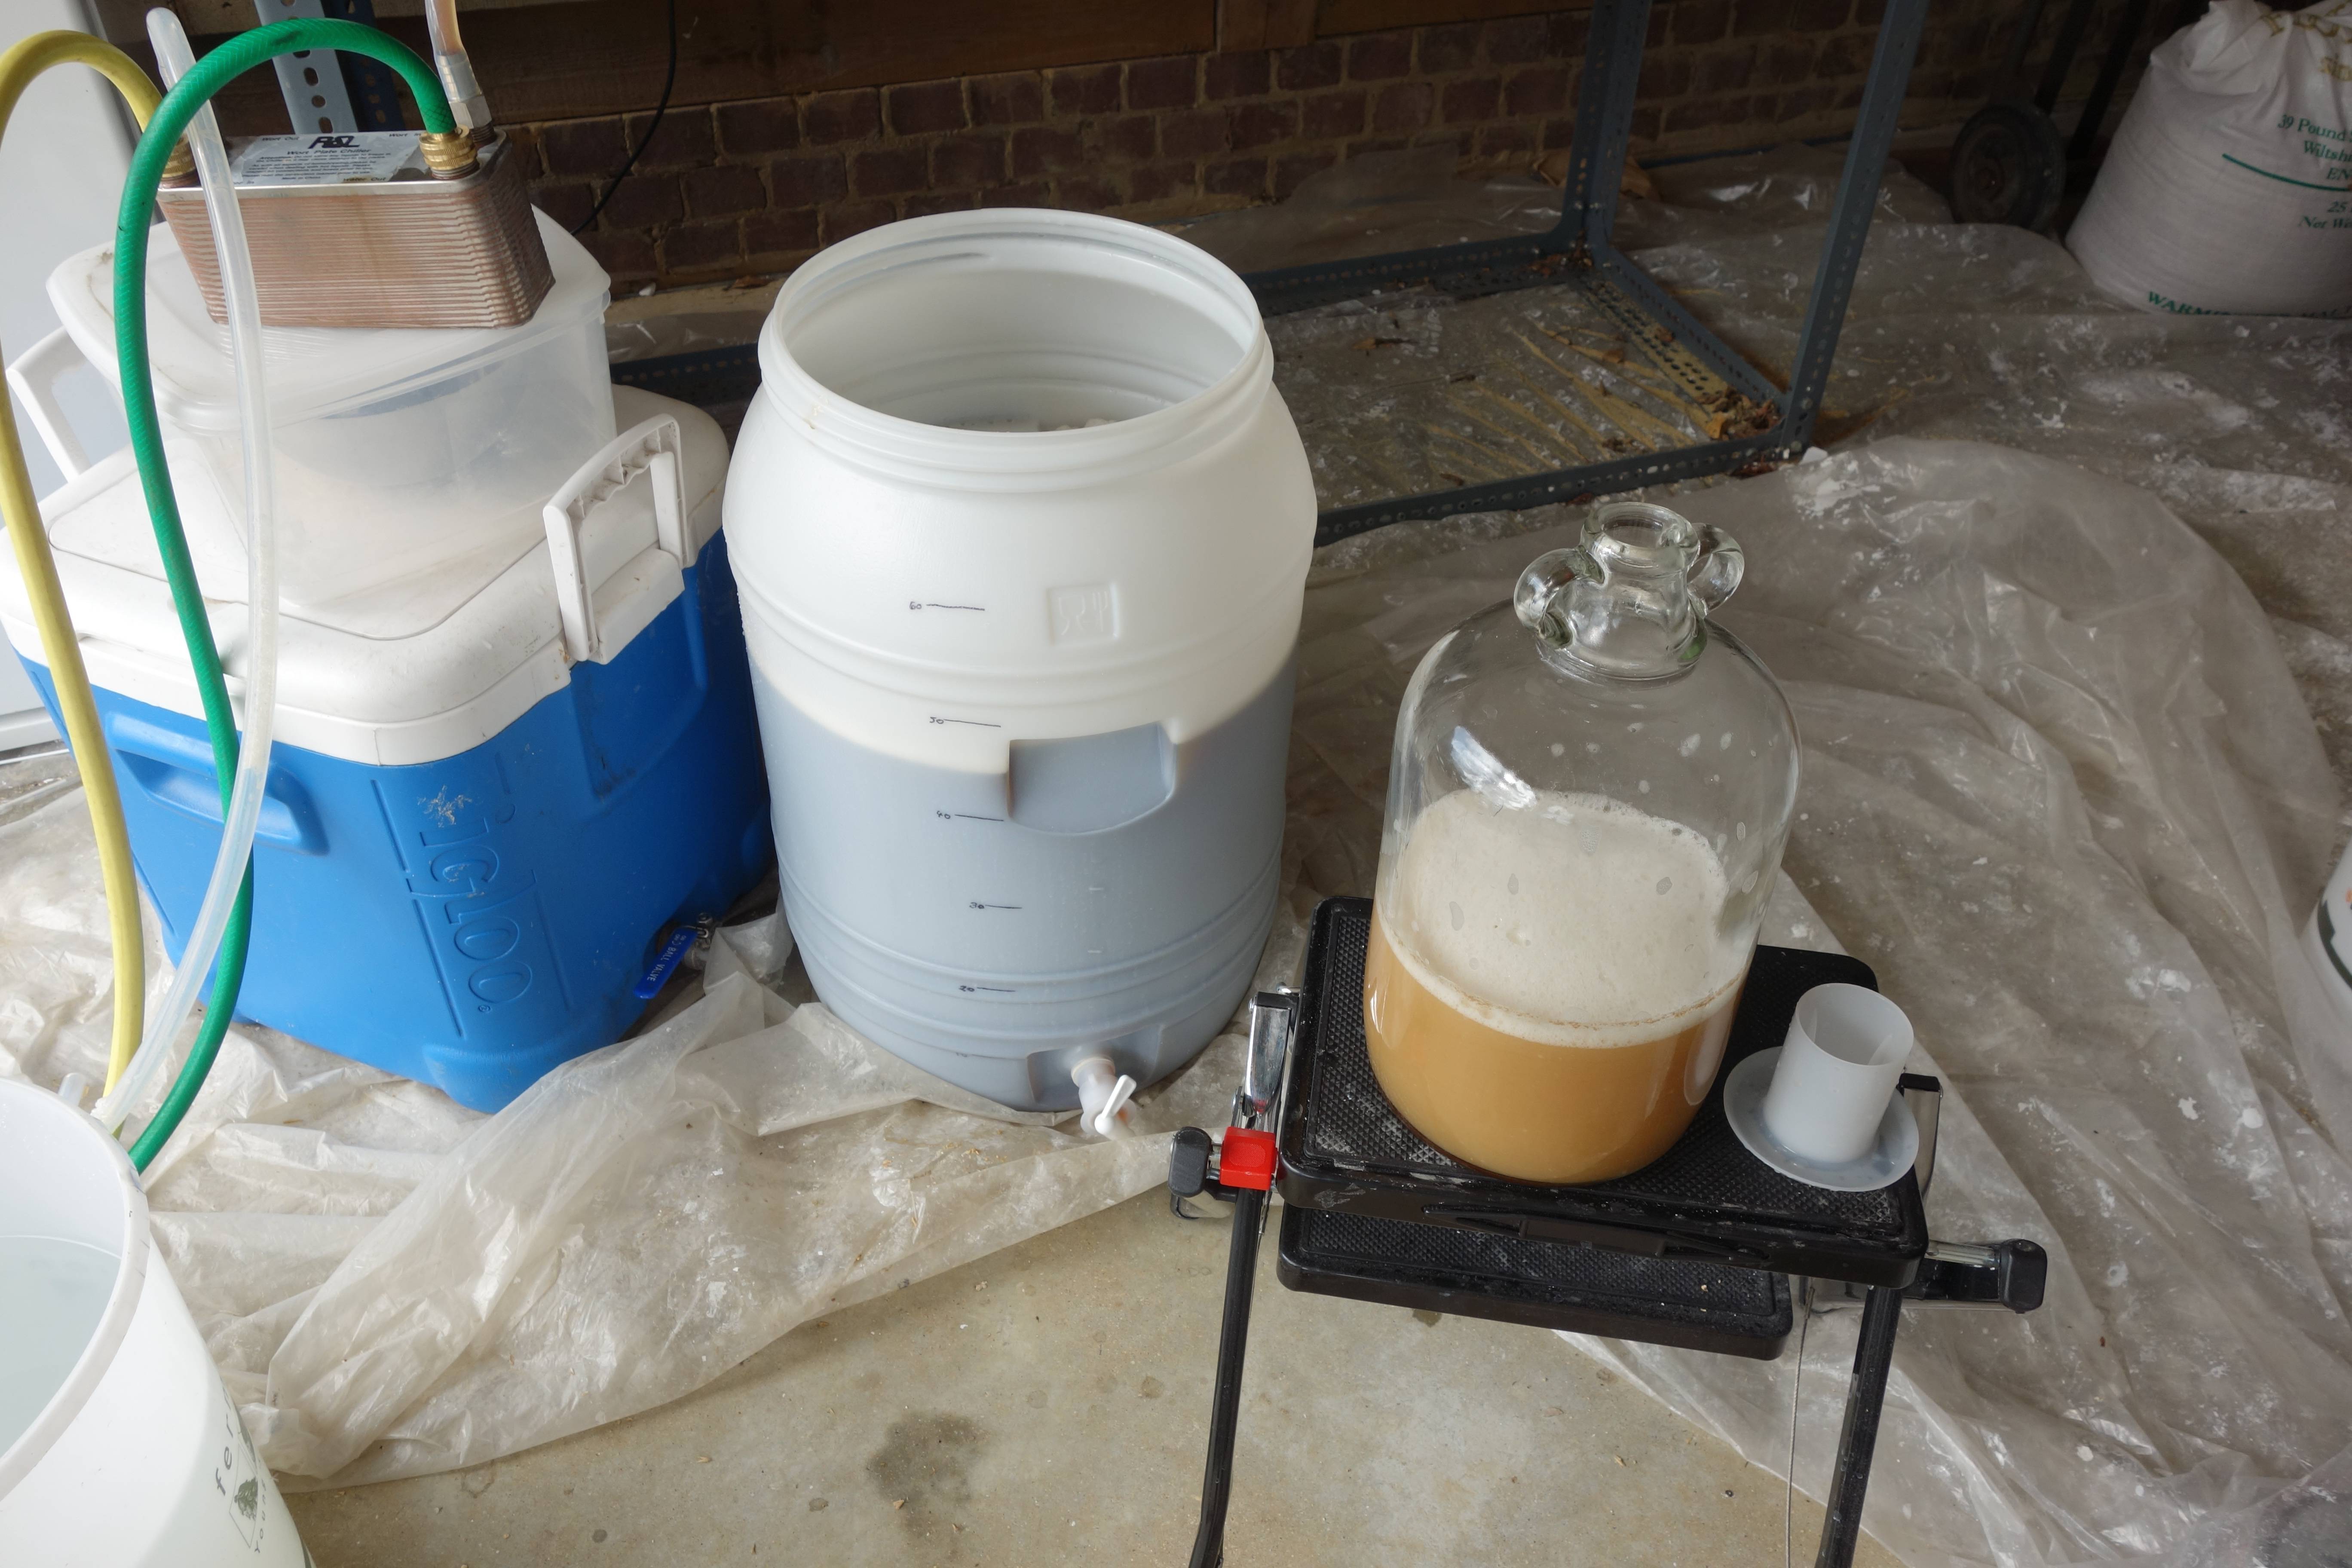
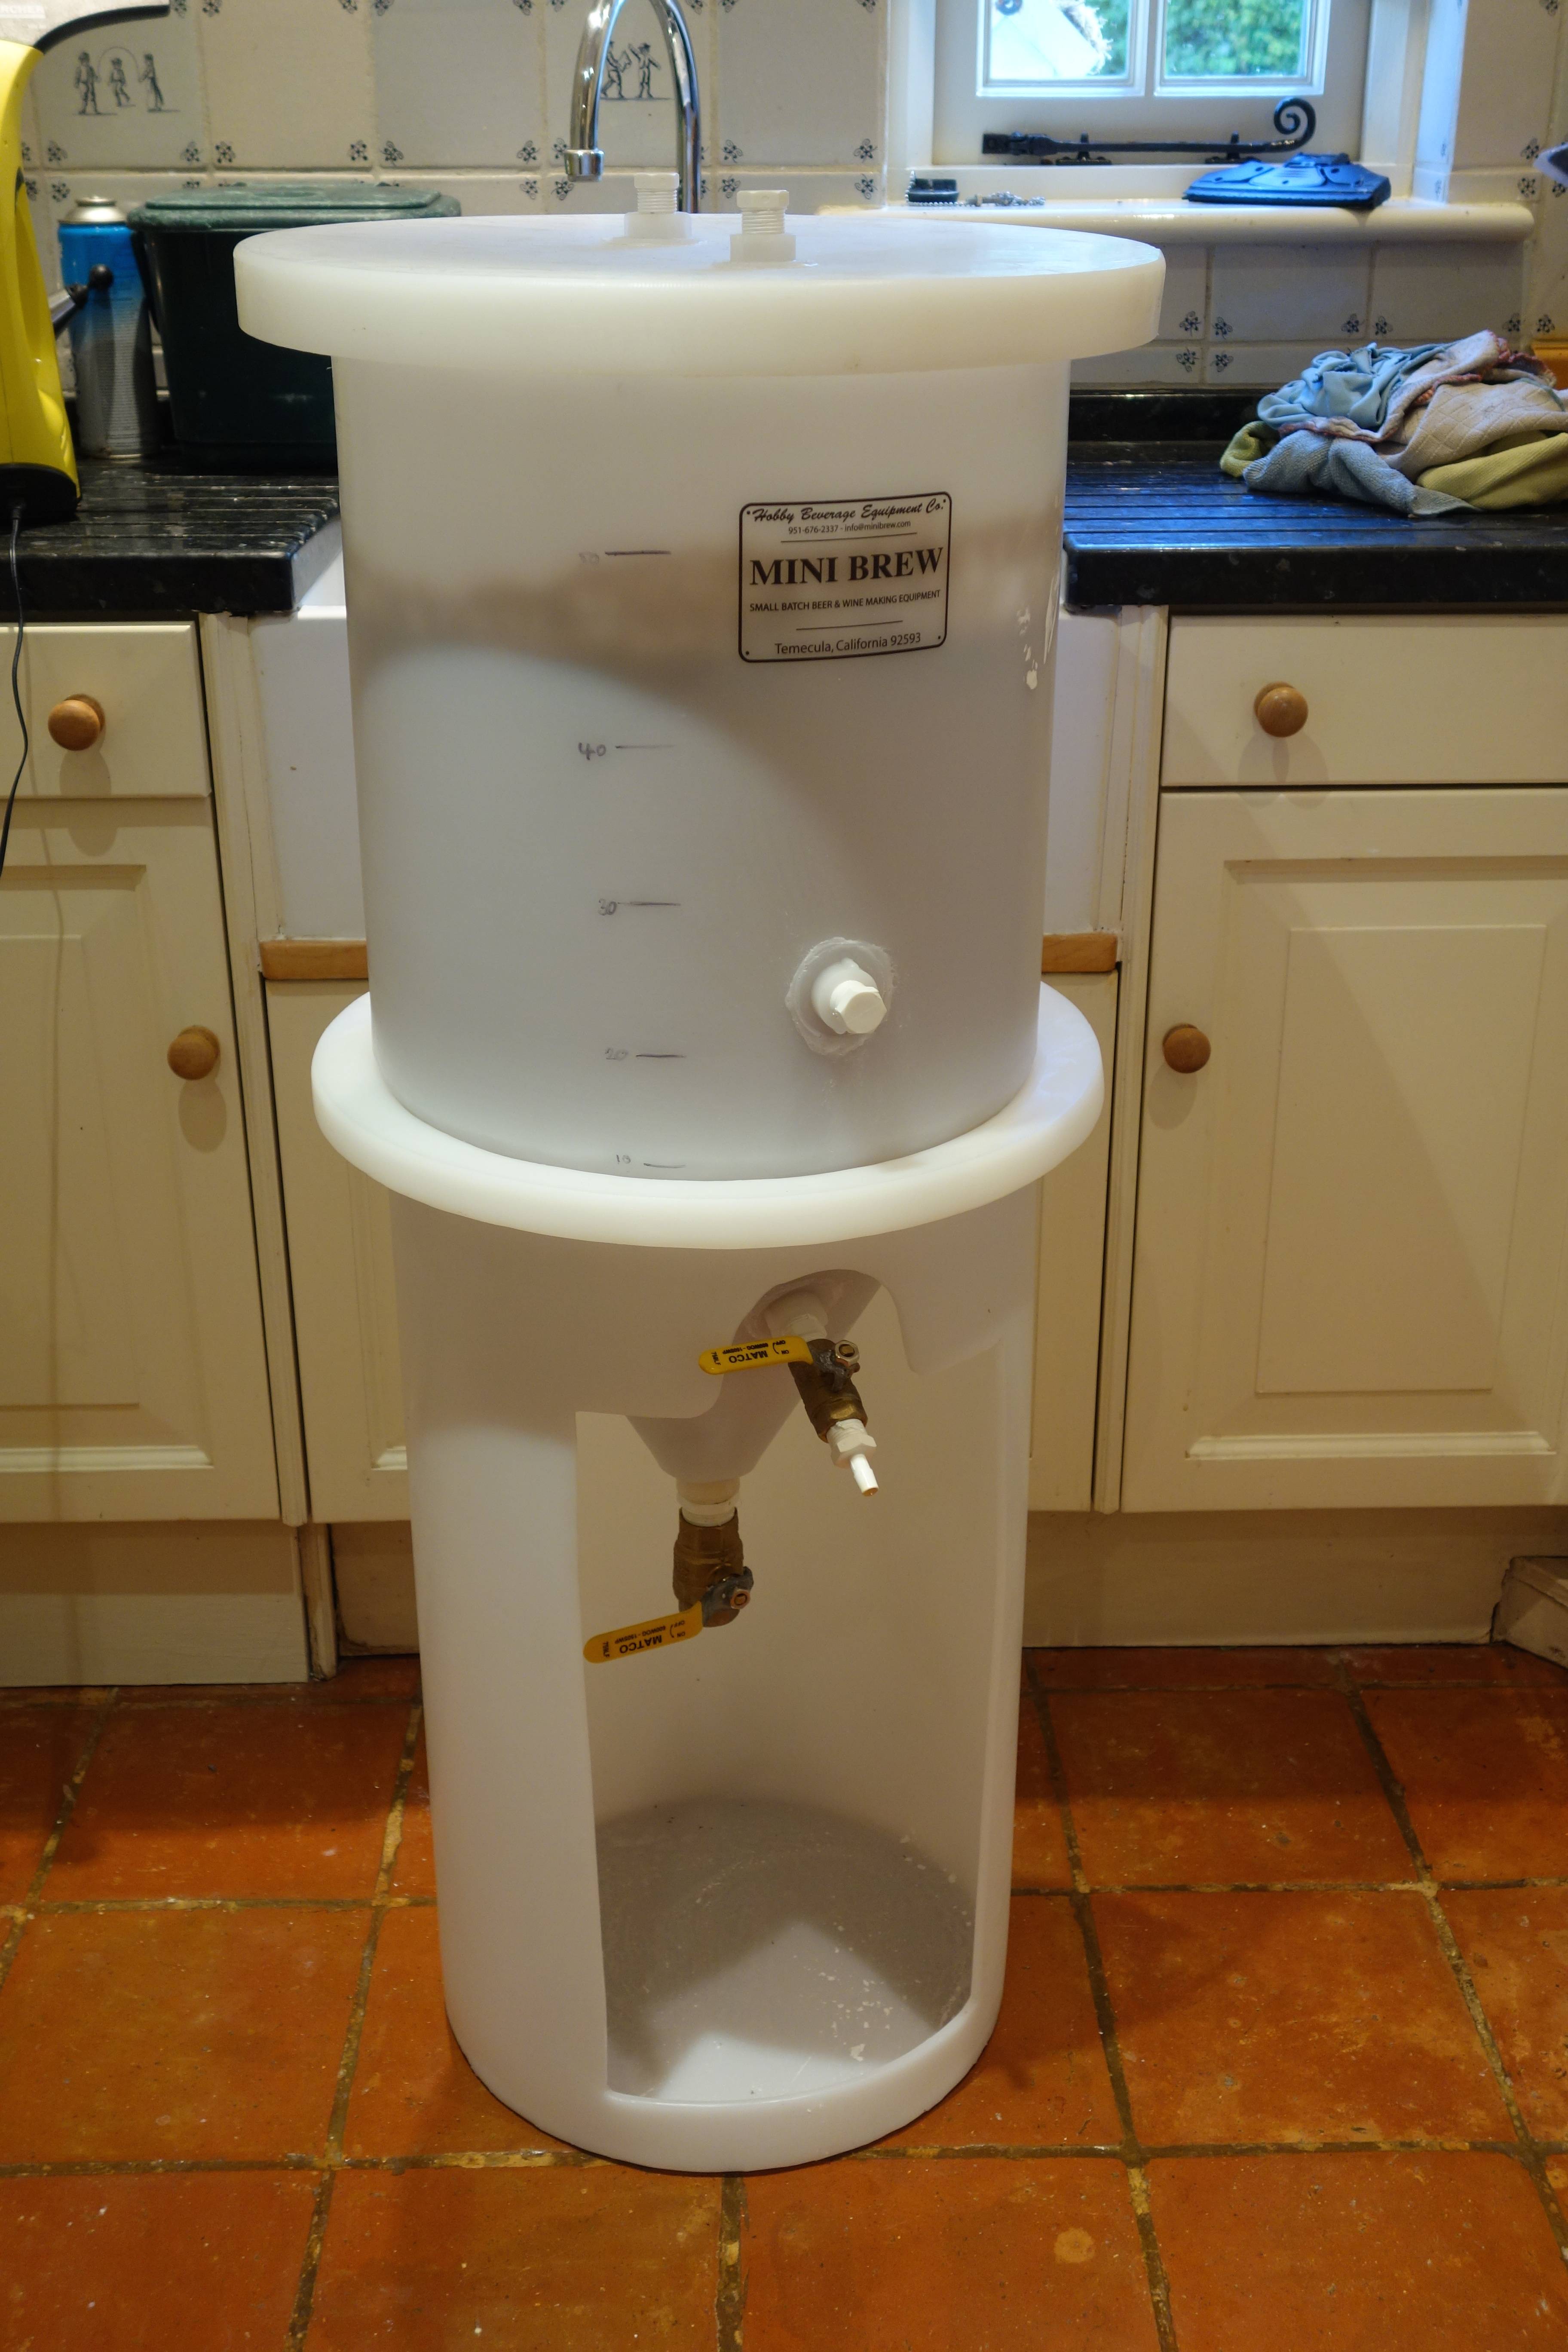
Another issue was that despite brewing 50 litre batches I didn’t have the fermenter capacity to handle this batch size in one go, other than in my conical which is miles too big for my fridge. So I took a punt on this:

Which is awesome and didn’t cost much more than a regular 27 litre FV, and seems to be much higher quality. In fact it seems to be made out of the same plastic as my conical and as the King Kegs we sometimes use at work, which have both always seemed a bit heavier duty than the Better Bottle style PET fermenters. It did however necessitate new shelving in my fridge to take its pretty hefty weight when full. So out came the saw and some plywood and a bodge was performed, which actually works quite well and looks a bit neater than the fridge’s old wire shelves.
As the dubbel brew was pretty much the same as the last time I made it I won’t bother telling the same story twice. Again I made a couple of tweaks to the recipe- a little bit of Carafa Special but otherwise the same malt grist of Maris Otter, Carared, Caramalt and Special B, and this time I got rid of the unrefined sugar from the previous batch and doubled the dark candi sugar addition to 1kg in a 50 litre batch. I hopped again with Challenger only, but because the batch of hops I got this time randomly had 2% less alpha acid than the pack I bought 2 weeks ago there was less of a flame out addition. To be honest though, I mainly put that in the recipe to use up the excess boil hops. Although I think some of the abbey brewers do make a late noble hope addition, it wasn’t a character I particularly wanted. I’ve learnt my lesson at any rate about writing about beers that haven’t started fermenting yet; this one’s currently down to 1.015 from 1.060 after a week so I’ll get it cooling pretty soon for a conditioning period, but it’s shaping up exactly as I’d hoped. I little bit of ethanol characteristic, as per the stronger Rochefort beers, and unsurprising given that it’s already at 5.8%, but also really nicely complex dark fruit and spicy notes. Again, I think I learnt my lesson about starters here, as my 2 litre starter seemed to really get it off to a quick start.
Talking about yeast, I’d noticed at work that Fermentis include a rehydrating procedure on their 1kg bags of dried yeast, but don’t bother on their 7g homebrew sachets. I don’t know if this is because the packet is too small to include the information or if it’s because of the increased sanitation risk, but I decided to give it a bash with the blackberry wheat, which I fermented with WB-06. My procedure was mixing 14g WB-06 with 100ml of pitching temp. water and leaving for a couple of hours, agitating every half an hour. To be honest, if I were making a straight hefeweizen I would probably go to the trouble of using a Wyeast/Whitelabs culture from one of the many available to give a little more character. As I was fruiting the beer I wasn’t too bothered about this, as the fruit character should I think be stronger than the yeast character anyway and makes spending a lot on an interesting strain a bit of a waste. In fact it’s obviously popular in the American Wheat style to ferment with a yeast like the California Ale strain, which I guess I could have done, but I wanted a bit of the isoamyl acetate/banana character of a German yeast.
Along these lines I didn’t really do anything too fancy with the recipe for the base wheat beer, which contained 40% wheat malt- in my experience about as much as I can get away with without encountering run-off difficulties when doing a single infusion mash. The bulk of the rest was Maris Otter (pilsner would be more traditional, as MO can end up pretty dextrinous and sweet), with a little bit of Munich thrown in to give a bit of biscuity/malty character. Here Russ, my boss at XT, must be rubbing off on me, as he uses a lot of Vienna and Munich, and I think they add a bit of subtle complexity without the caramel taste and colour of crystal malts. Other than that anyway I tried to adhere to the idea that the best recipes are the simplest and resist the urge to chuck too much stuff in. Hopping was with Boadicea, again not all that traditional, and again if I were making a straight hefe I might think of a late Saaz or Hallertau addition for a bit of spiciness to complement the yeast’s clove character.
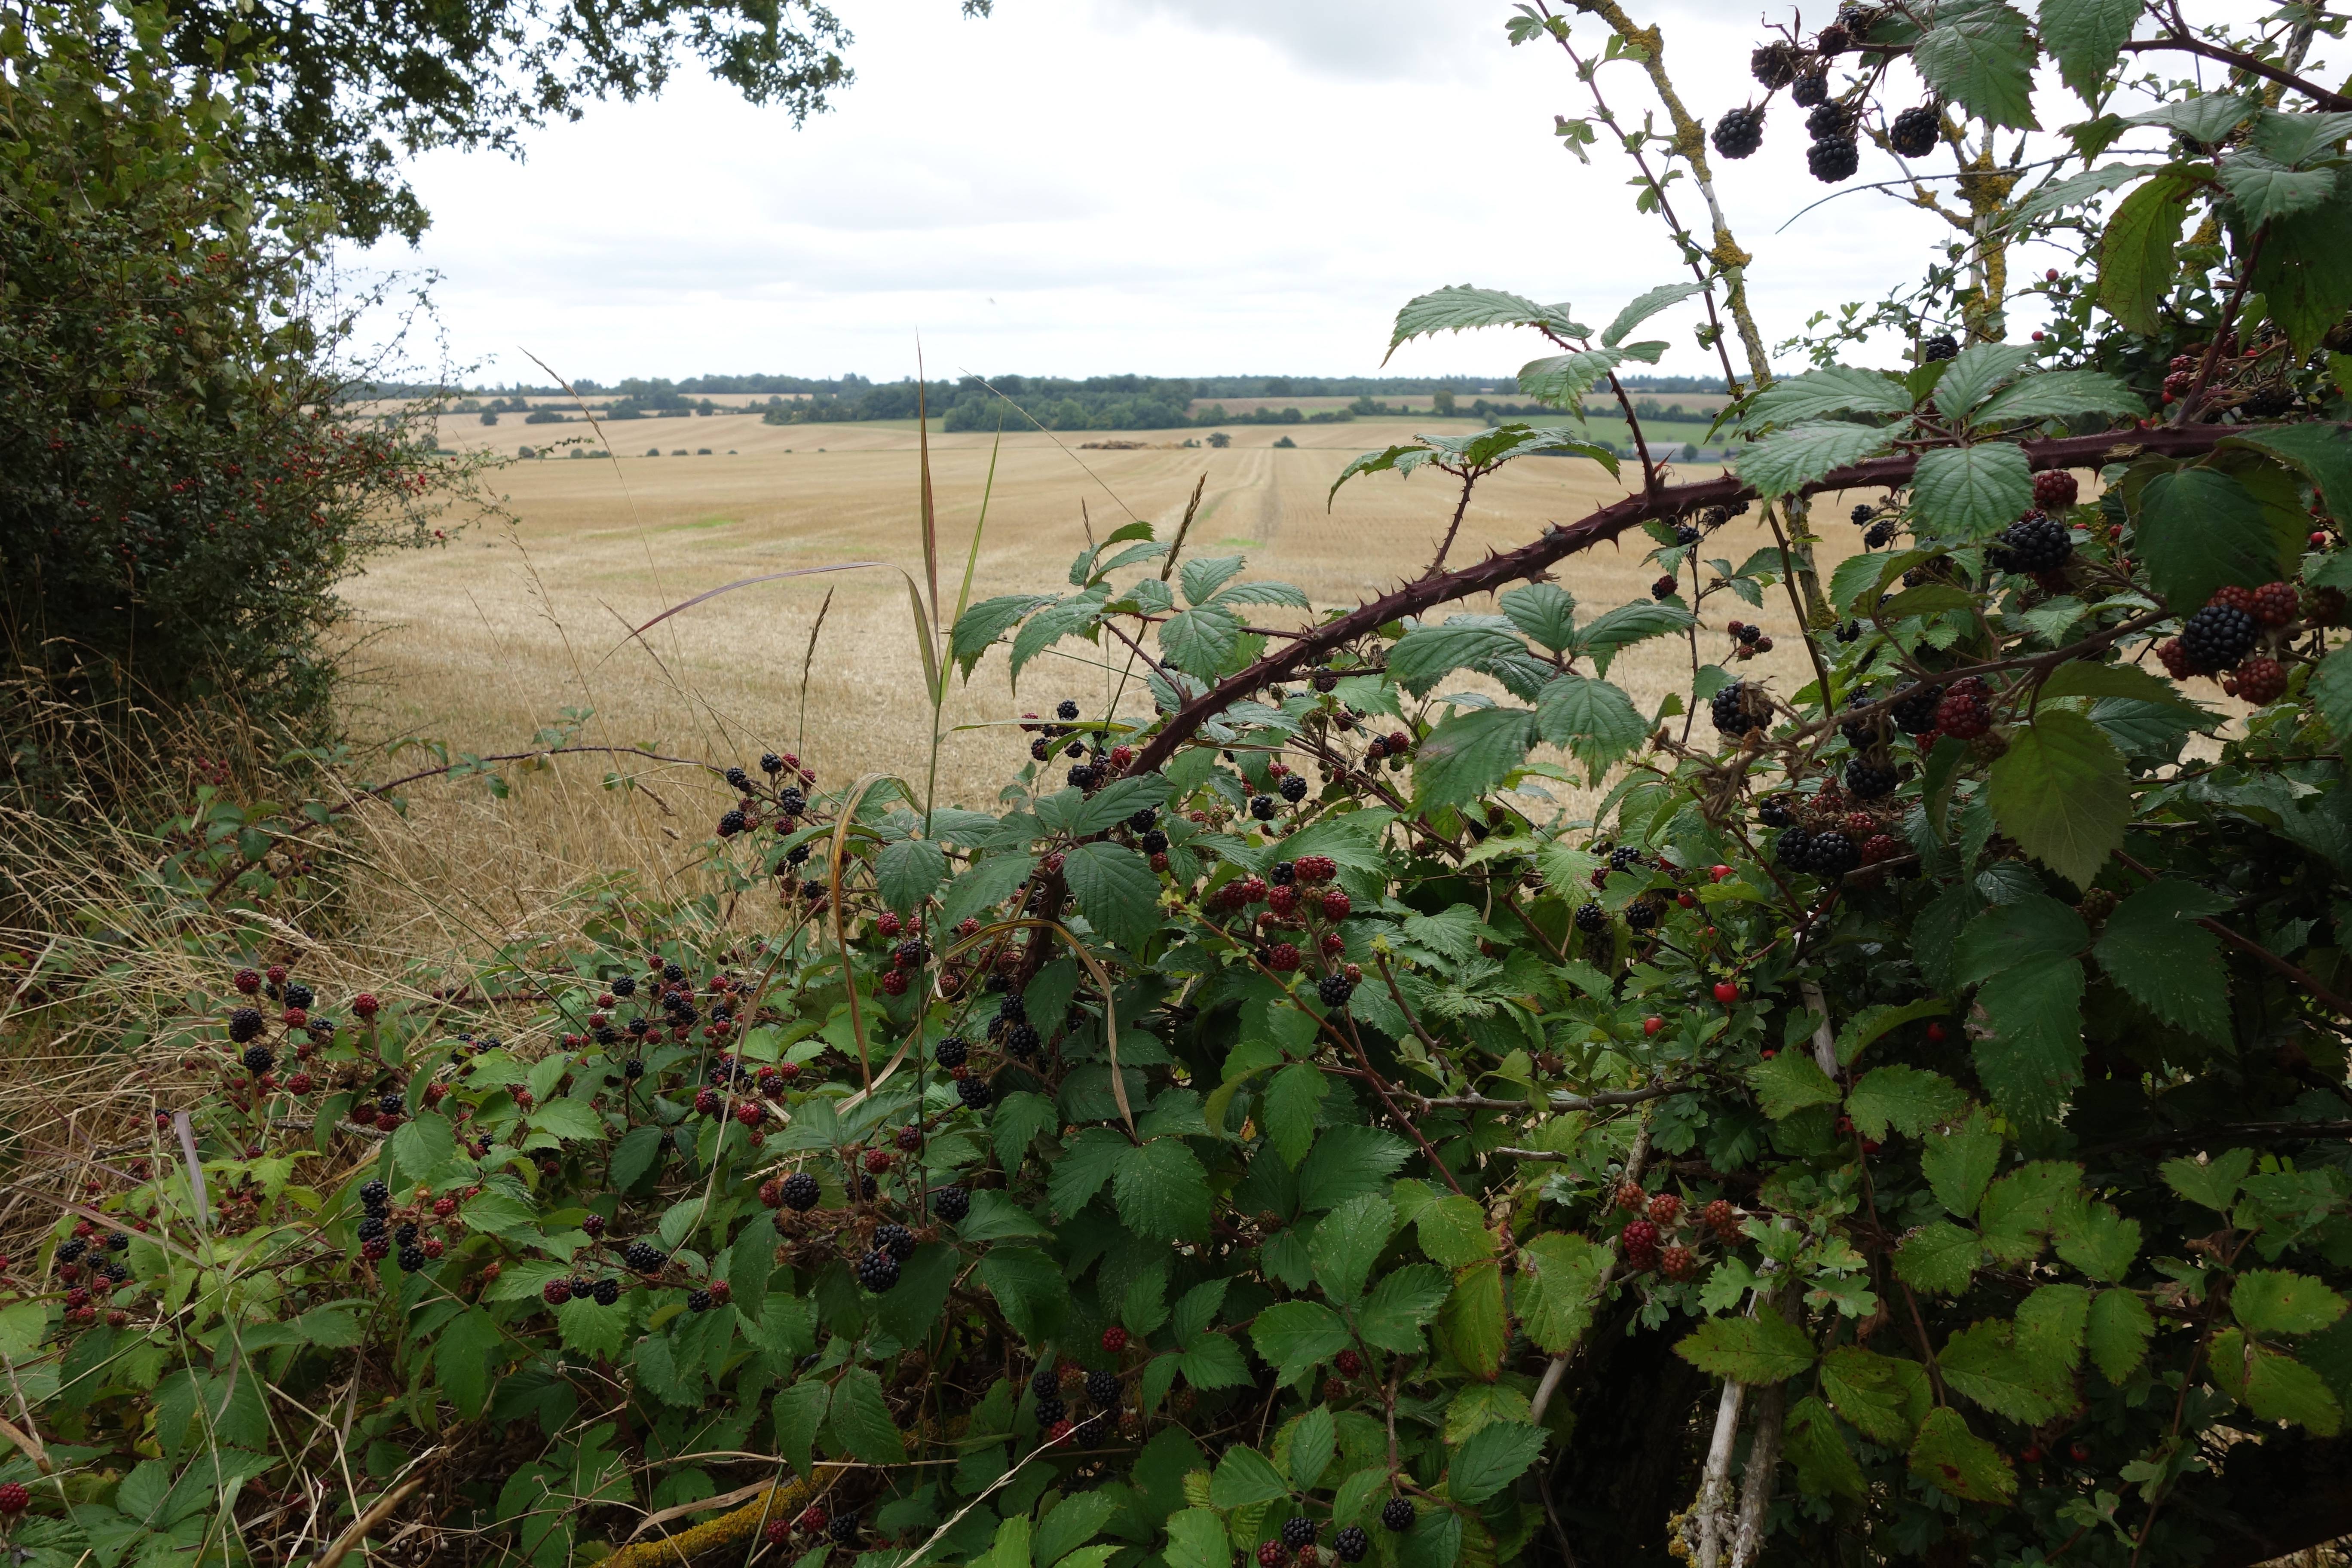
Given that I wanted to make a beer with pretty much as bold a fruit flavour as possible (I don’t buy into the ‘taste the beer, then the fruit’ mantra when making a beer with a variety of fruit actually in the name of the beer) it was finding the fruit and then using it effectively that was the most important aspect of this brew. These things I think I did semi-OK on. In the end I didn’t manage to gather as many blackberries as I would have liked- I found about 2kg of good quality fruit, but this was into 47 litres of beer, and in the past I’ve used a similar amount in a 25 litre batch. Even this amount of fruit took about 3 hours to gather though and I found the harvest near where I live to be not as great as it has been in previous years.
The other consideration to make when making fruit beer is how to use whatever fruit you do have. Here there’s a bit of a compromise to make between maximising the fruit’s flavour impact and minimising the introduction of wild yeasts and microbes. The later you can add the fruit to the point of dispense the better as far as flavour is concerned, but many brewers will be more comfortable adding fruit to the boil or boiling it separately in order to kill anything living on it. Here almost every brewer probably has their own technique depending on their circumstance, but I tend to think that when I’m homebrewing I’d rather run the risk of a little weirdness and add the fruit late, especially as I’ll drink it quickly if it turns out well.
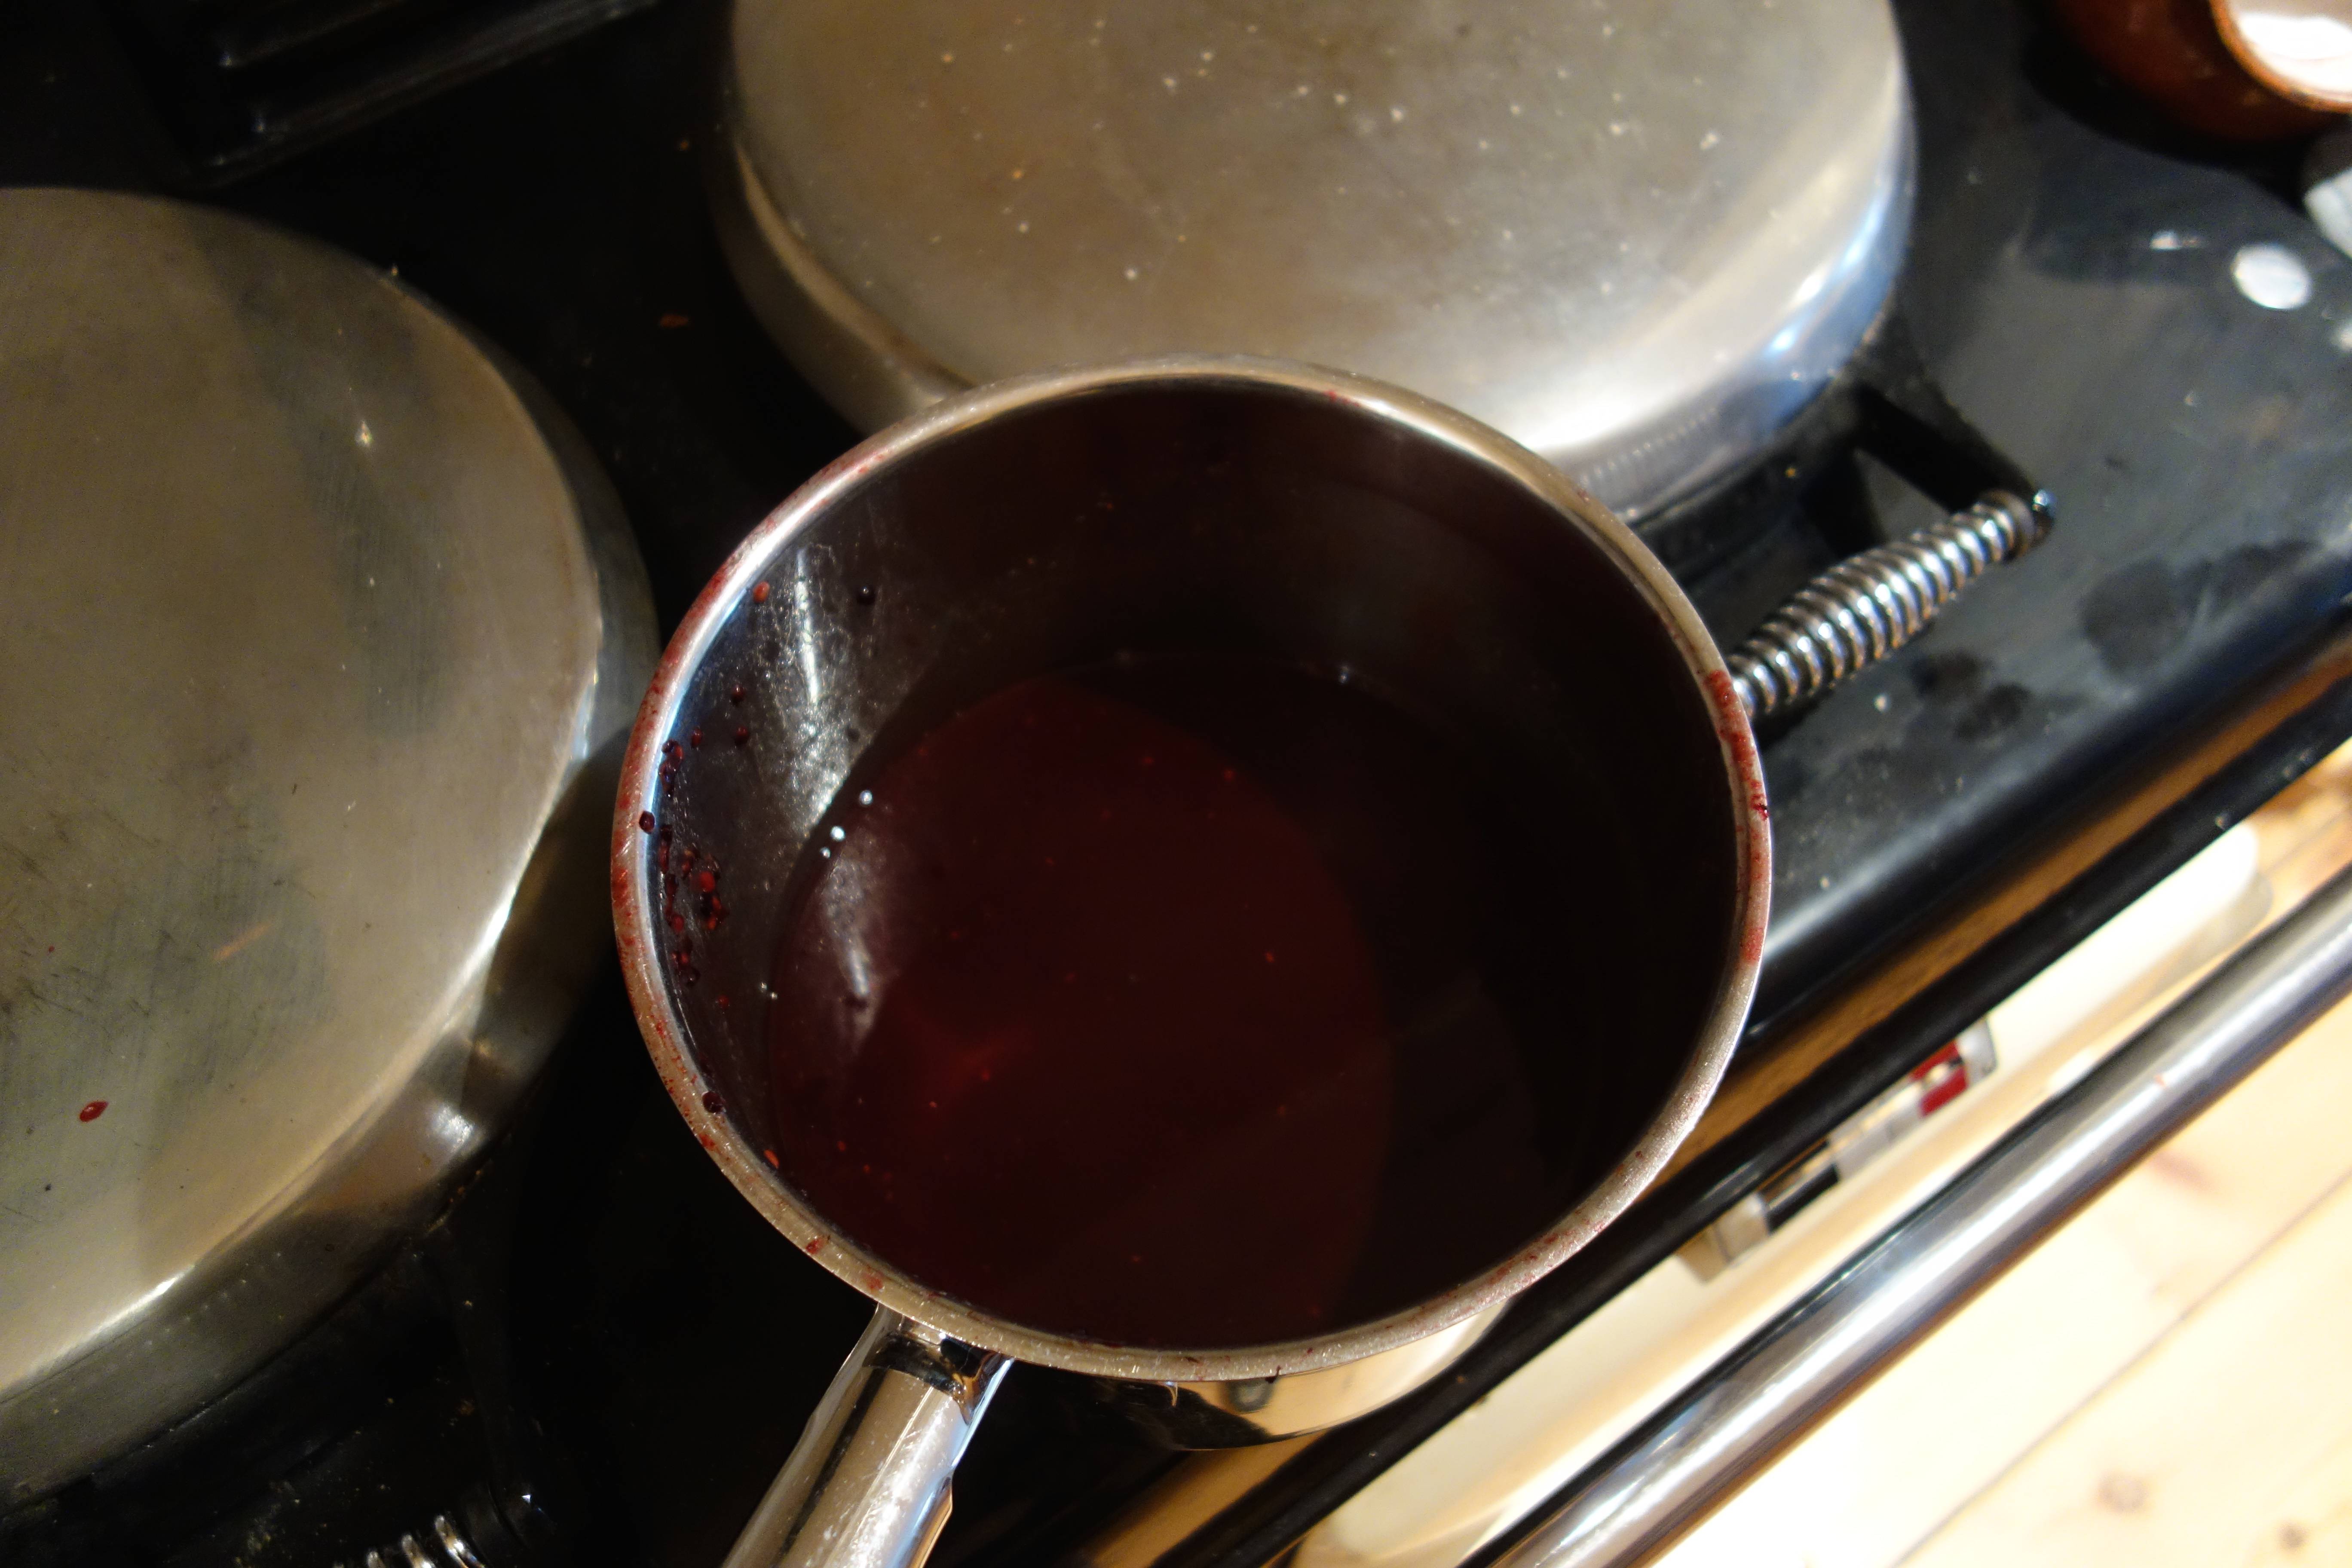
A bit of an exception to this is adding unpasteurised fruit at the same time as pitching yeast. In the past I’ve always waited for the wort to build up some ethanol and effectively added fruit as a dry hop once it’s undergone primary fermentation. As a bit of an experiment on this occasion though I decided to juice about 500 grams of blackberries, heat the juice to near boiling and then add that to the unfermented wort. I thought that this might add some purple colouring and aroma, but to be honest I didn’t manage to extract that much liquid and it made both very little difference and a lot of mess, so I probably won’t bother in the future.
What I have found when adding berries into conditioning beer is that it seems to help colour and flavour transfer to freeze the fruit first. I’ve read that the expanding water content breaks cell walls within the fruit. Whatever the reason, it seems to shorten the length of the required conditioning time. It also seems logical that this would firstly kill anything living on the fruit after washing (which I still always do), and secondly dispatch the majority of wild yeast and bacteria through the same process of cell wall rupture. I know this is an issue for the storage of brewers’ yeast- this is the reason for rapid cooling by liquid nitrogen submersion, and even this leaves relatively few cells alive. So I think my freezer gives a little bit of contamination protection. Which is probably more than can be said for having to open up the fermenter and chuck stuff in the top, and obviously the necessary sampling throughout the process. Patience, not my strongest suit.
This is of course one of the advantages of brewing wheat beers- that you don’t have to bother waiting for them to settle, and I’m hoping on racking a pin (20 litres) of Rubus to take to the XT beer club at the end of this week. I was planning on taking the dubbel, but that may have to wait for next time, and I really think that one will benefit from some ageing anyway so it’s all worked out quite well. I had been planning on talking about Belgian beers at that event but have been guided onto the topic of hops, which will be a bit more topical as on that day we’re brewing a fresh hop beer with some of this year’s Kentish harvest. This is something I’ve never even done on a homebrew scale so on an 18BBL kit things should be... interesting. I’ll try and remember my camera!
Brew Like a Monk
Actually work is part of the reason for the craziness recently- unfortunately Naomi and I had to move back to the UK after the company I was going to work with in Vancouver had their application for my work permits turned down. Fortunately, the day we got that news a fairly new micro-brewery near where we both grew up called XT posted an advert for a brewing job and I started two days after we got back, and now Naomi has an awesome new job as well. In fact it’s all worked out pretty well, as we had many weddings (I’m not joking) we really wanted to get to in July and the fact that we weren’t an 8 hour flight away meant we actually got to go to them all, which was great.
Anyway work at XT has pretty much been the best over the last couple of months, as the brewery has a range of more than 20 beers and we’ve been trawling through the back catalogue, and I’ve been really impressed with both the set up and the beer quality and variety. Obviously everyone’s biased, and the beer’s always better in the brewery etc etc. but anyway they’re doing things a little bit differently to how I’m used to things being done, and there’s been plenty of dry hopping, weird yeast strains and wood ageing which I’ve been really excited about. Also exciting have been the one-off casks I’ve been trying to make as often as possible, where we’ve separated a couple of homebrew fermenters from a batch, chucked some weird stuff in and seen what happens. The most successful of these was a blonde ale that was left at undiluted OG (turned out just under 6% I think) and pitched with a wheat yeast and fresh orange rind and coriander, which was followed up with a pretty similar full scale 18 barrel batch done as a collaboration with Brentwood brewing.
Along these lines, hopefully, we’ve been wanting to put a bit more Belgian influence into some of the seasonal and one-off beers released under the Animal Brew Co. label, which tend to be a bit more off the wall than the regular range. With this in mind, and with a meeting of the brewery’s beer club in early September at which I’ve been roped into giving a talk (God help the attendees), I’ve decided I’ll limit the talking as much as possible and mainly hand some beers around. XT already makes a saison and the aforementioned wit, styles I love brewing, so I thought I’d branch out a bit into the unknown for me and brew a dark abbey style beer to give a bit of a point of comparison to those lighter beers.
Actually I’ve wanted to make a beer like this (I guess best described as a Dubbel) since I went to Belgium for the first time and sat drinking in the town square in Antwerp and could hardly stand up again after one bottle of Rochefort 10. Not to mention all the nights drinking Westmalle and Chimay at Aikman’s, a Belgian beer bar in St Andrews, when I was an undergraduate. A while ago I read Stan Hieronymous’ excellent Brew Like a Monk, and the recipes in that book formed the basis of the beer I ended up making, which was based on Westmalle dubbel, using the Wyeast Westmalle yeast (3787 ) but with the malt grist supplemented to make up for the proprietary caramel made at many of the trappist breweries to colour the beer. I used a decent amount of Special B malt (5%), which is credited with the plumb/raisin flavours that are prominent in the abbey dubbels, and Carared/Caramalt (5% each) for colour, and candi/dark sugar (about 10%) to dry the beer out after all the crystal malts, especially as I used pale malt rather than lager malt in my recipe. Anyway you can read the recipe here.
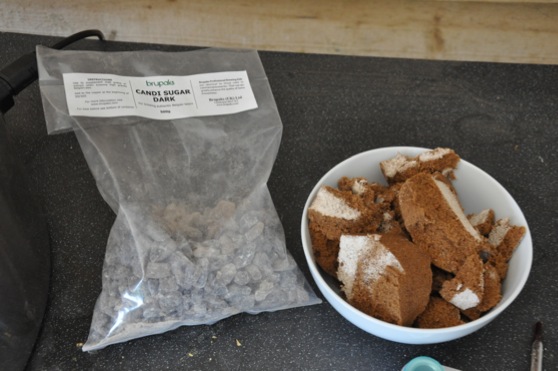
The actual brewing was fairly unexceptional, as most of the flavour development will hopefully be in the fermenter, although it was my first time using candi sugar. I worried initially about putting this in the boil in case it scorched onto my heating elements but actually this wasn’t a problem at all- I’d use it again without second thought. The sugar next to it came from the baking section of the supermarket and was just described as ‘dark unrefined cane sugar’, so it’ll be interesting to see if it makes any flavour contribution. It had a mild molasses like taste.
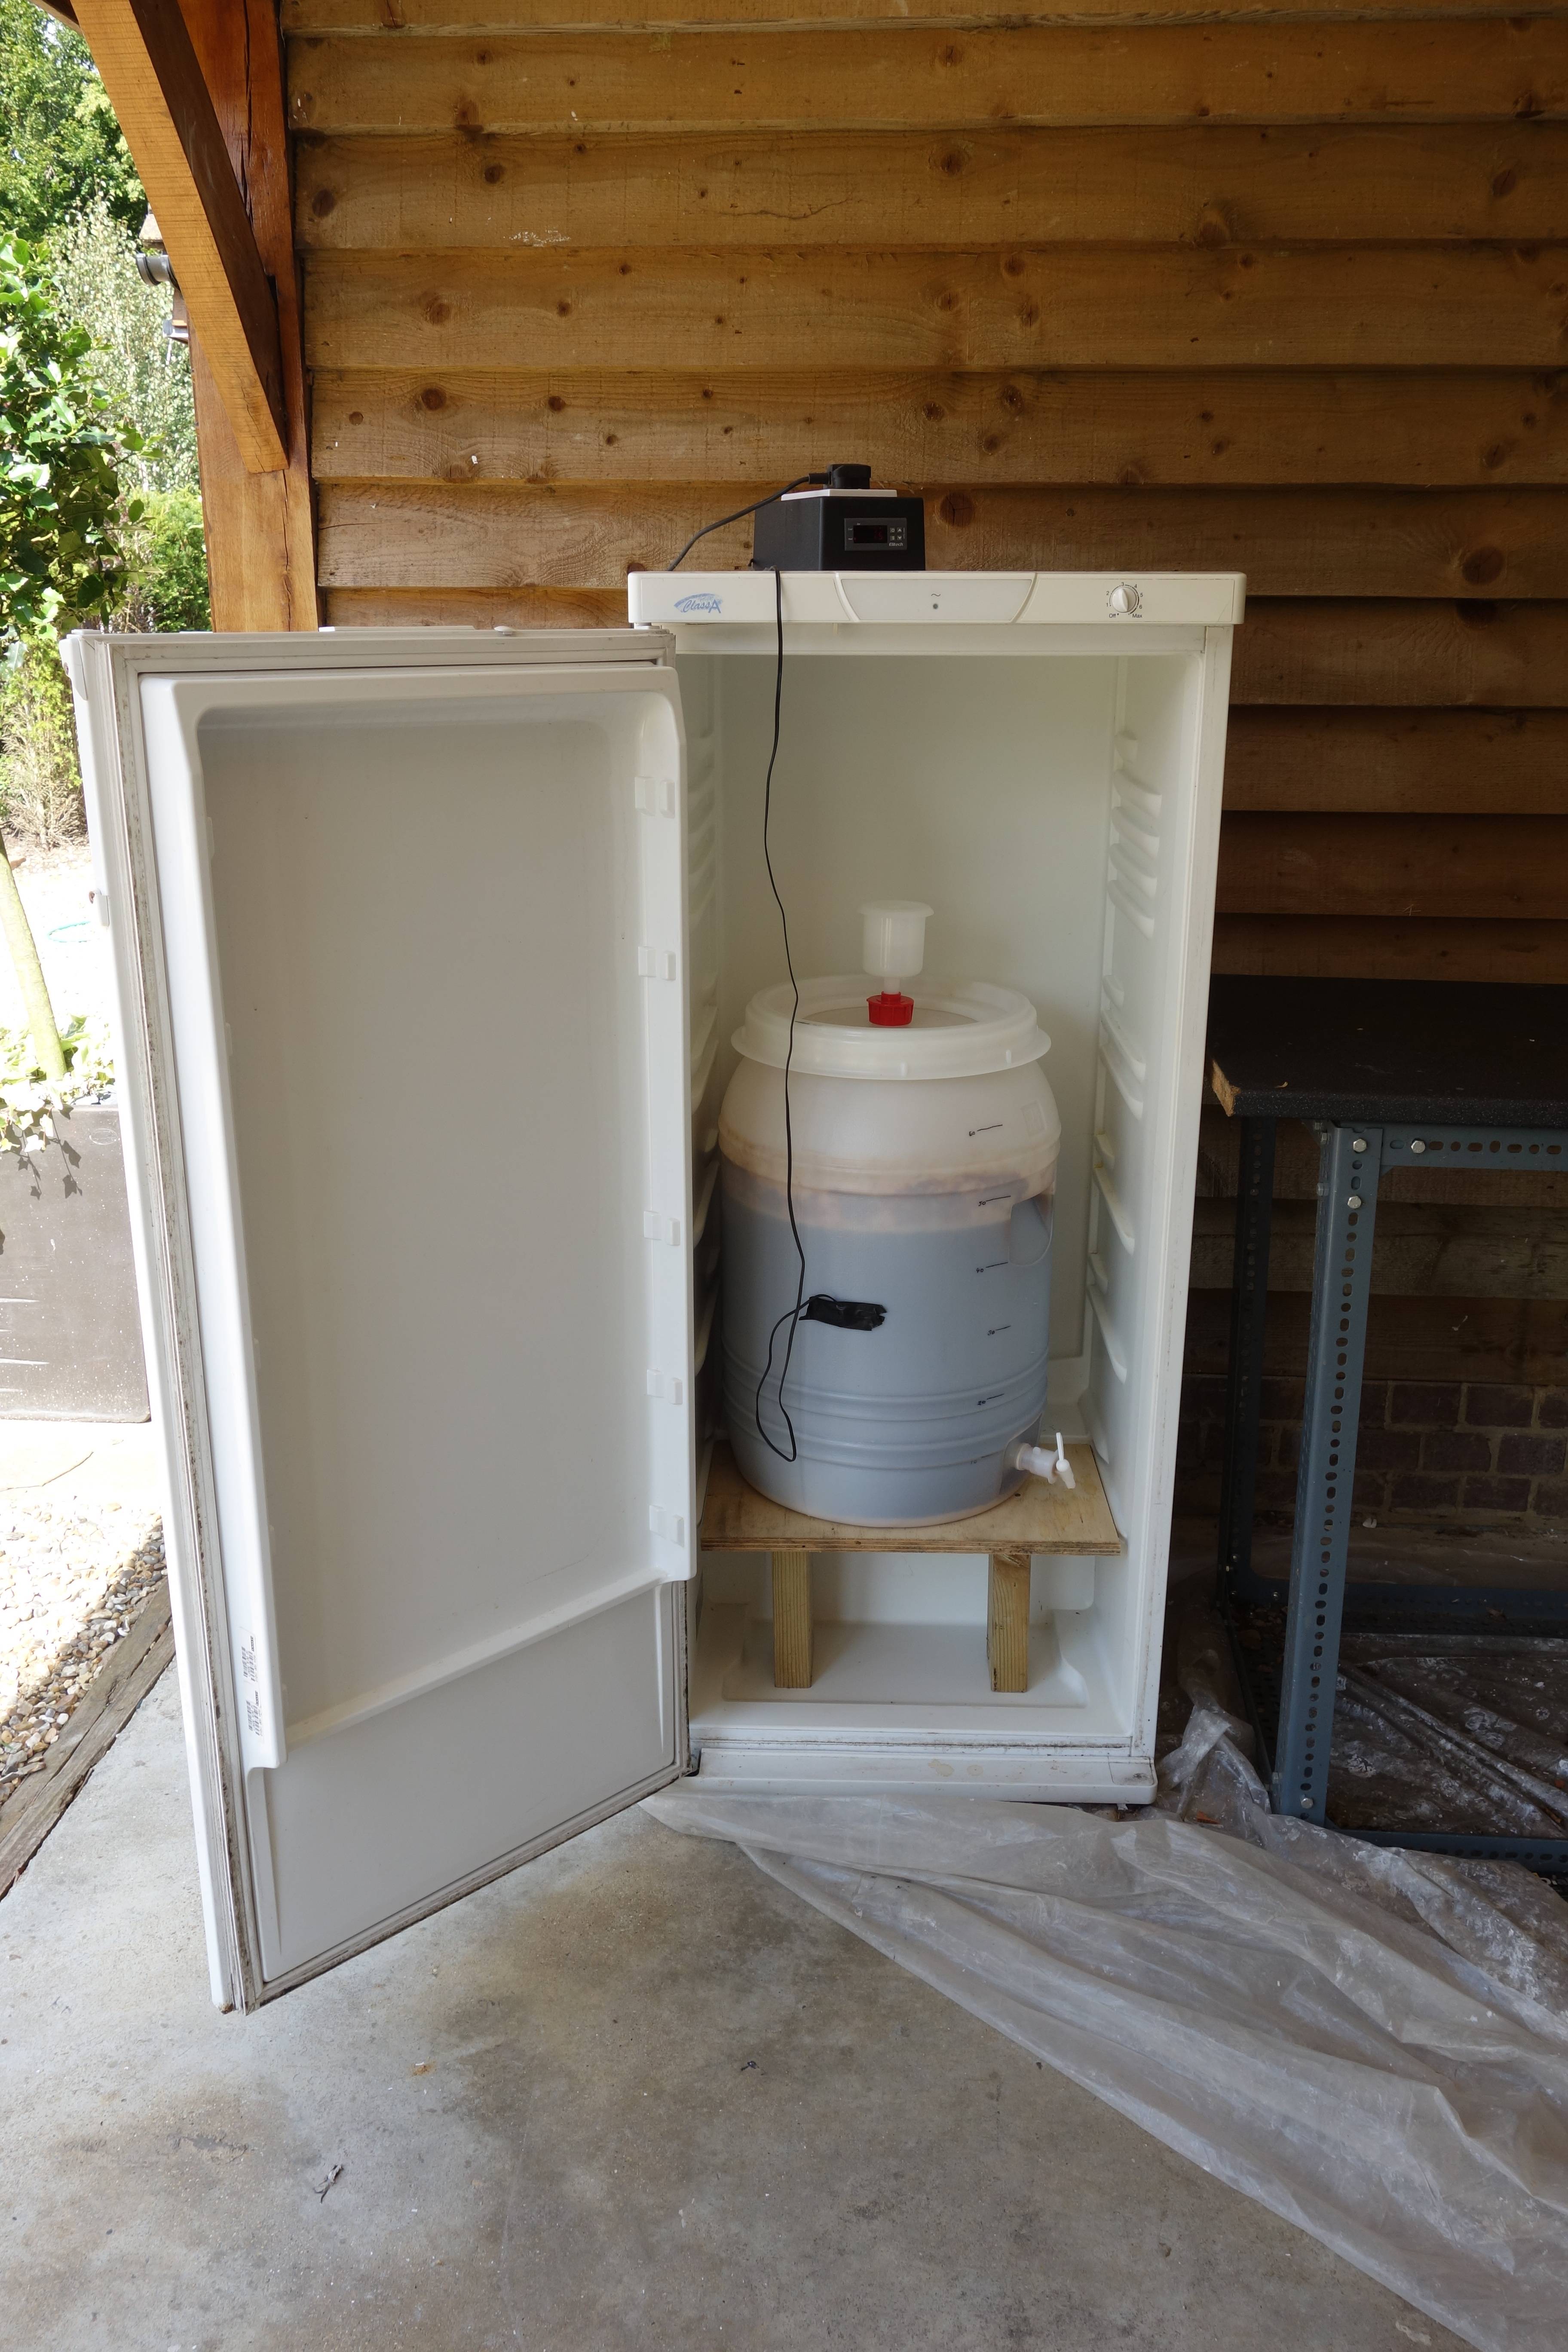
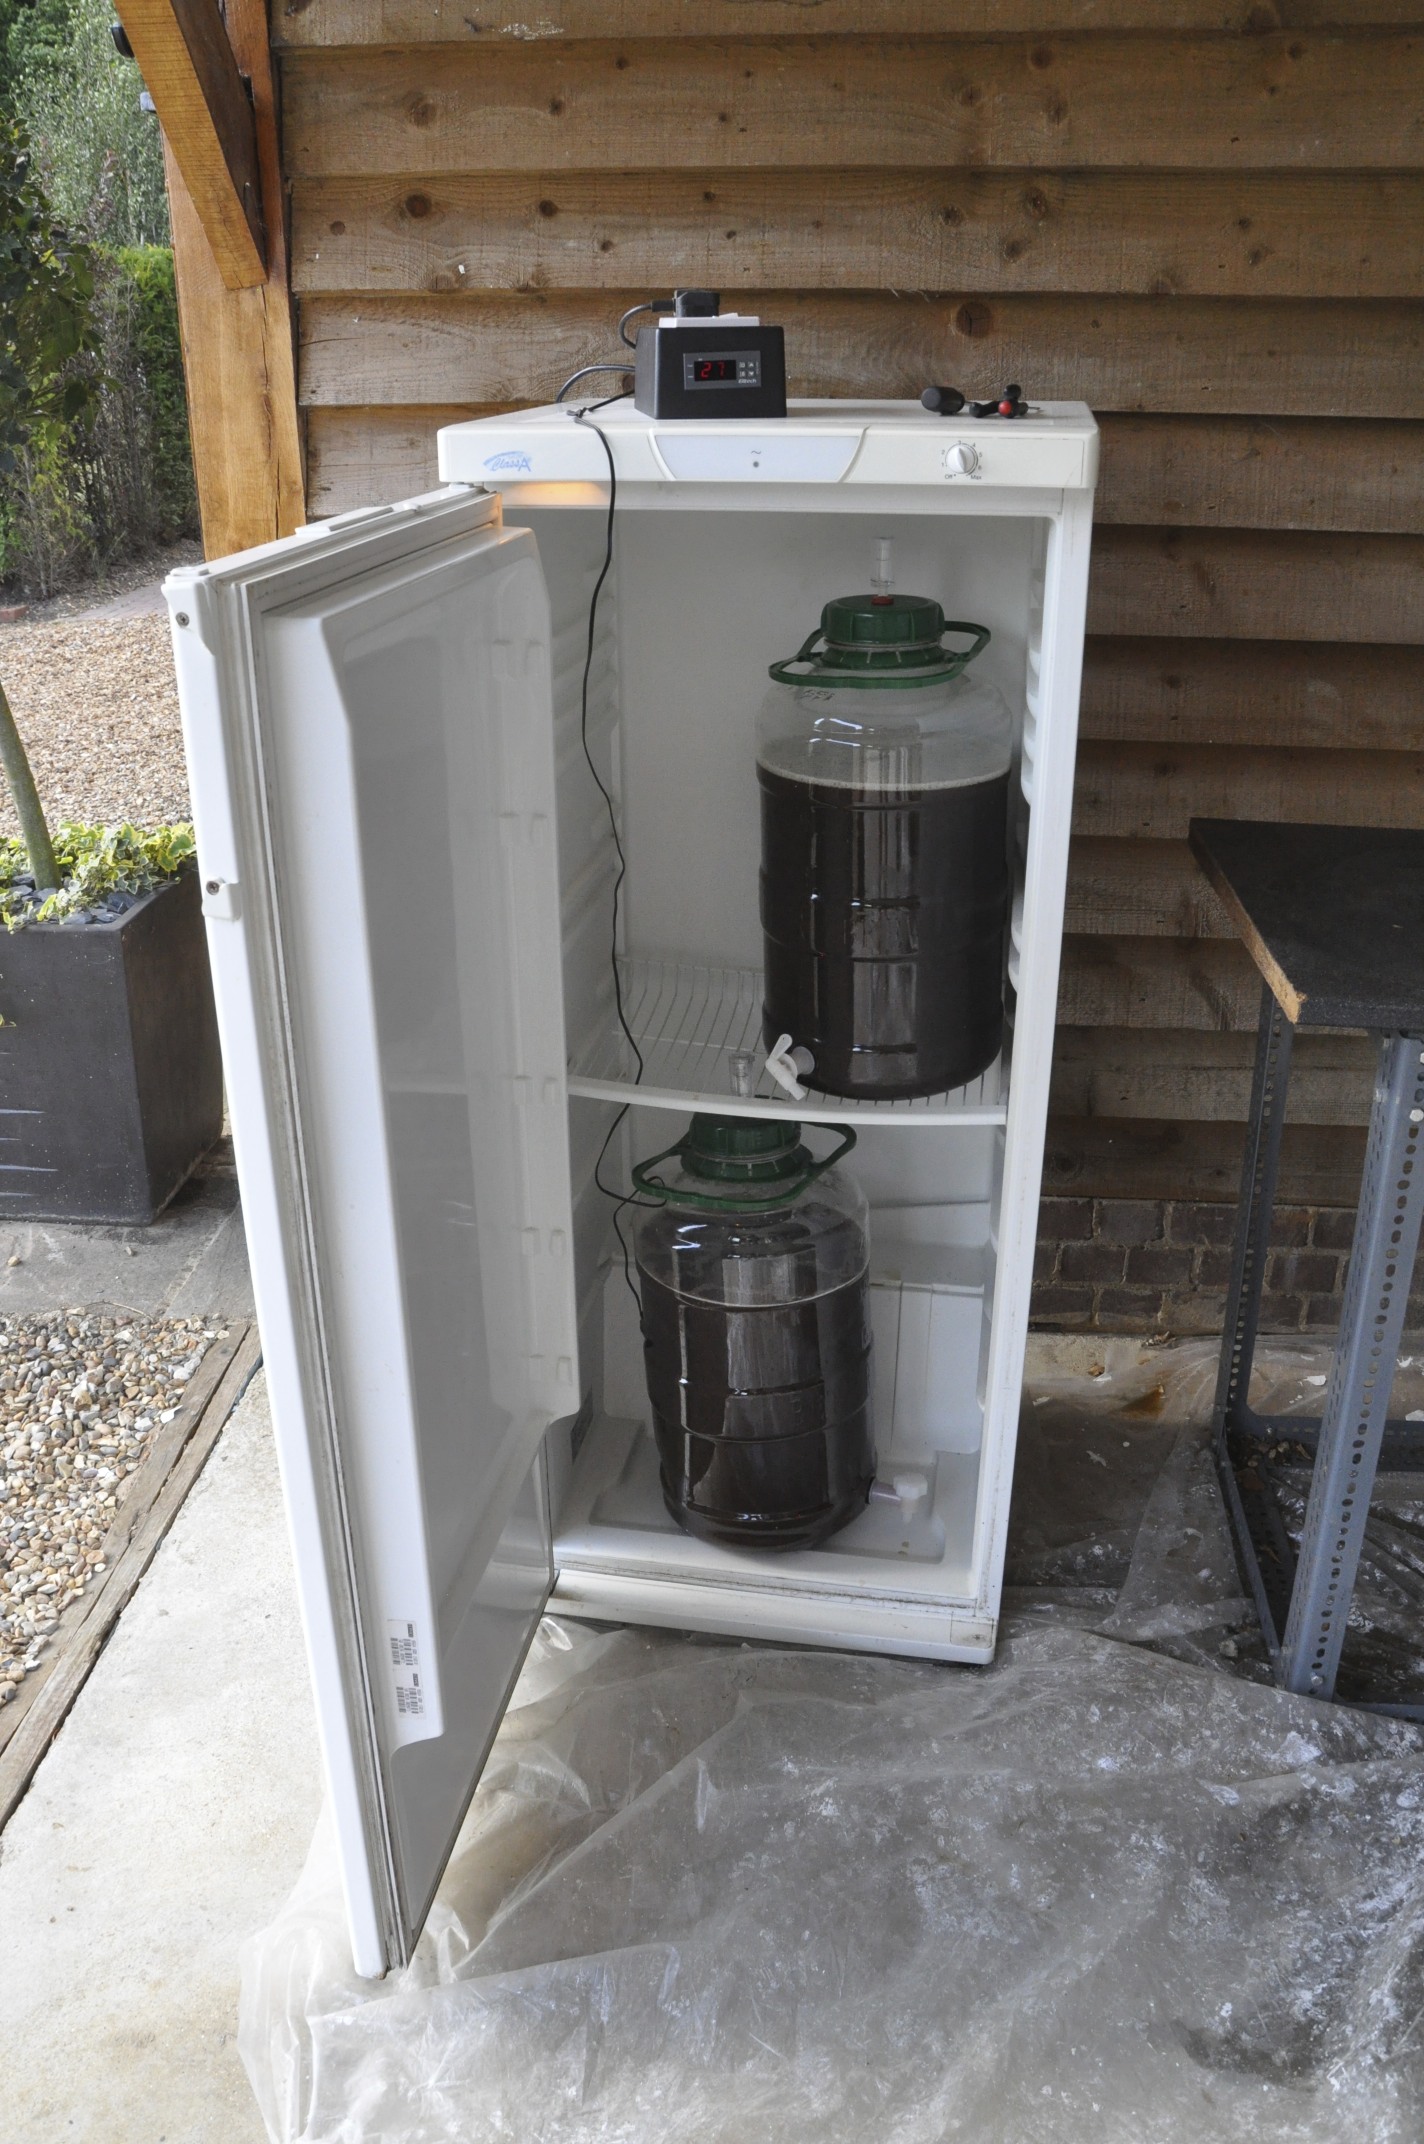
Score of the weekend though was definitely the fridge I dug out of my parents’ garage, which fits two fermenters just about with a little wiggle room, so I actually made a 45 ish litre batch size- 20 litres for a pin for the club night and the rest for bottling. I spent last weekend putting together another stc-1000 controller with bits from Maplin, and so far so lack of burning house. But again fermentation is where pretty much everything happens for abbey beers, so we’ll wait and see whether the beer will be any good or not!
STC-1000 Fermentation Chamber Build
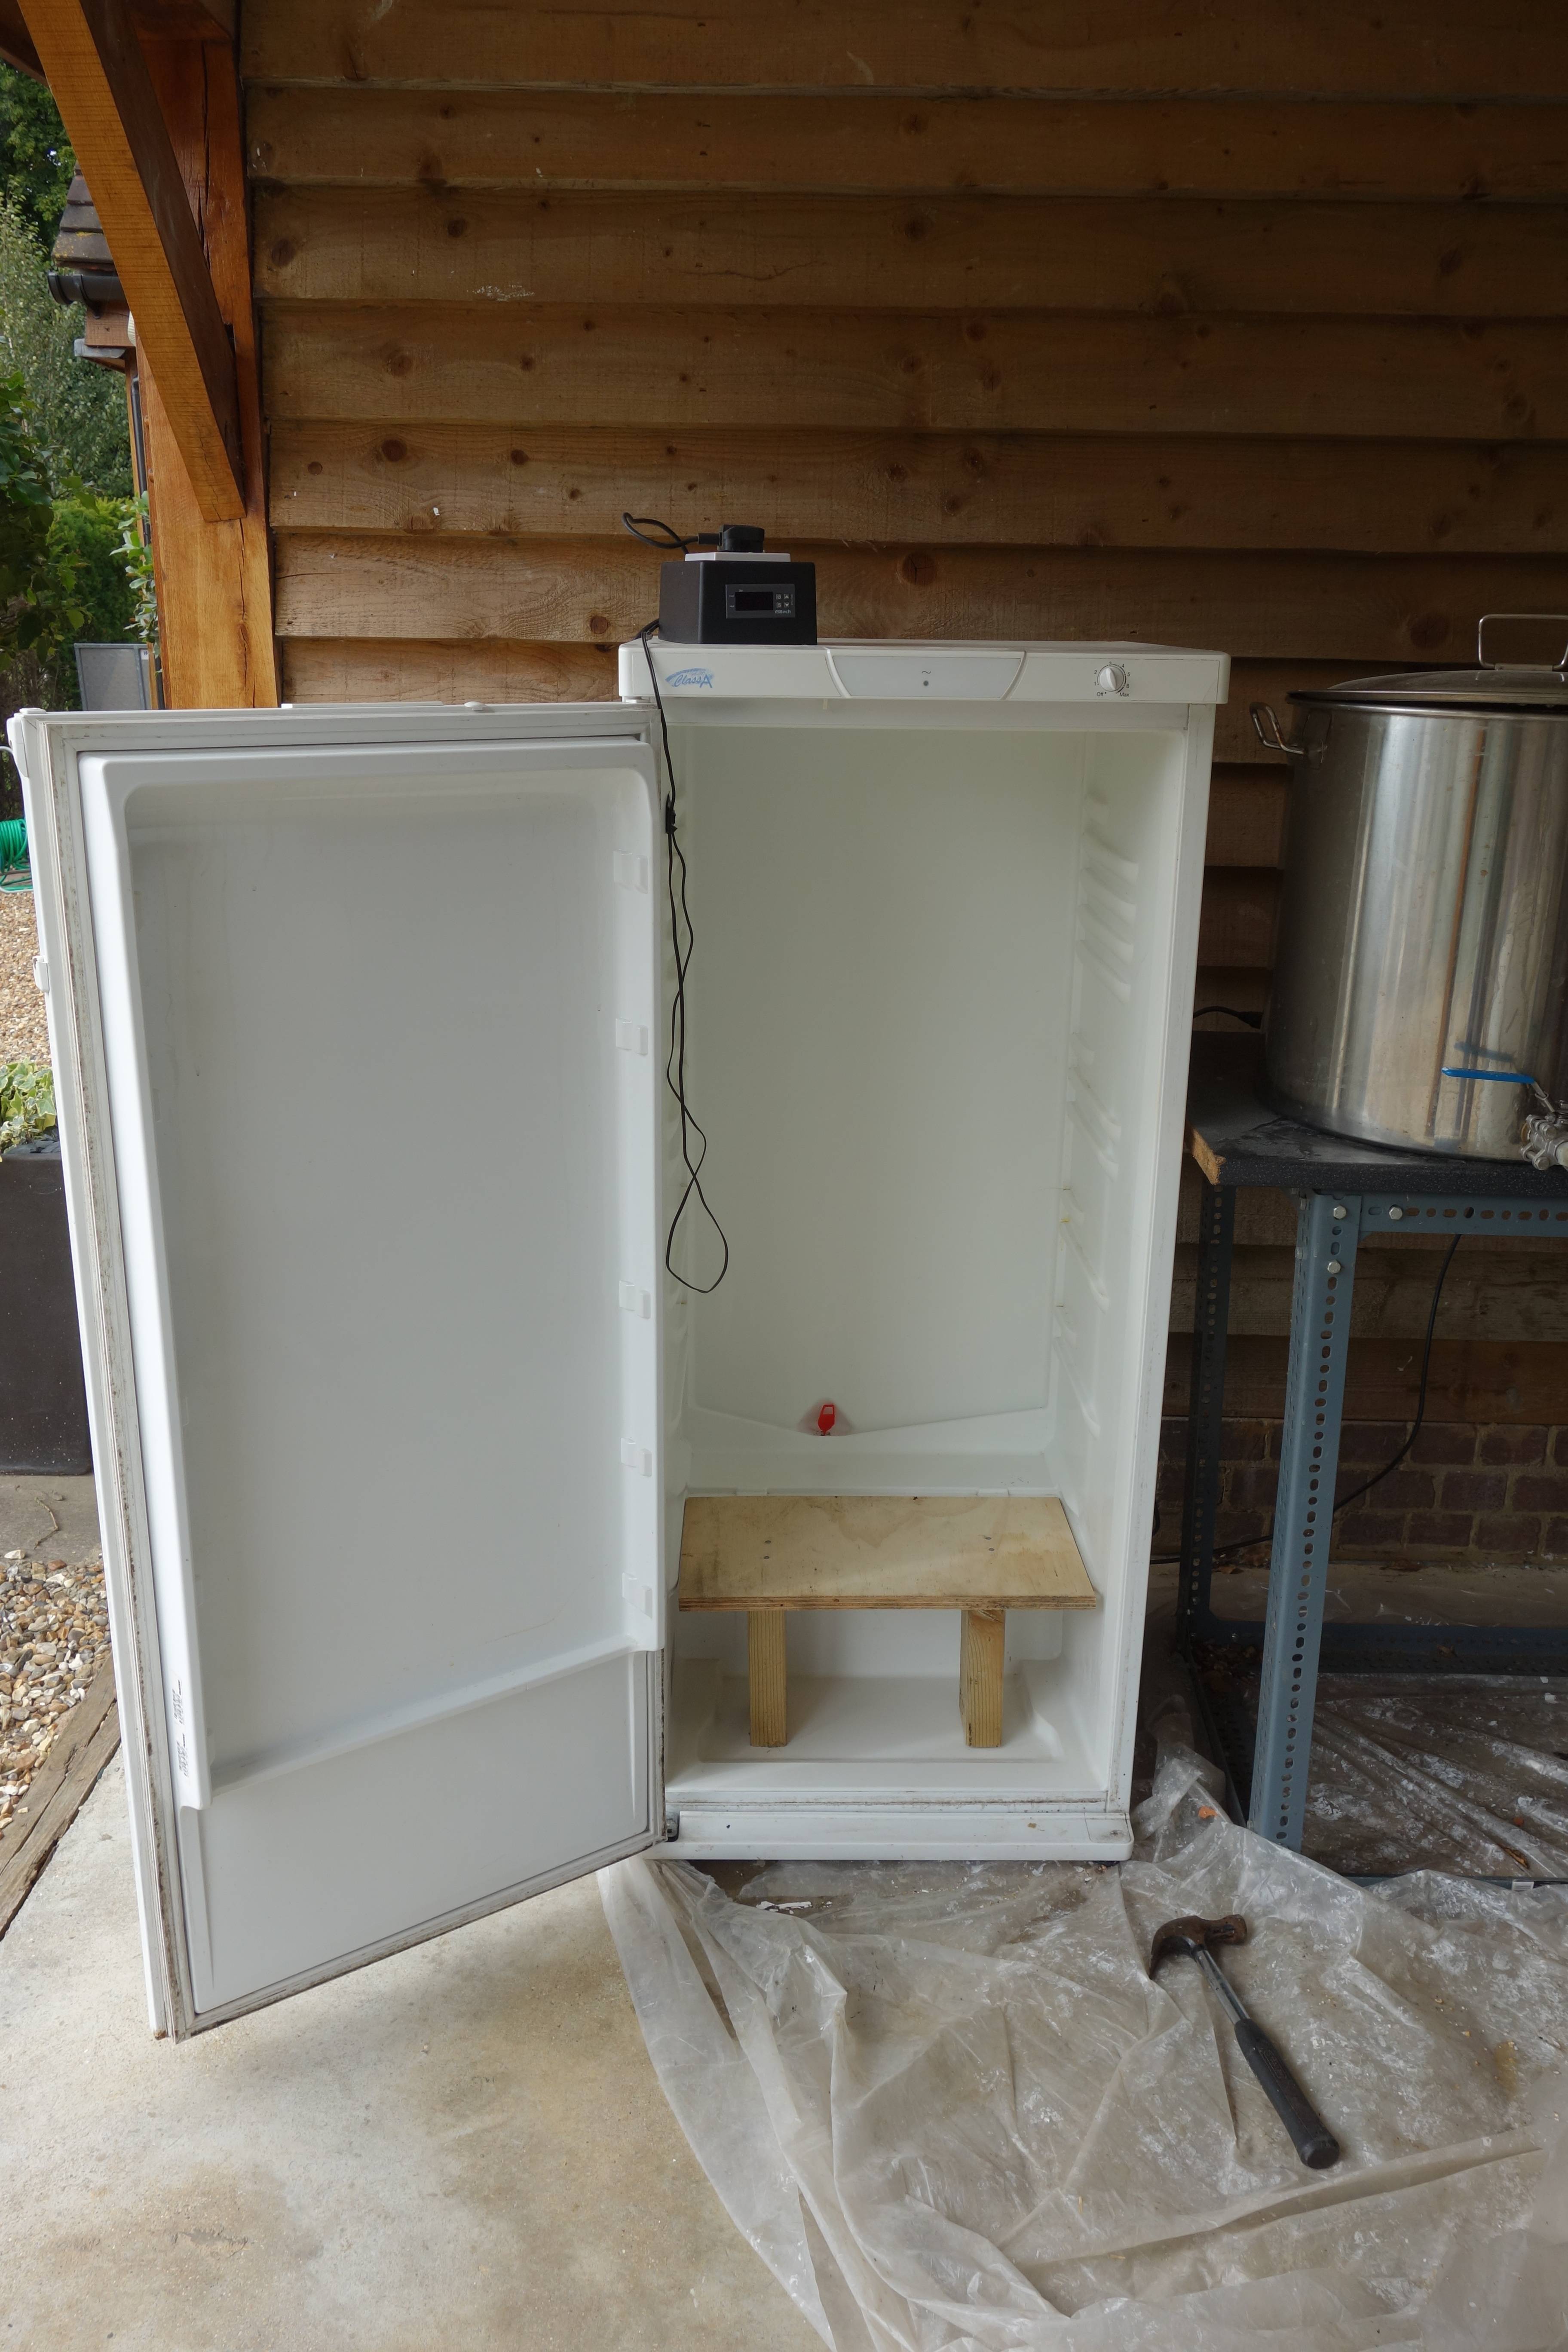
Yeast stress is likely caused by one of two things- an un-viable or inappropriately sized pitching colony or poor fermentation control. Sidestepping the first issue (if you’re brewing 5 Gall. batches at less that 1.060 SG use a packet, if not make a starter), fermentation off-flavours very likely have a lot to do with a temperature that is either too high or too low. Fortunately there are a few fixes to this problem at home. The simplest involves just using a wet towel and relying on evaporative cooling to control the temperature of your carboy. This is actually surprisingly effective, and just by being aware of fermentation temperature you are likely to make better beer (those stick on thermometers are really handy and cost almost nothing.) The next step from here costs a bit more and takes up some space, but is the obvious progression, especially if you live somewhere with very high/low temperatures. This is to build a fermentation chamber to give ideal temperature conditions year round.
To build a fermentation chamber you need a couple of things: most obviously an insulated, air-tight space and a means of cooling the air inside it. It seems to me that a fridge or freezer fits this criteria pretty well, although a lot of people just use a polystyrene cooler attached to a smaller fridge, which is probably cheaper. As far as which fridge/freezer- if you want to lager under 4ºC, get a freezer, if not get whatever is cheapest. The good people at homebrewtalk have made this comparison of pretty much every new fridge or freezer on the market which shows how much you can actually fit inside them, although this project will work just as well with the old fridge you have sitting in the far corner of the garage. The guide covers both carboys and kegs, which brings me to another advantage of a fridge/freezer- you can also convert it into a part time kegerator when you aren’t using it to ferment.
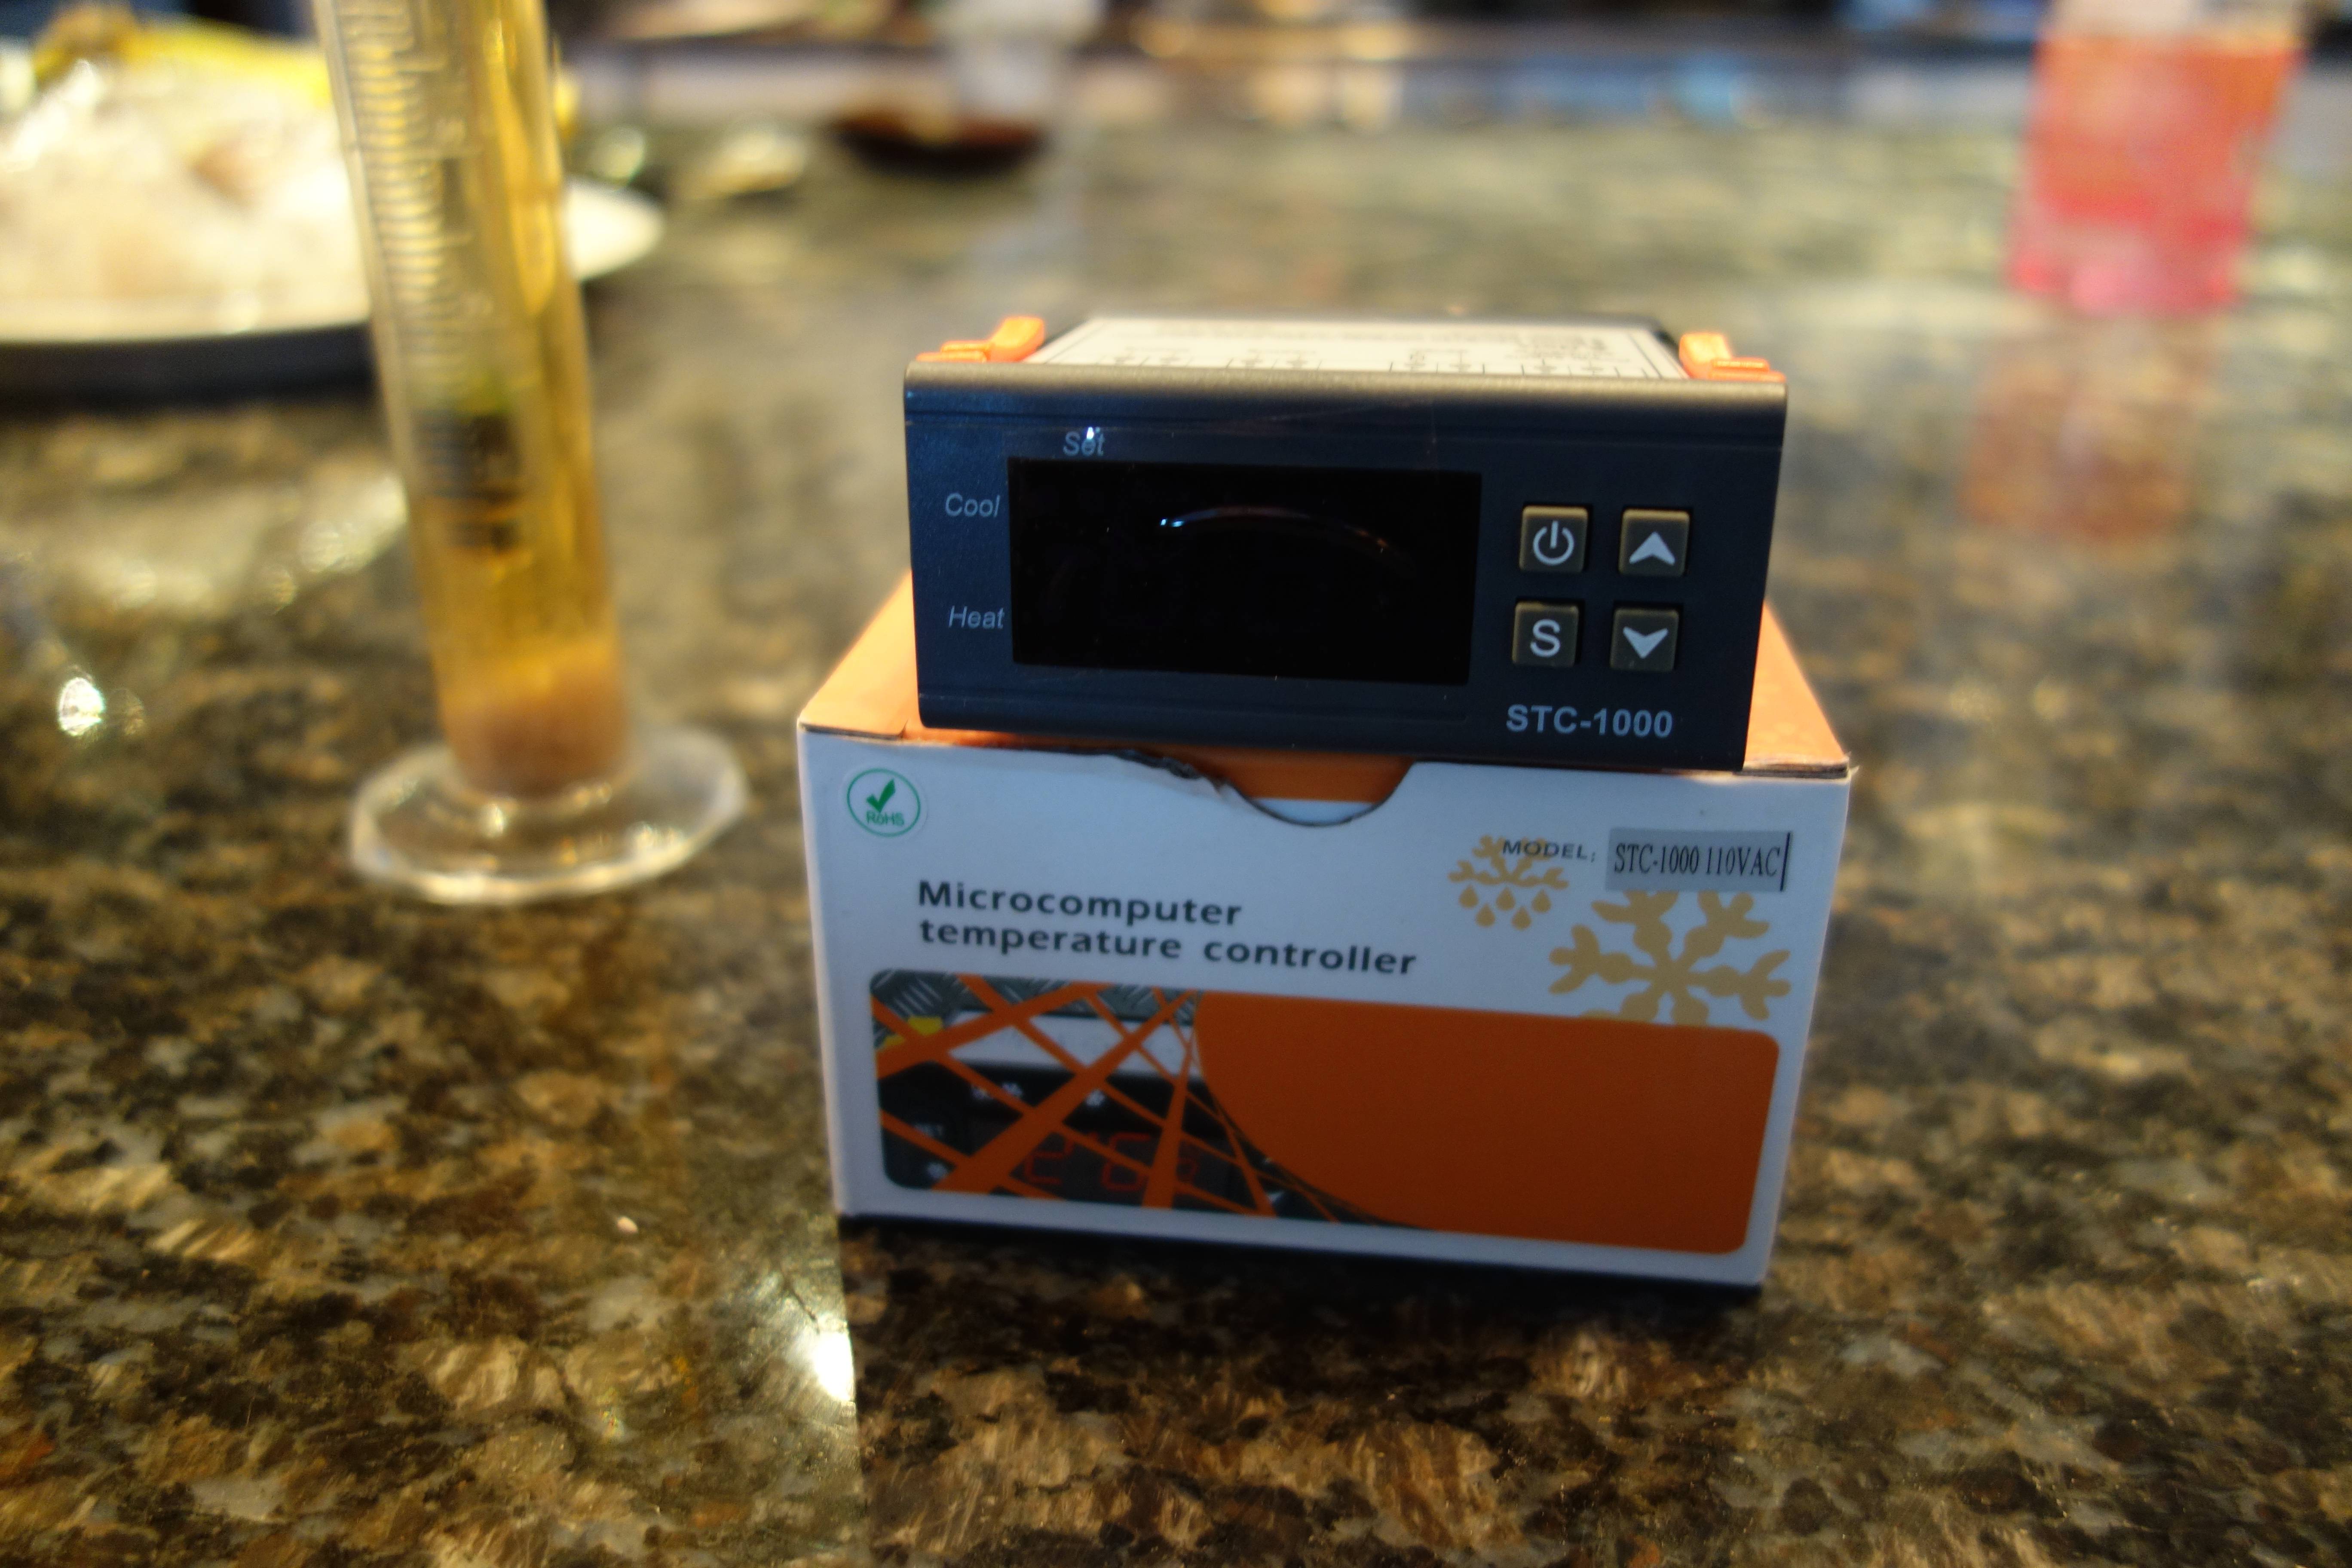
The last thing you’ll need is a means of regulating the temperature of the fridge/freezer. If you have a fridge, you might be able to get away with just using the thermostat on the appliance. If you have/buy a freezer like I did, you’ll need a separate temperature controller. These work by turning the appliance on or off based on the reading from a probe, which you can put near or even in your fermenting beer. Here you have another two options: buy a ready built temperature controller, which range in price from about $60-200 depending on specification, or build your own which is a bit cheaper. I took the second option, picking up an STC-1000 from amazon.ca for $27 (about 15 quid). These controllers come highly recommended by both homebrewers and aquarium/reptile tank owners, and funnily enough are almost identical to the ones supplied my many brewery engineering firms.
One thing that’s really cool about these controllers is that they are tiny. So if you are more handy than me it’d no doubt be quite easy to build the controller into the appliance you are intending to use as a fermentation chamber/kegerator. As it is I’m not that handy, and didn’t want to start hacking apart a new freezer, so I built mine into an external housing. This does have the advantage of being easier to take apart if it breaks or lend to a friend if you’re nice, but isn’t quite as neat a solution.
The downside of going the DIY route is obviously the DIY itself, and the controller basically needs to be wired to a power source and two power outlets. I don’t really want to do a ‘how-to’ guide to assembling it here, as I’m really not the sort of person you’d want to take electronics advice from. And my advice if you’re not confident of wiring a socket into a mains supply would be to get help from a professional electrician. However, I’m pretty much a total electrical novice and didn’t find the wiring all that tough. If you do want to do the project you’ll need a few things other than the controller- some wire, a project housing (I used the box my GoPro came in) and a duplex wall receptacle.

Once you’ve collected these bits the first and probably most difficult part of the whole project is cutting holes in the housing to fit the controller and power outlet. I had to drill a load of holes and then file down the holes for bloody ages to get them smooth. If you have access to a rotary tool though you’ll find things much easier. The other thing you’ll need to do is strip your cable down and cut some lengths of wire from it. If you plan on wiring both the cooling and heating loops from the controller (you may as well) you’ll need 5 lengths of ‘live’ wire and one length of ‘neutral’ (in Canada 5 black bits and 1 white).
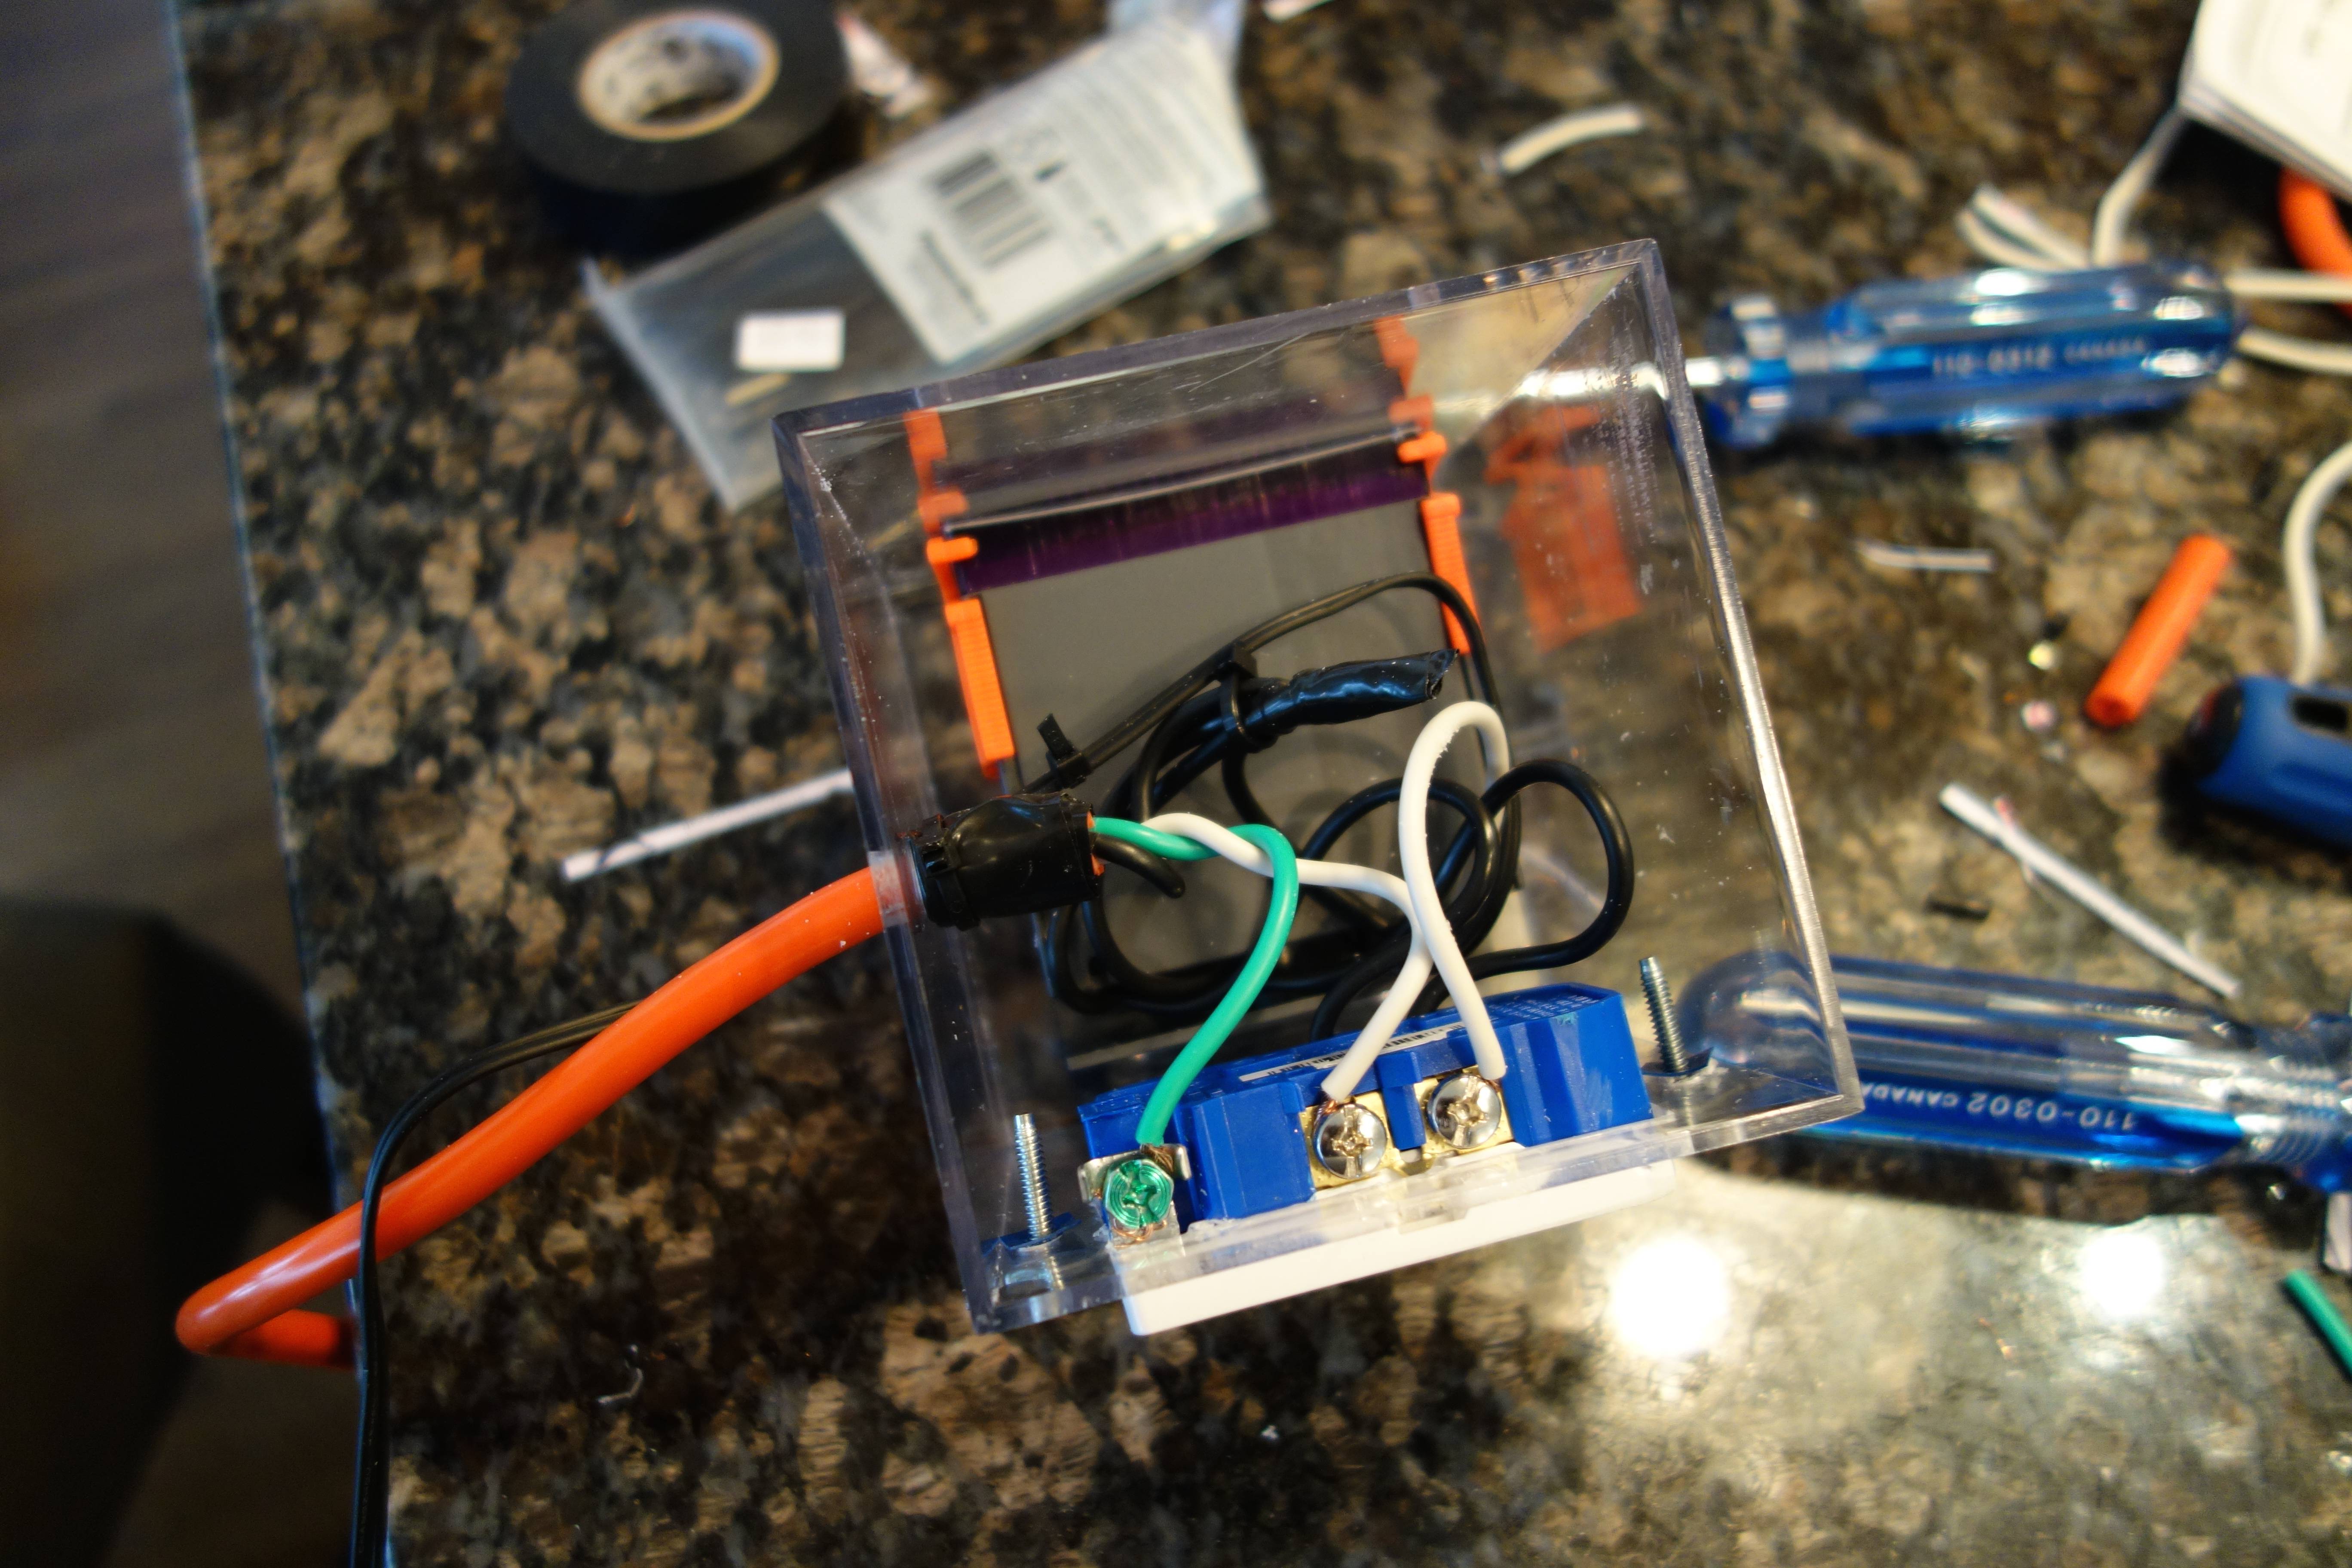
Again, I don’t want to give a step by step on the wiring, but the wiring diagram I used and lots of other useful stuff can be found at the Mostly Harmless Brewing blog, and there’s tonnes of other STC-1000 how-to’s. Here’s a few pictures of mine going together though:

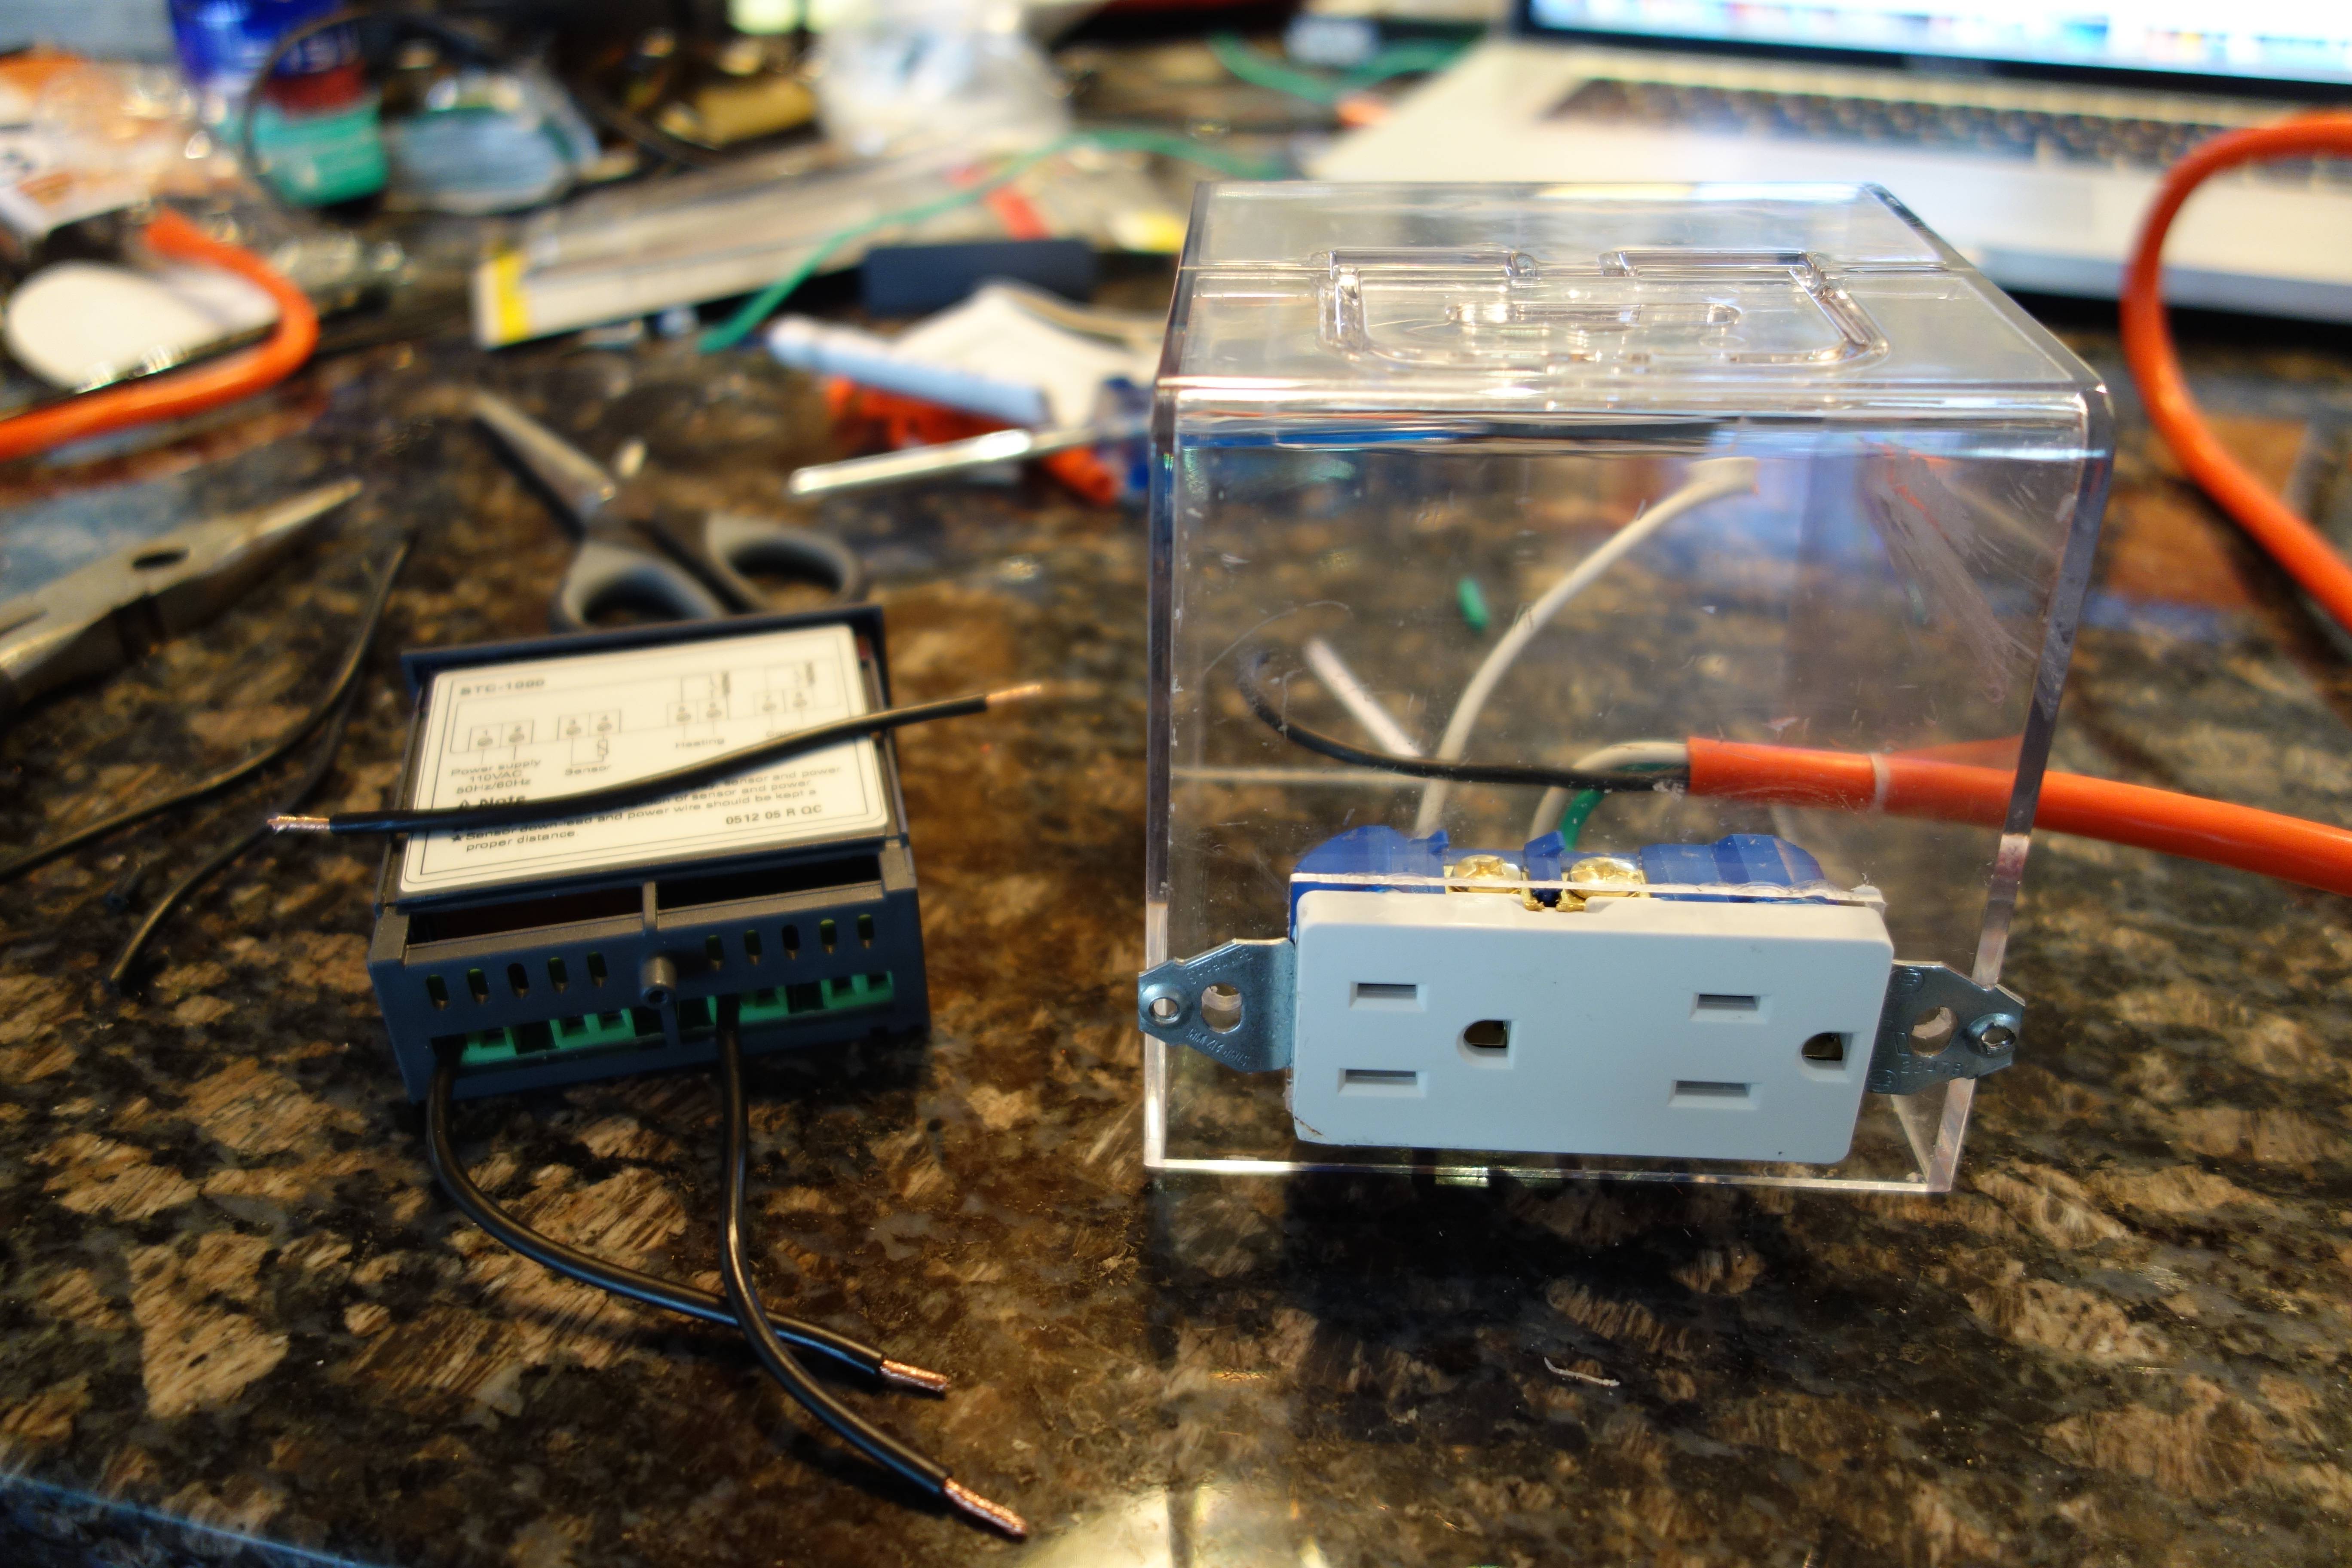
One piece of advice that I didn’t read anywhere is that you’ll need a really thin flat-head screwdriver to tighten the contact screws on the controller itself (above left), or else they are really hard to access and your wires will end up falling out all the time.
Once that’s done you’ll end up with a controller with two output relays, one for cooling and one for heating. The device works by measuring temperature with a probe and sending power to either the heating or cooling outputs depending on whether its reading is above or below the set-point you choose. You can also set a differential and delay on the unit so that it doesn’t turn on and off with every fraction of a degree change and wear the compressor of your fridge/freezer out. It’s also worth mentioning that you don’t have to connect both a heater and cooler- I only use my cooling loop, but may have to use the heating loop attached to a brew belt or lamp when it gets very cold in the winter.
I mentioned I bought a freezer. Again, this project will work with pretty much anything, but for various reasons (mainly space) I picked up a 5.5 Cu ft. freezer from Home Depot, which cost $250, about £130. This will only fit one fermenting carboy without adaptation (or 2 standard and 2 small corny kegs), but I’m unlikely to be fermenting more than that at any given time or want a bigger kegerator. You might want to look at the 7.2 version, which is $50 more but fits twice as much. You may also want to look at upright freezers, which cost more but take up a bit less room and are easier to get stuff in and out of. Again, you may just want to use the busted up fridge already in your garage.
Anyway I’ve put some pictures below of the final project, which is keeping an IPA I just brewed happy at about 15ºC. The real test will come in a week or so when I crash cool to 1-2º. It doubles quite well as an overflow beer fridge too, so I’ve got the remainder of the SMaSH brew I did a few weeks ago waiting to cool down too. In other words, I may not be too far away from that park bench at 10 o’clock on a Tuesday morning, but by the Gods the beer will be glorious when I get there.


Smash!
Some crazy people seem to have taken this idea even further, into total cold turkey territory. The result of this is SMaSH, or Single Malt and Single Hop, which sort of does what it says on the tin. Rather than picking from a massive list of ingredients, the SMaSH brewer can only choose three- one malt, one hop variety and one yeast strain. This can be a really interesting experiment for three reasons. Firstly, because you can drink a SMaSH beer and pretty accurately tell the flavour of each of those three ingredients. Secondly, because you could take those same ingredients and make very different beers depending on process variables like boil length and fermentation temperature. And thirdly, because it’s called SMaSH! Anyway, I was planning my next brew a few weeks ago and decided I had to have a go. My nominated ingredients: Canadian 2 row pale malt, Cascade hops and SafAle 04 British ale yeast.
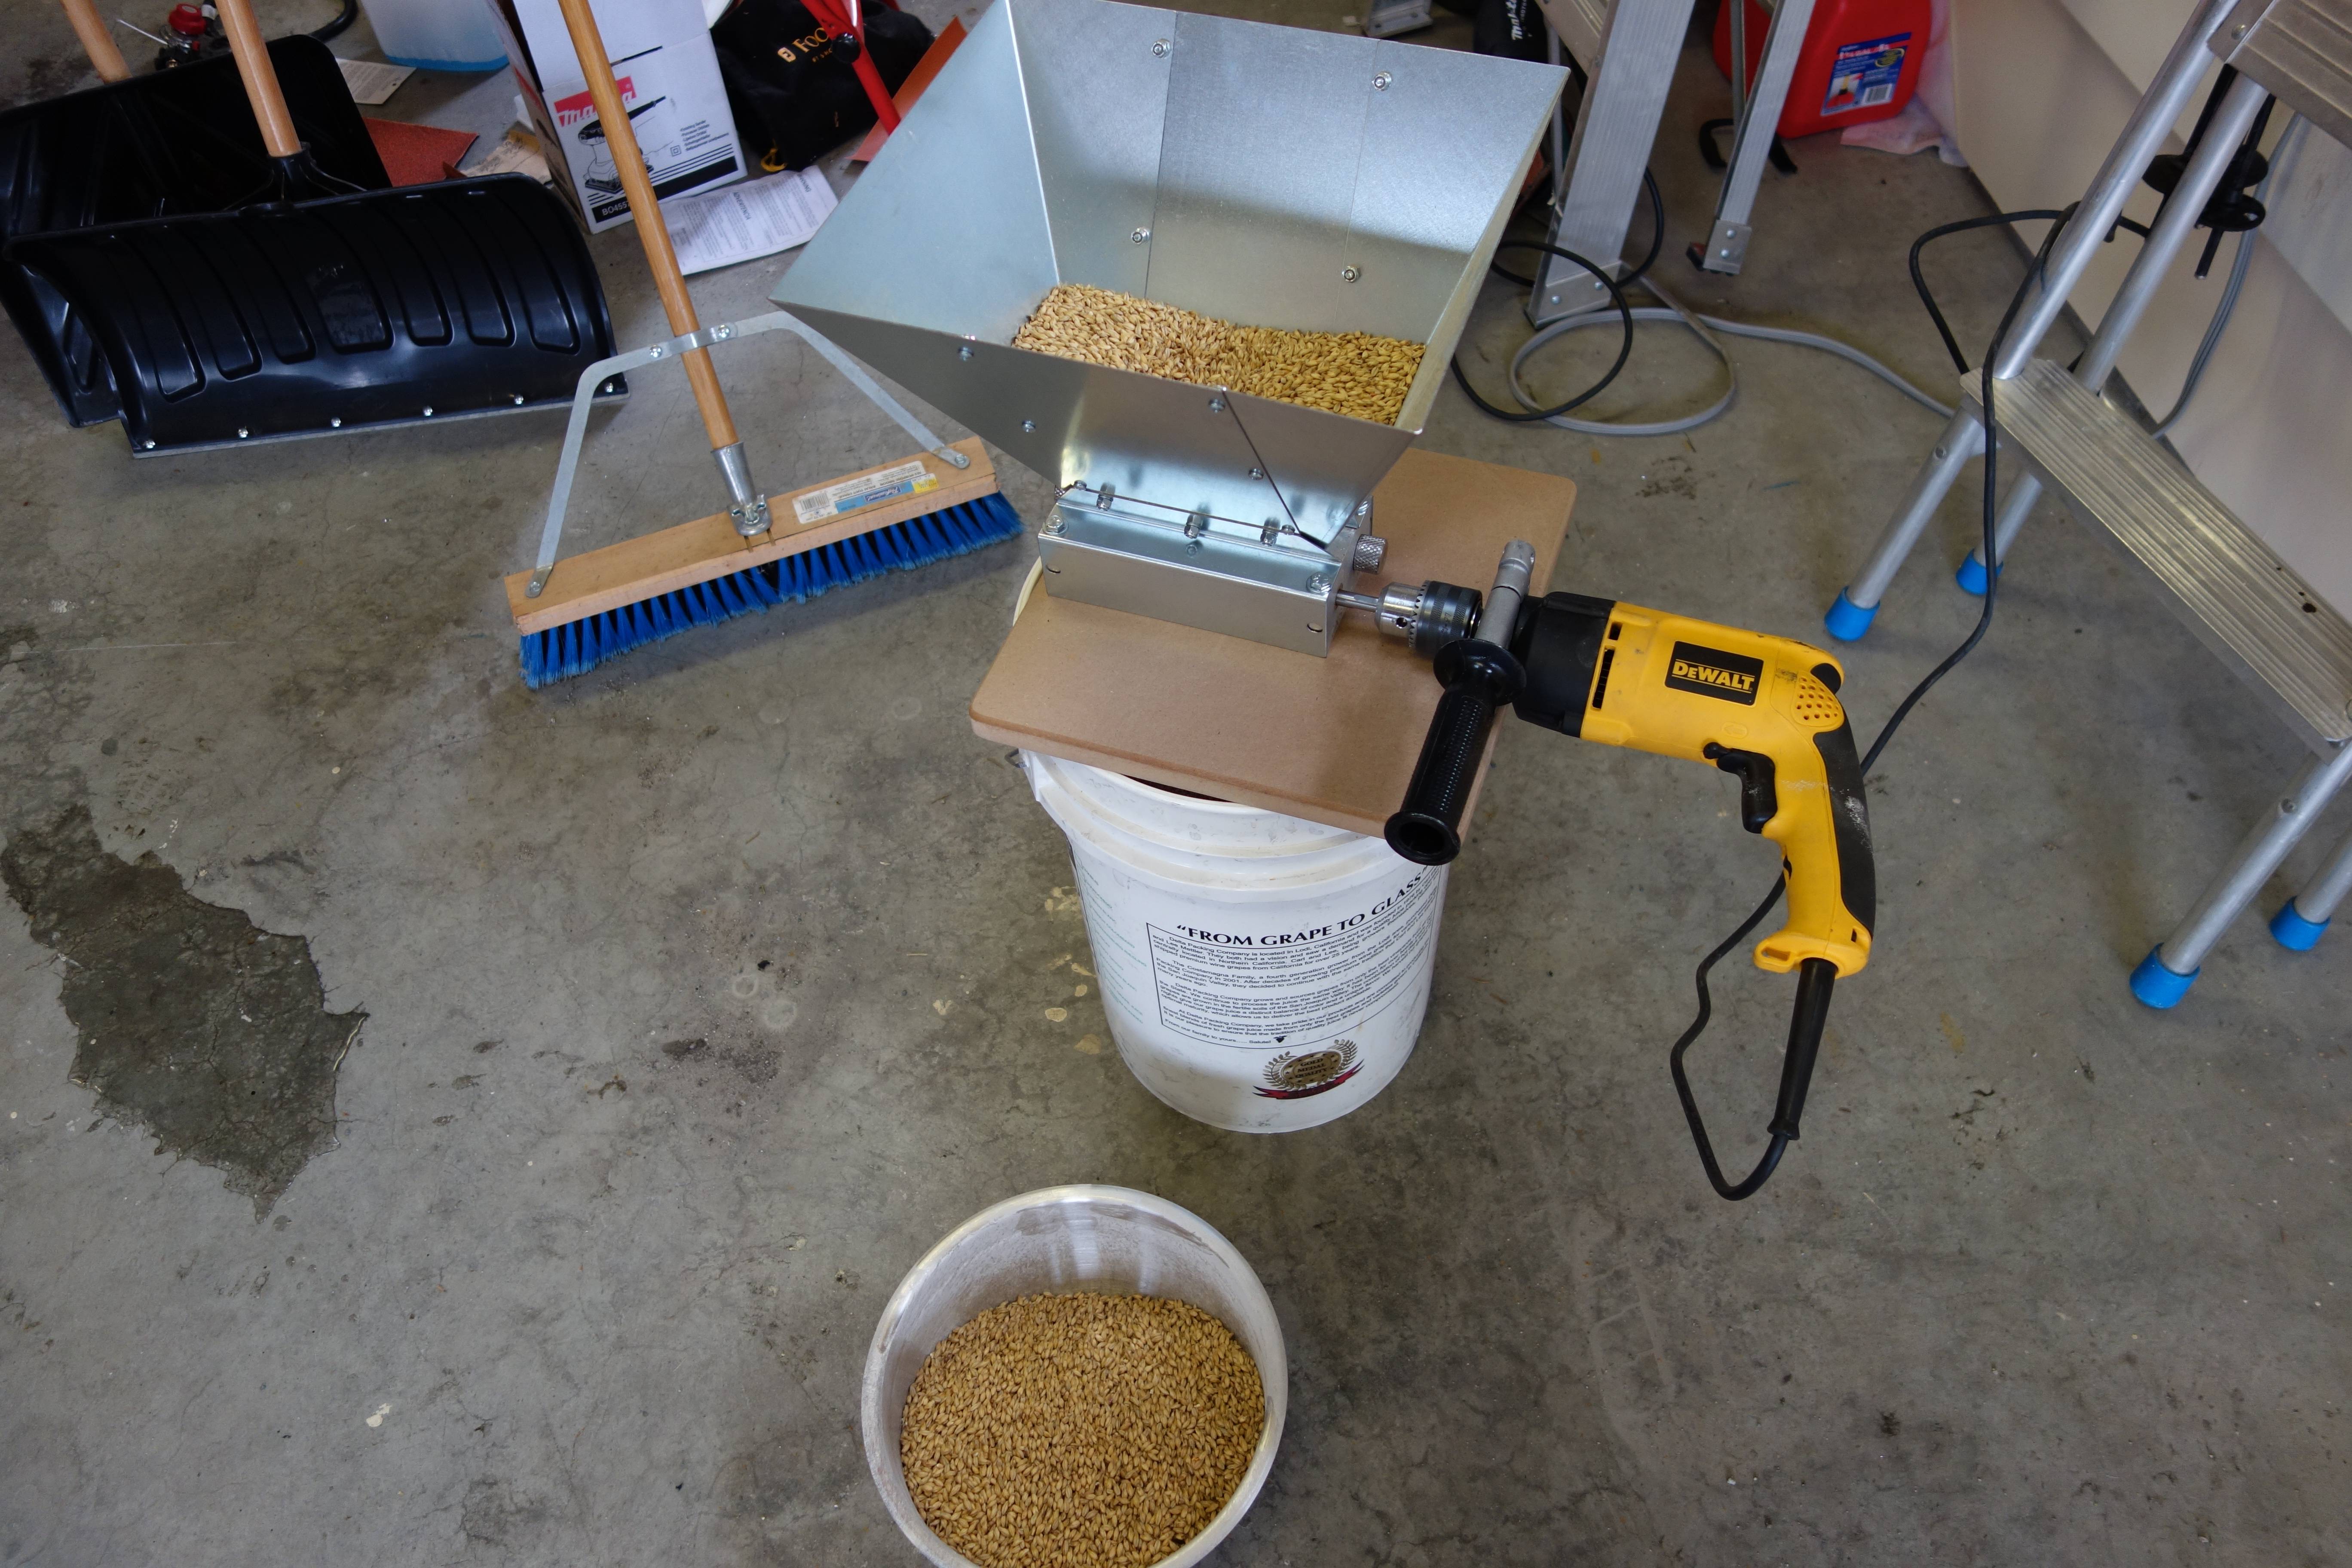
First things first though, I had a few issues to address from my last, less than successful, brew day. The biggest problem seemed to come from an overly fine grain crush, so I reset the rollers on my mill using a credit card to set the gap. I read that on a forum somewhere. The manual says something about feeler gauges and deadly accuracy, but I didn’t have any gauges, and the card trick seemed to do the job. Before and after:
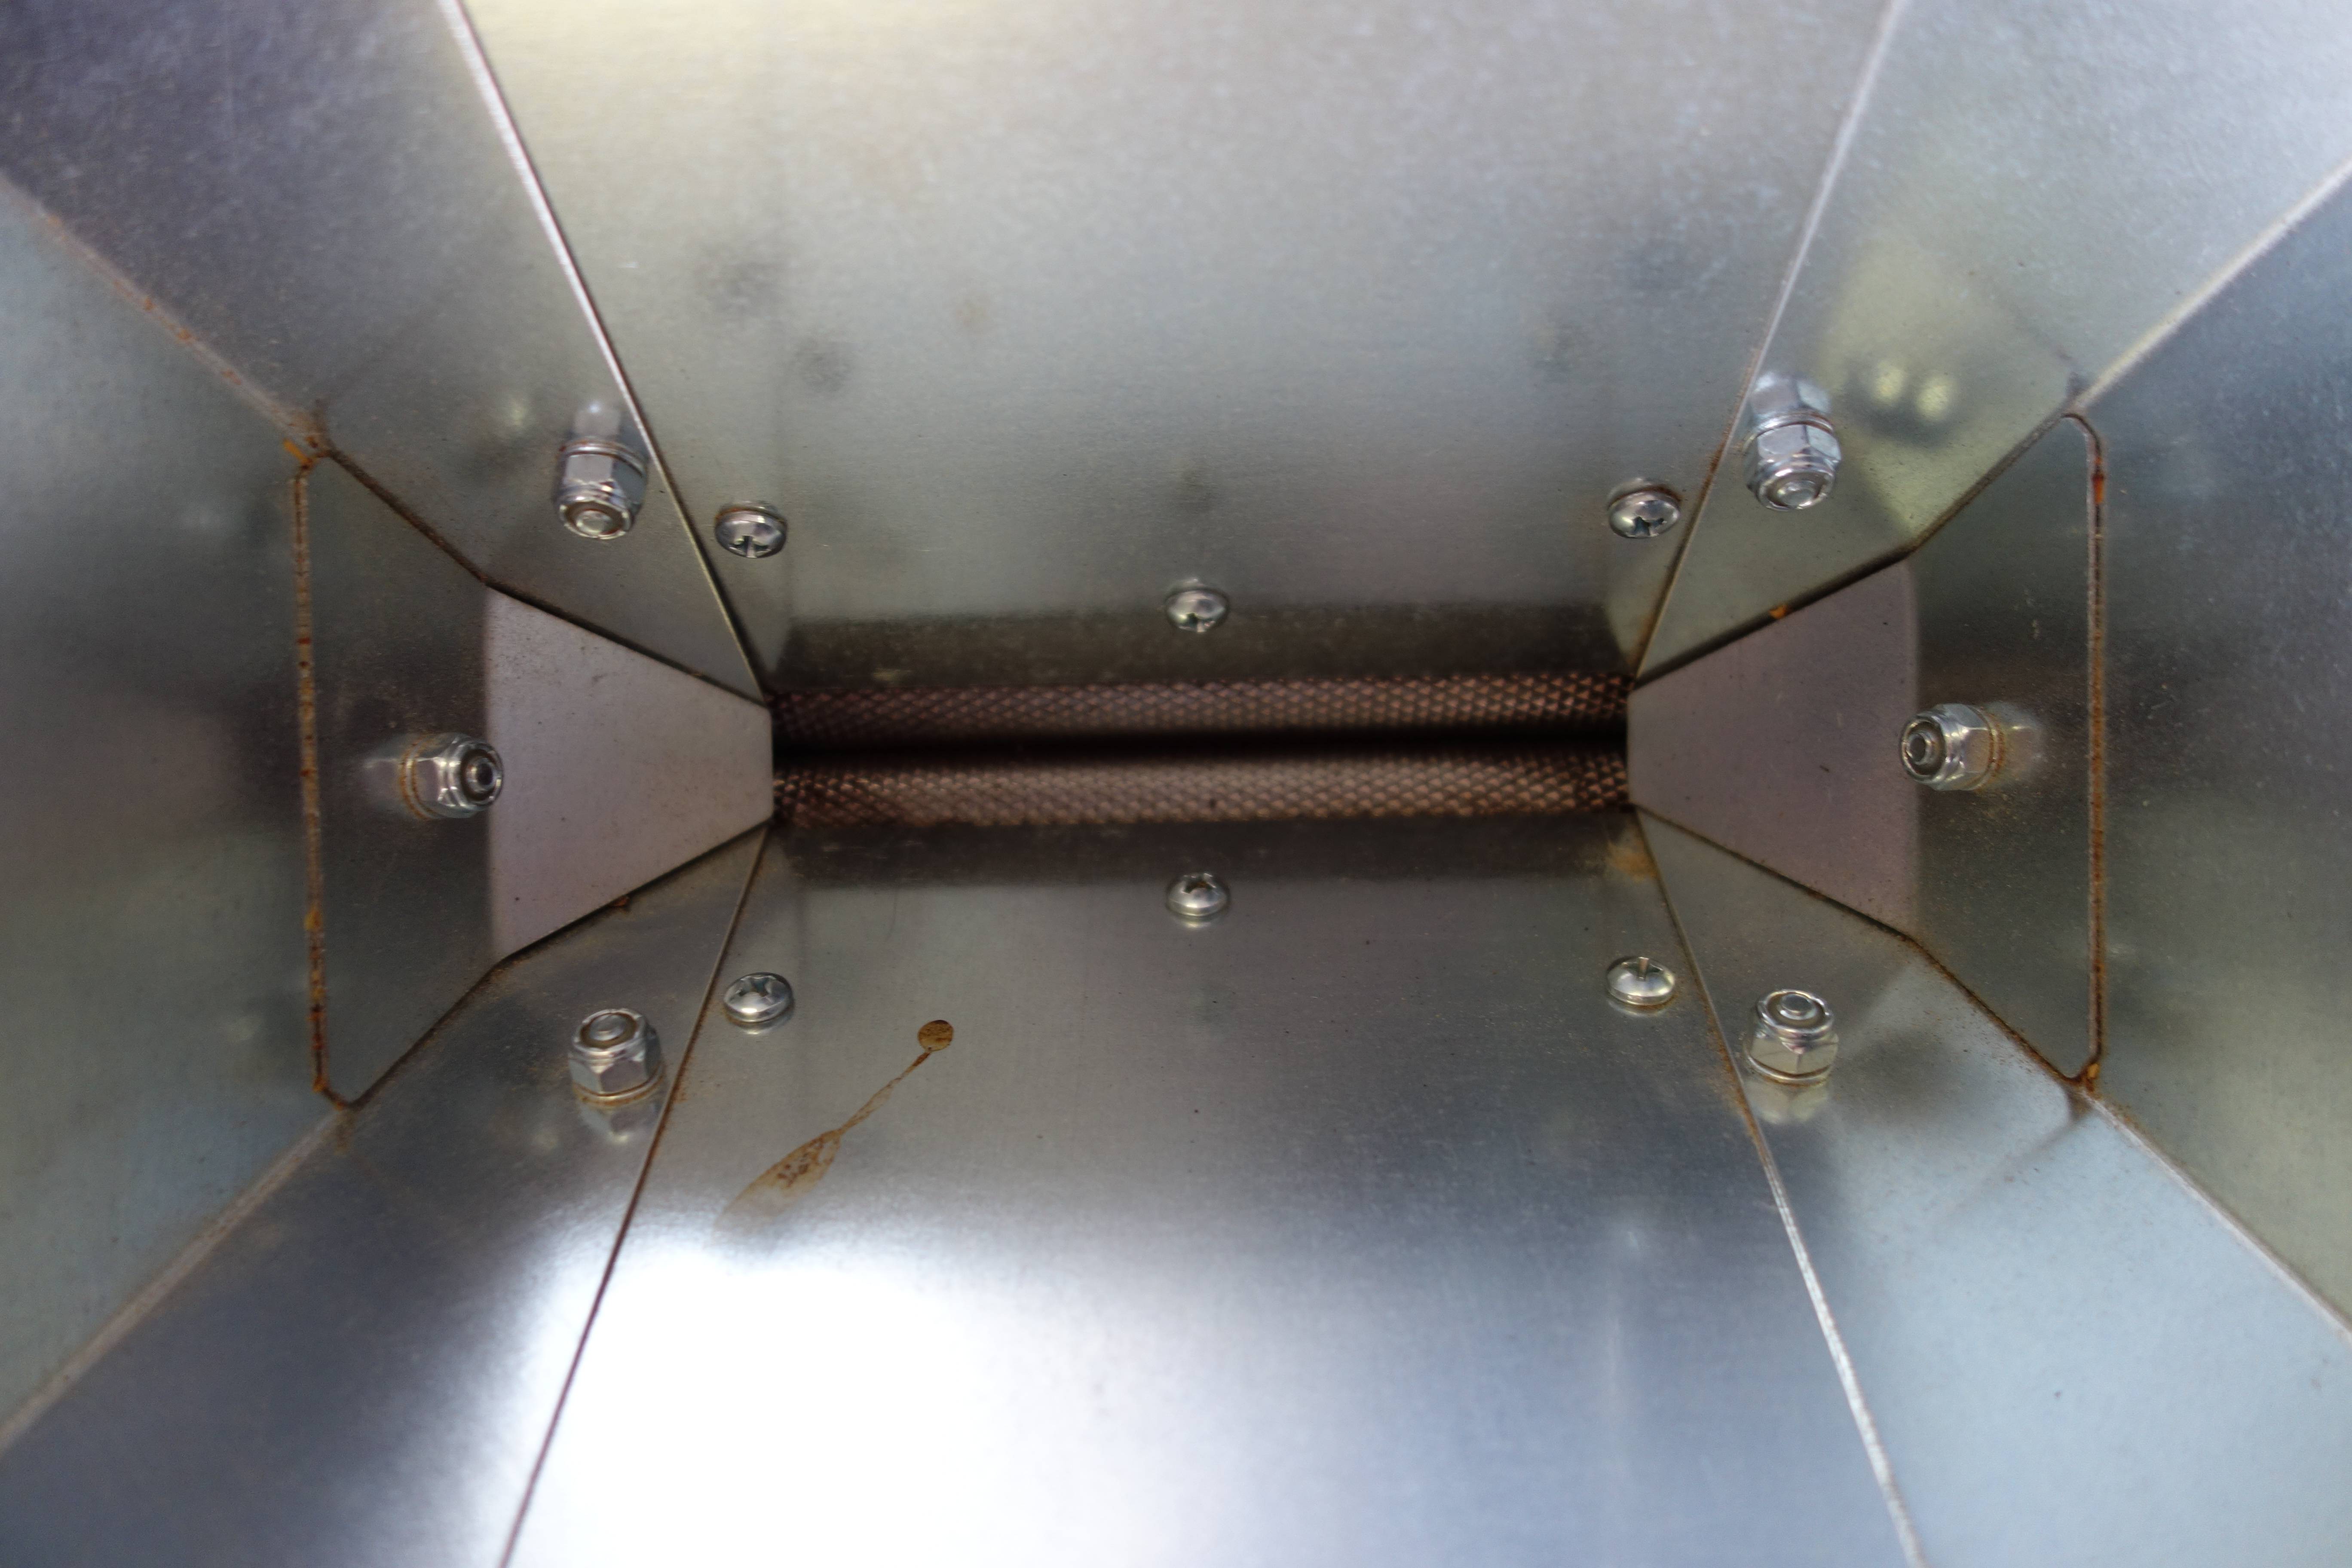
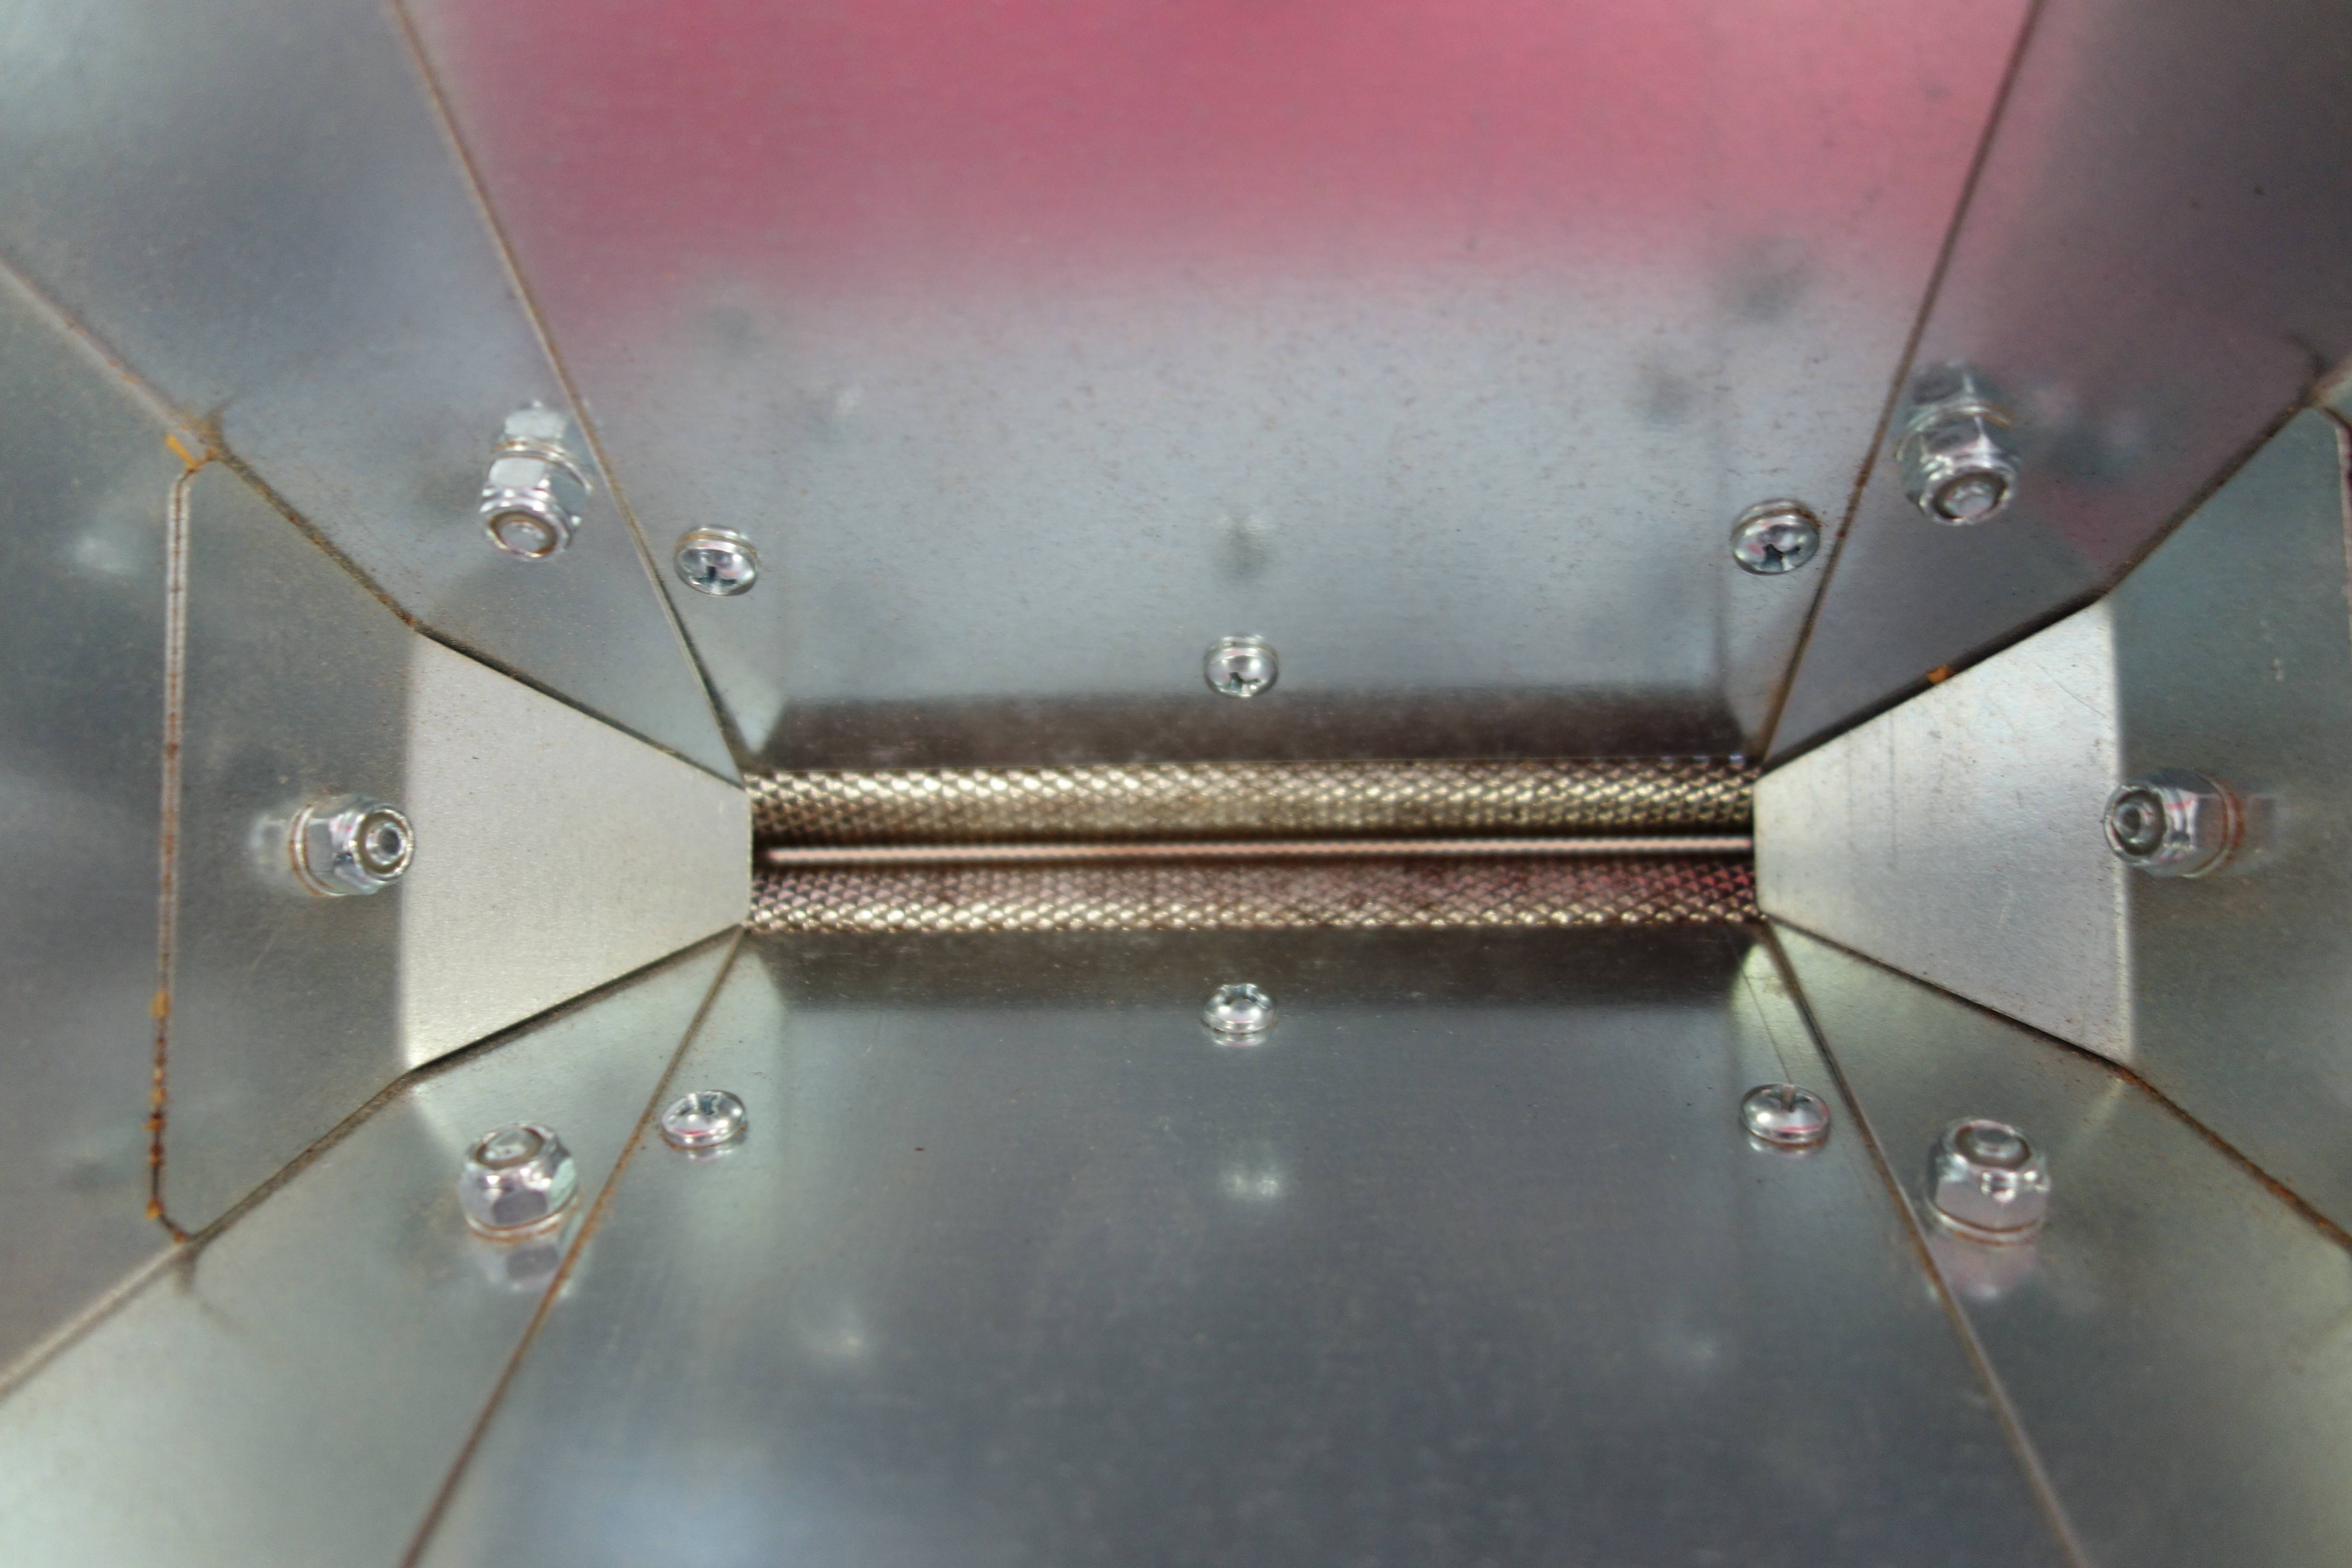
So yeah, I’d recommend the credit card trick, which is pretty much as it sounds. I actually used my Ikea family card. You set the space at each end of the rollers, which gives at least a visually accurate spacing across the unit. This gave a crush which looked as it should- no massive bits of white endosperm, but also a relatively intact husk content.

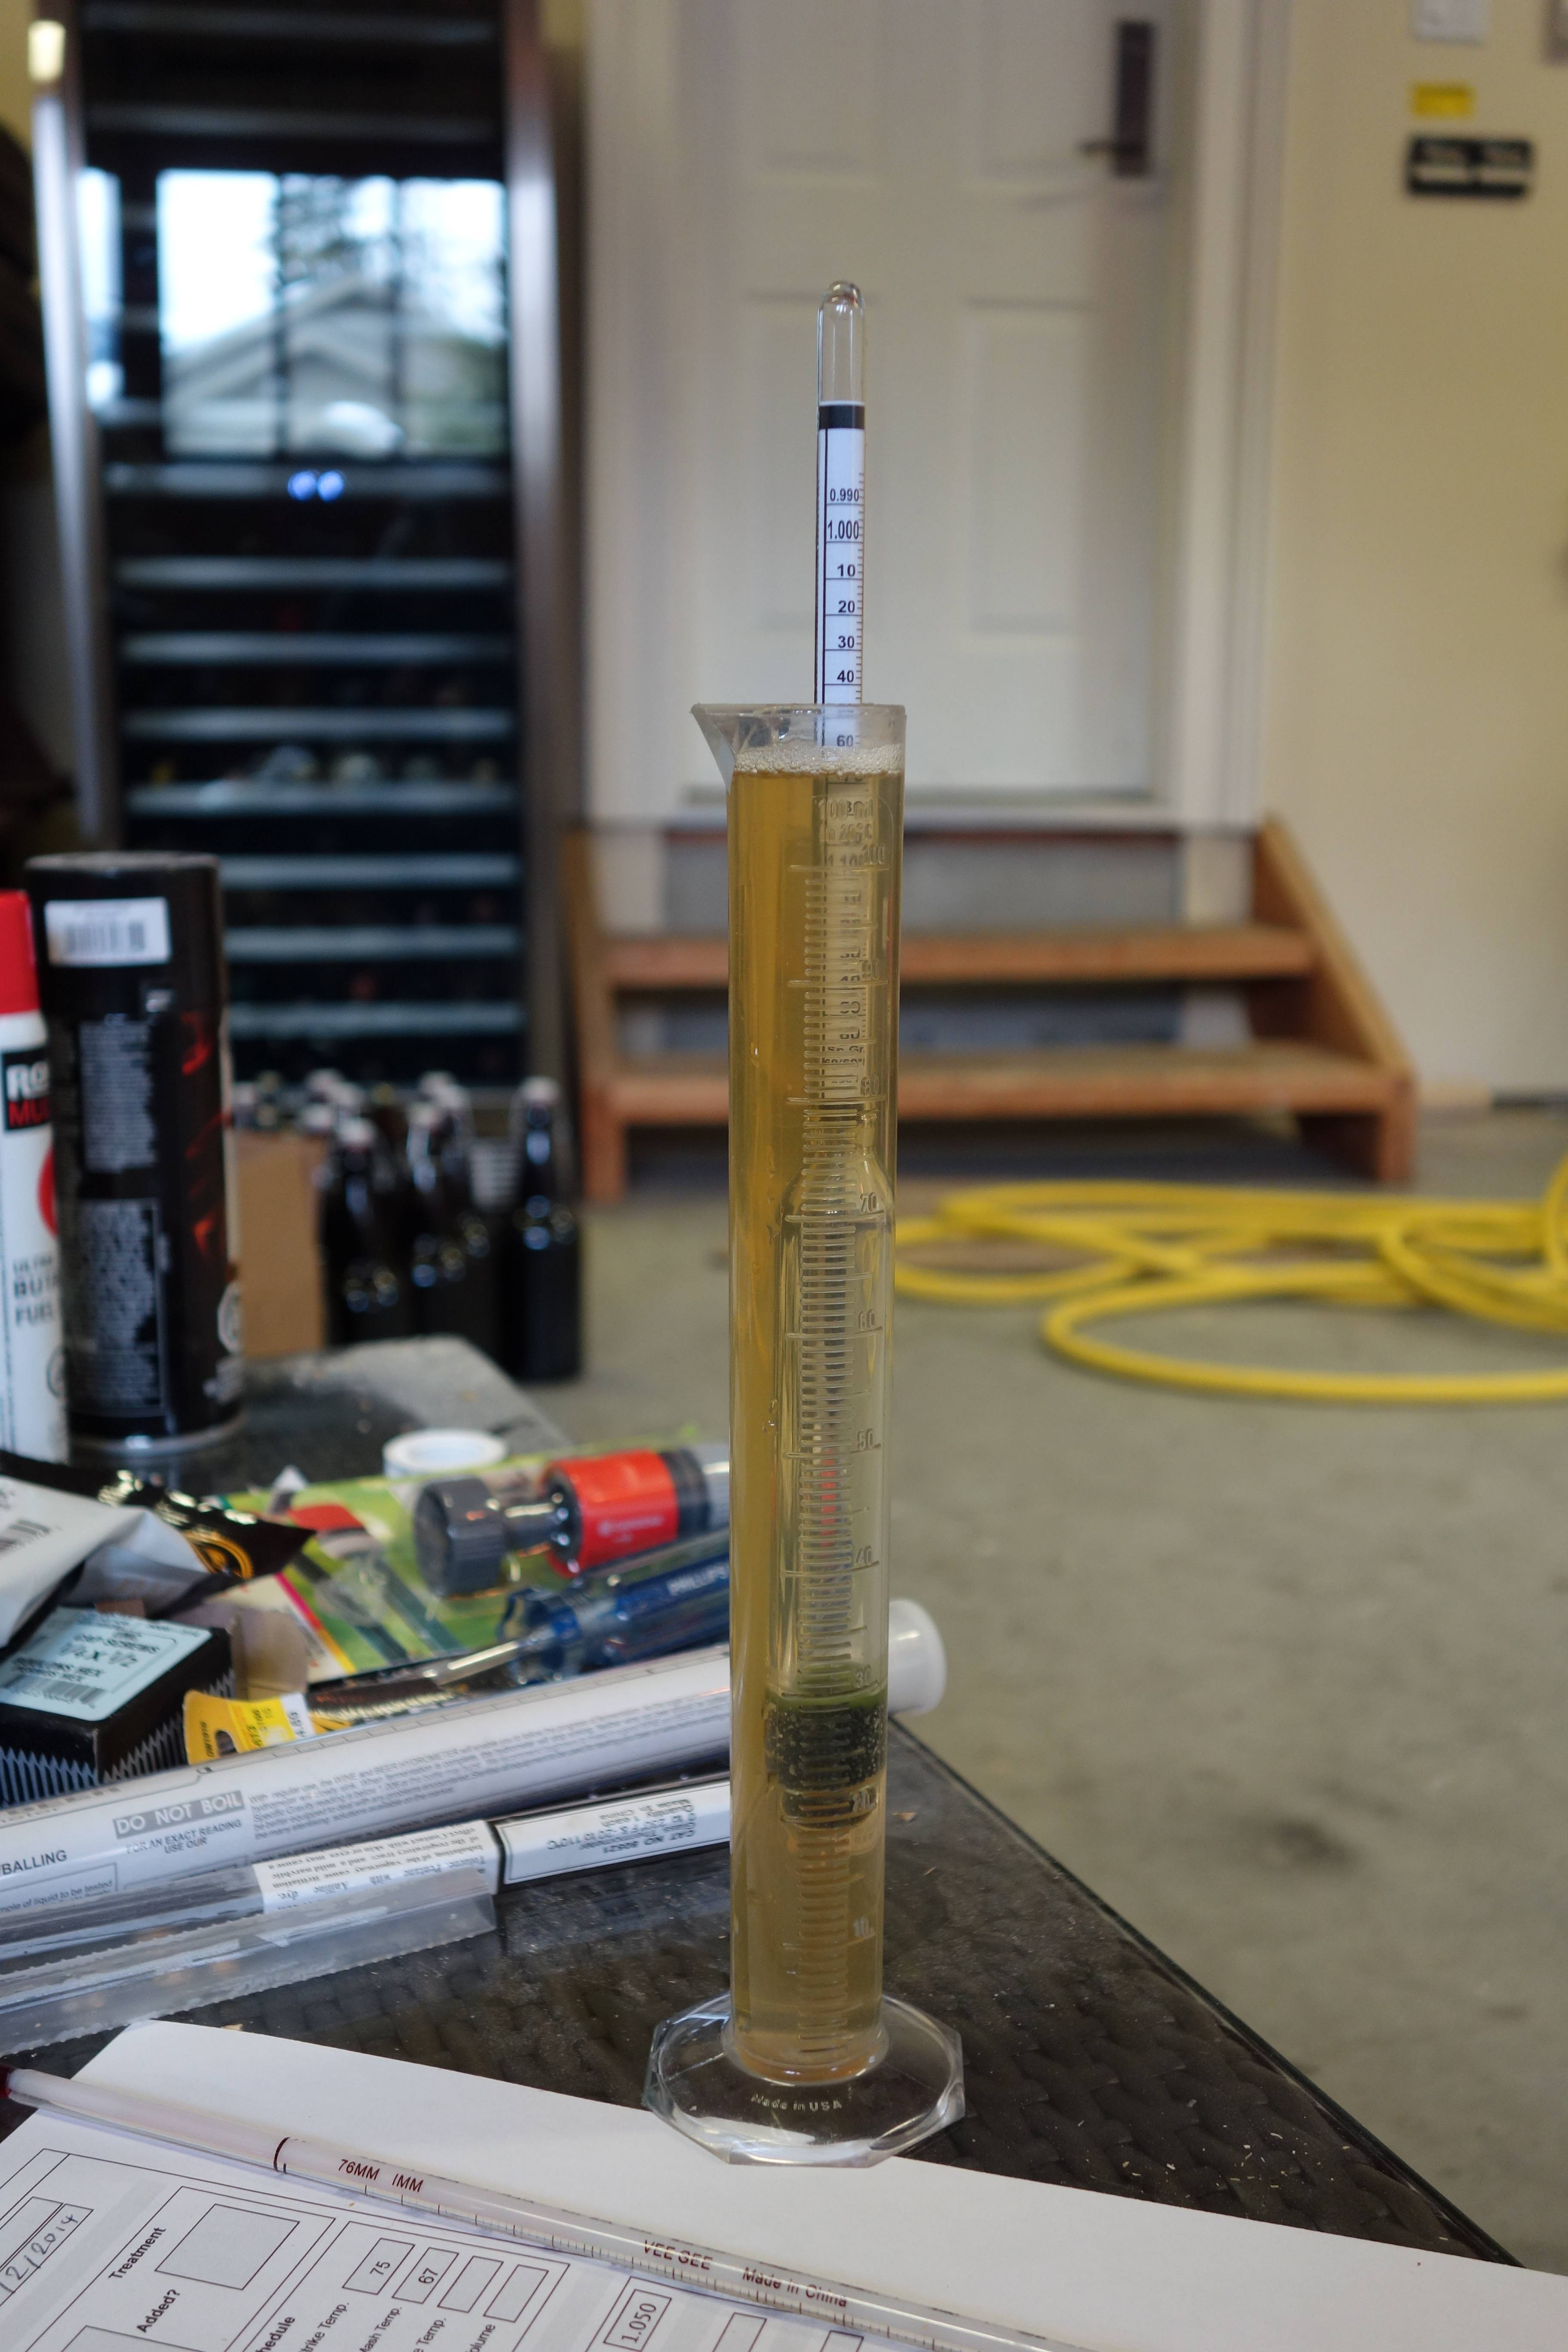
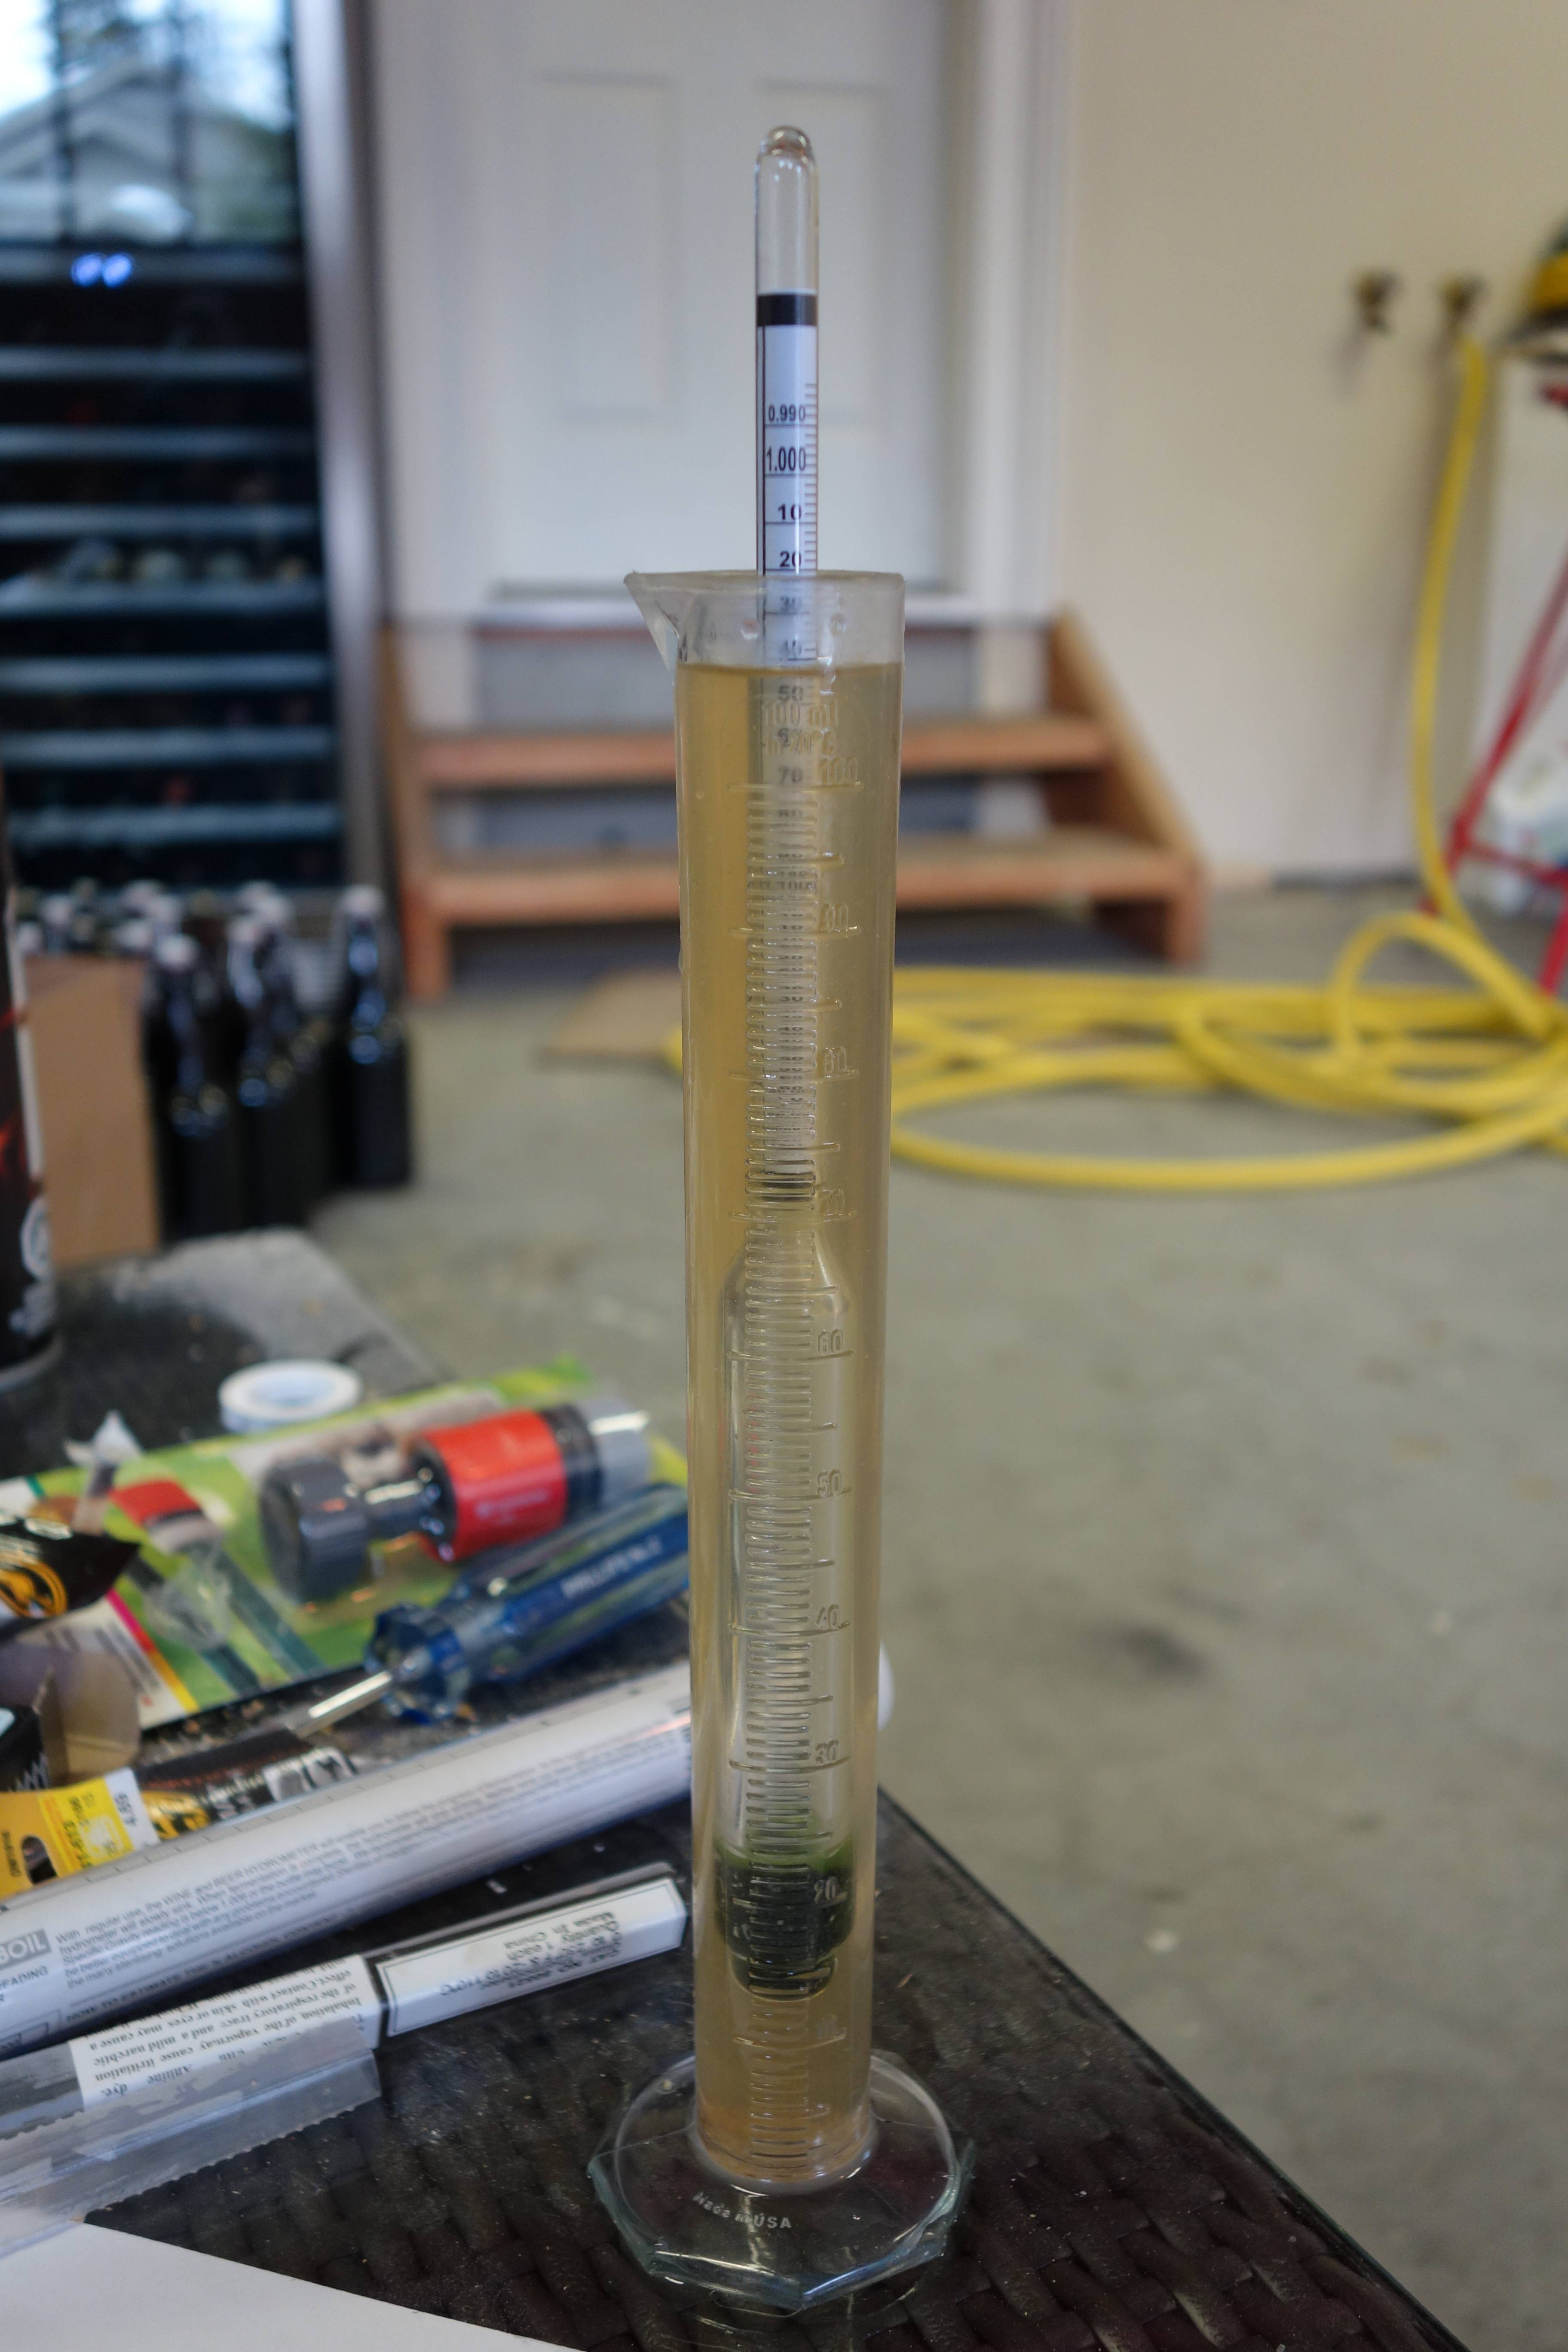
As I said I’m used to chucking in a bunch of speciality malts, so I was surprised at how pale the mash run-off from just the two row malt was. To my eye anyway it wasn’t much darker than lager malts which I’d brewed with in the past. To give you an idea, here’s the strong wort, weak wort and post boil wort while I was taking gravity measurements.

This is a potential area of problem for SMaSH brewing. Although once upon a time it was common to brew dark beers with just one malt variety giving fermentable sugars and colour (porter and brown malt being a famous example), nowadays coloured malt tends to be not very fermentable and only used in small quantities with a more fermentable base malt. So brewing an all crystal malt beer would give a unfermentable wort and a very sweet beer. At least that’s the theory- I’ve never tried it. To counter this, SMaSH brewers sometimes use more lightly kilned speciality malts like Munich malt to give a darker colour and more body. However, it would be difficult to brew, for example, a dry stout using only one malt variety. For this reason, pale ales and IPAs are common SMaSH styles. Which I was quite happy with as I’m going through a bit of a pale ale drinking patch anyway.
It being a pale ale, the most important ingredient going into the beer was the hops. I chose cascades partly based on the success of commercial single hop cascade beers- Alexander Keith’s have been advertising their Cascade pale ale like crazy, including heavy Super Bowl rotation, and I had to one-up them. It’s also the hop more than any other credited with kicking off the microbrewing revolution, so it felt like time to pay my dues.
And, you know what, despite having its time in the sun as the hop de jour, a crown passed down to some other hops beginning with the letter C, a bunch of Aussie upstarts and lately some hops that are so new and cool they don’t even have names yet, Cascade is still kicking butt like its 1995. Or 1971, which is apparently when it was first bred, which makes me feel like a young upstart. Whatever, it tastes really good.
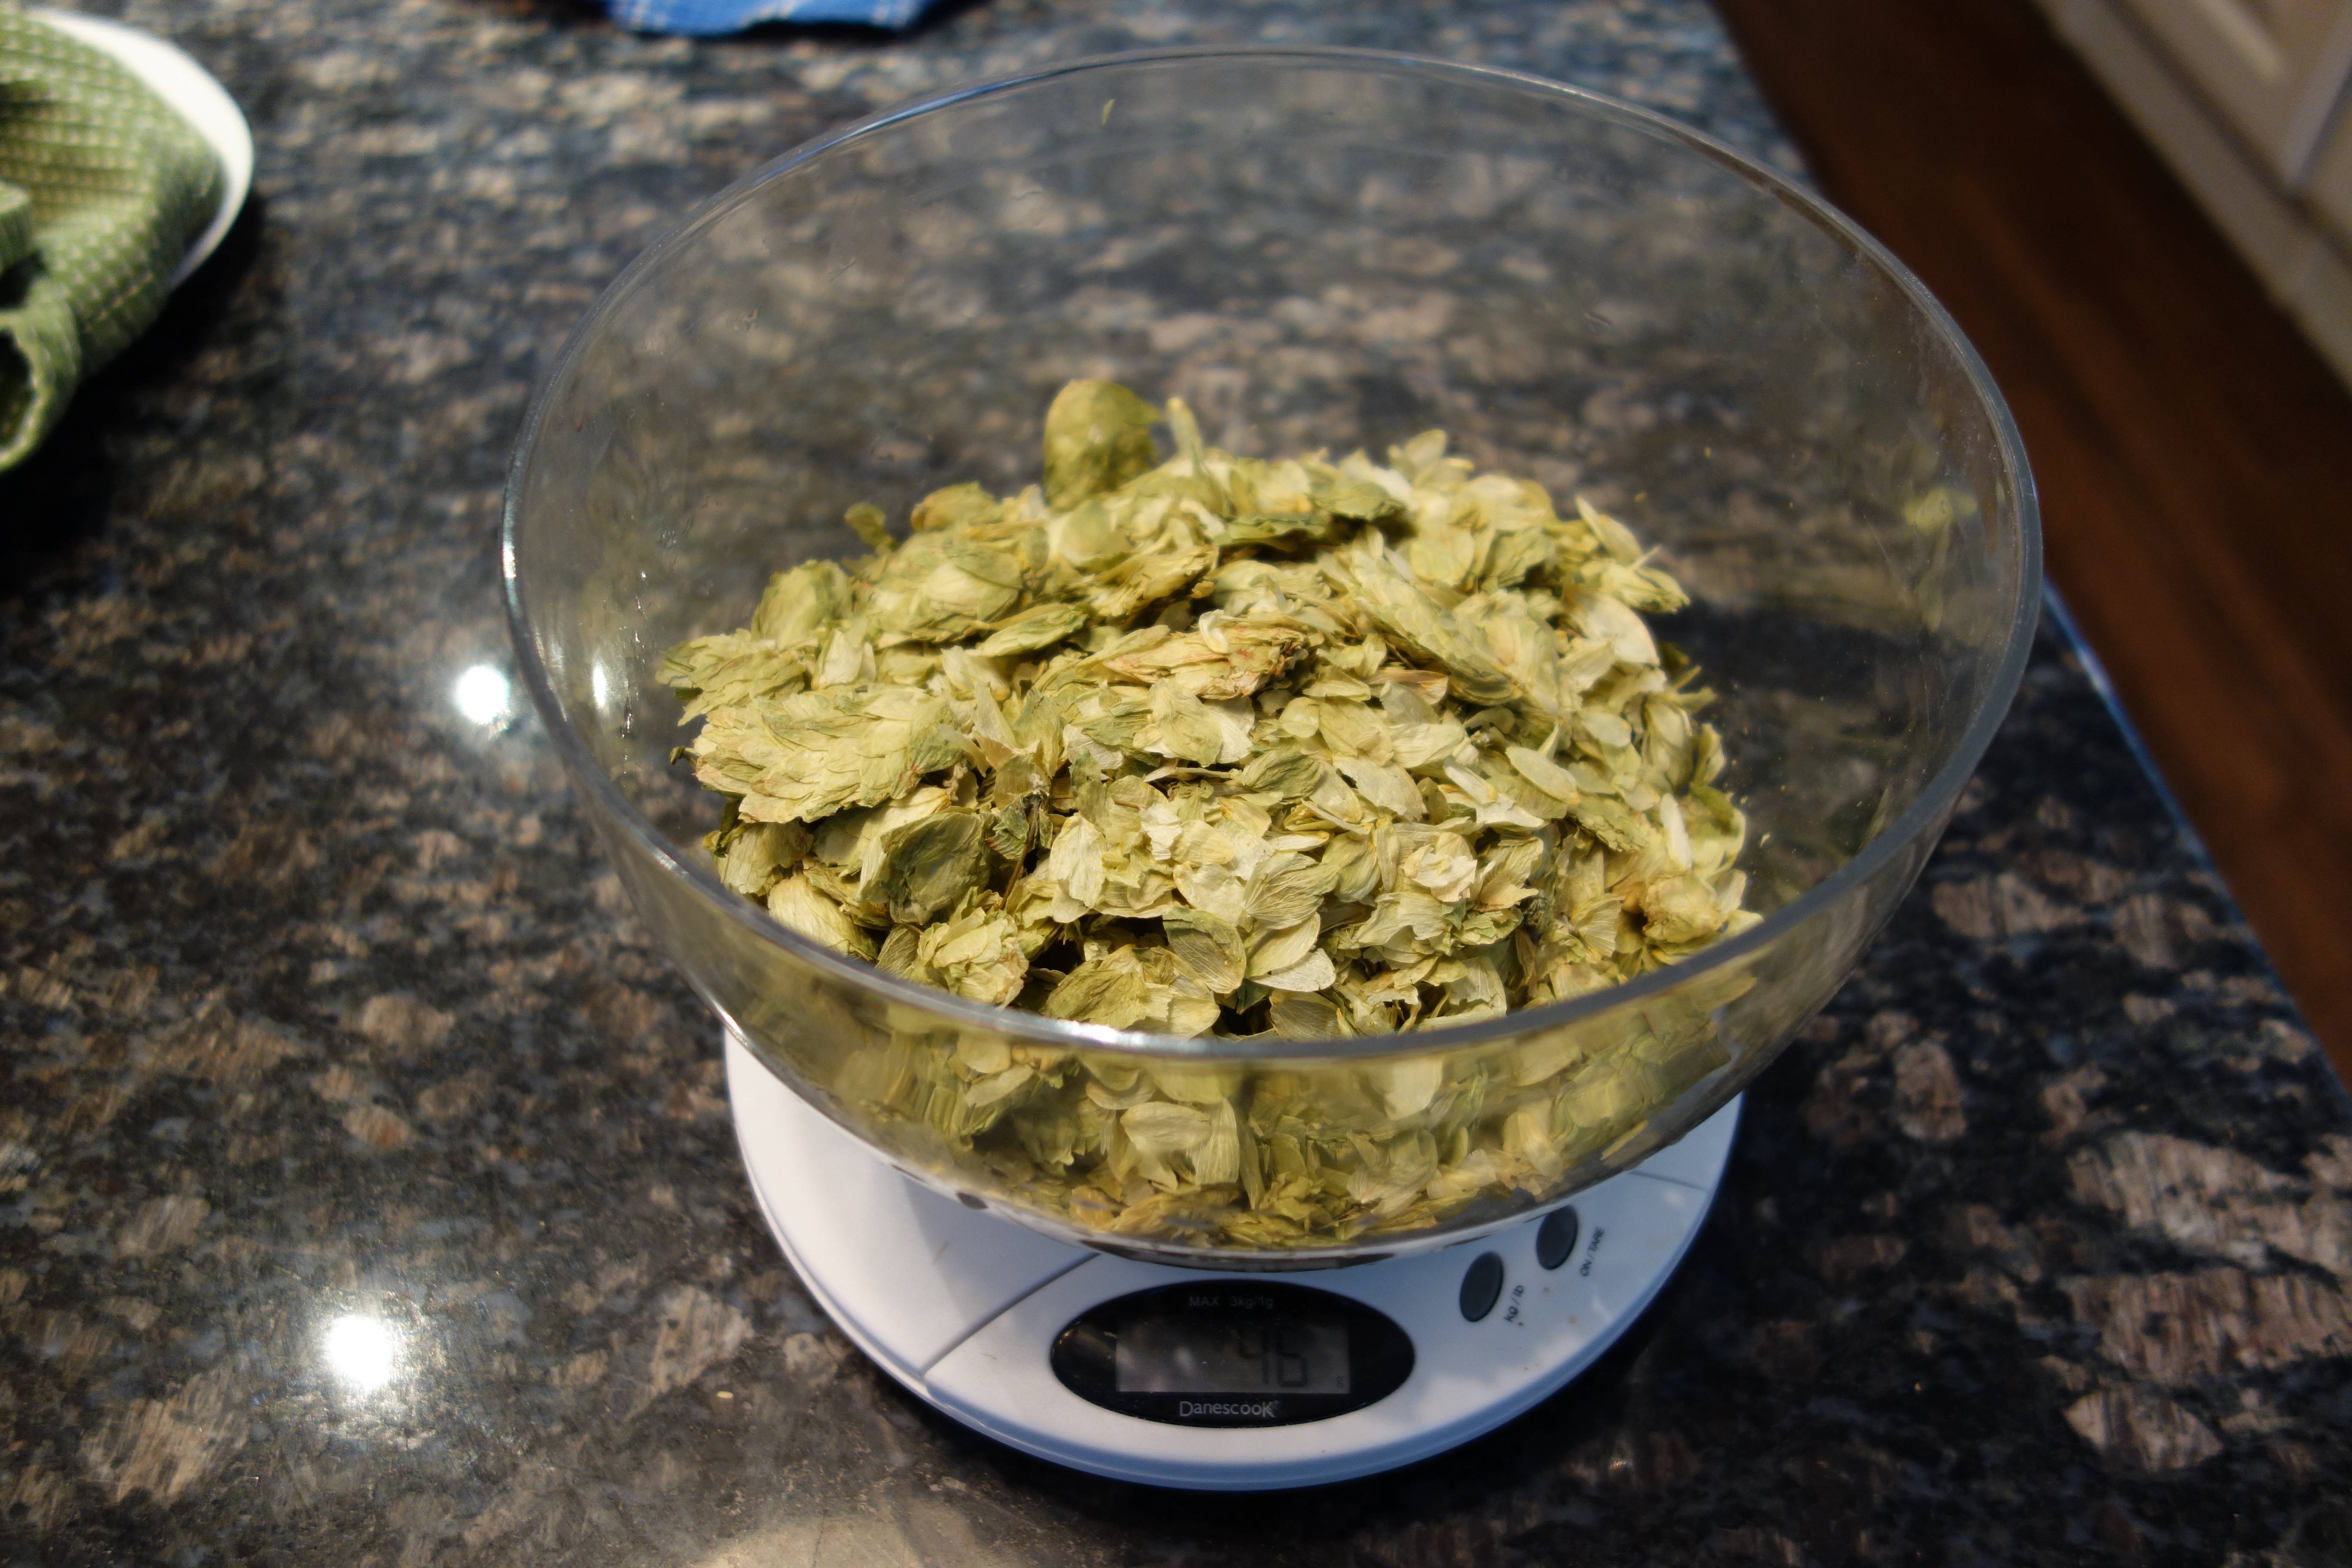
To make the most out of such a great ingredient, I made hop additions at 90 minutes, 10 minutes and 0 minutes to flame out, as well as racking onto some pellets in primary (unfortunately I had to leave the beer for a couple of weeks so couldn’t dry hop in a secondary vessel as I usually would). Another thing I mentioned in my last post was some difficulty with pellet hops. Well another great thing about Cascade is its availability, and I had no problem getting hold of enough leaf hops to use them exclusively during the boil. Which is more than can be said for most other varieties, but that’s another story.

So, what you’ll be dying to know, other than where I got my AWESOME R2-D2 bottle opener from (I don’t know, my even more awesome gal gave it to me!), is- is it any good? And I’d say yes, it’s great. Substantially better than the last brew in fact, which is always heartening. If it has any flaw it’s that I’d like it to be bigger and hoppier, but the recipe was designed to be a sessionable pale ale, which is pretty much what it is. It’s quite Sierra Nevada Pale Ale in hop character, but the Brit ale yeast gives it a bit more fruitiness compared to the Chico yeast strain. Which, to be honest, I’d use more if it weren’t for its piss poor flocculation. In fact I’ve got a wyeast pack of it in the fridge, so a reboot may be in order. As for body, it’s pleasantly dry which I’m quite liking at the moment compared to more caramely, darker ‘pale ales’. So yeah, overall, I’m pretty chuffed, and it’s disappearing fairly quickly. I get the feeling I might have to ramp up the hops and ABV for next time- I think the west coast is rubbing off on me. Obviously there’s considerable room for improvement, especially with yeast/fermentation. In fact, that’s probably going to take up a couple of posts in the near future, as I’m expanding my kit to include at least some degree of control over yeast pitching rates and temperature control. So I’ll have even fewer excuses if I make anything pants from now on. Here’s a little teaser of what I’ve been putting together this evening (no fires/electrocution yet):

Thermostatically controlled phone charging (Also GoT arrived in the post this morning...)
Trouble Brewing
Anyway, I was reminded of the cheesy pun in the book’s title a couple of weeks ago when I had my own trouble brewing. This wasn’t a huge surprise, as I was brewing the first batch with my new homebrewery, and you expect a certain number of teething issues. I have to say, despite a pessimistically early start to the day, even I didn’t expect the 12 hour + monstrosity of a brew day that was to come. And I didn’t even have any homebrew in the fridge to numb the pain. The horror.
Come to think of it this beer was cursed from the start. When I went to the homebrew shop I managed to spill 5 kgs of pale malt on the shop floor 5 minutes from closing time. Apologies to the very patient guy who helped clear that up. And for some reason I chose a style for the inaugural brew that I’ve never managed to brew the way I want it. That style was a Red Ale- more specifically, somewhere between an American Red Ale and an Irish Red Ale, a bit of a difficult sweet spot to hit. Between the two, because I’ve never been a massive fan of Red Ales which are really just IPAs with a bit more colour, and although I like the fuller body of an Irish Red, they can get a bit cloying with their traditionally low bitterness levels. So what I wanted was a beer with a decent crystal malt character (but not too much) backed up by a bit of bitterness and some hop aroma. And of course, probably most importantly, it had to be just the right colour. Because above all great Red Ales have to look right as well as being tasty. Which all meant that, whereas with say an IPA I could have sat back and worried about one thing, getting enough hops in, with a Red I gave myself three things to think about- colour, body and hop character.
Cockup Number 1
From the beginning then this was always quite likely to be a beer that was either glorious or catastrophic. To be honest, things started to go downhill pretty quickly as well. Cockup number 1 came in the form of my new monster 2 malt mill. I have to say, hats off to the mill itself, it’s a total beast, and ate through 10 kg of pale, crystal and black malts in about 2 minutes. Which is even more impressive considering that the rollers out of the box were set so close together that they ground the whole lot pretty much to dust. The result- a mega stuck mash that took almost 3 hours to clear, although admittedly at a pretty ridiculously high efficiency level. Lesson learnt- don’t trust the manual when it says to leave the settings where the are- my rollers must have shifted in transit, and in fact the seal on the box was already broken, so who knows. What I do know is that I’ll be re-adjusting them for next time.
Mash runoff, real time
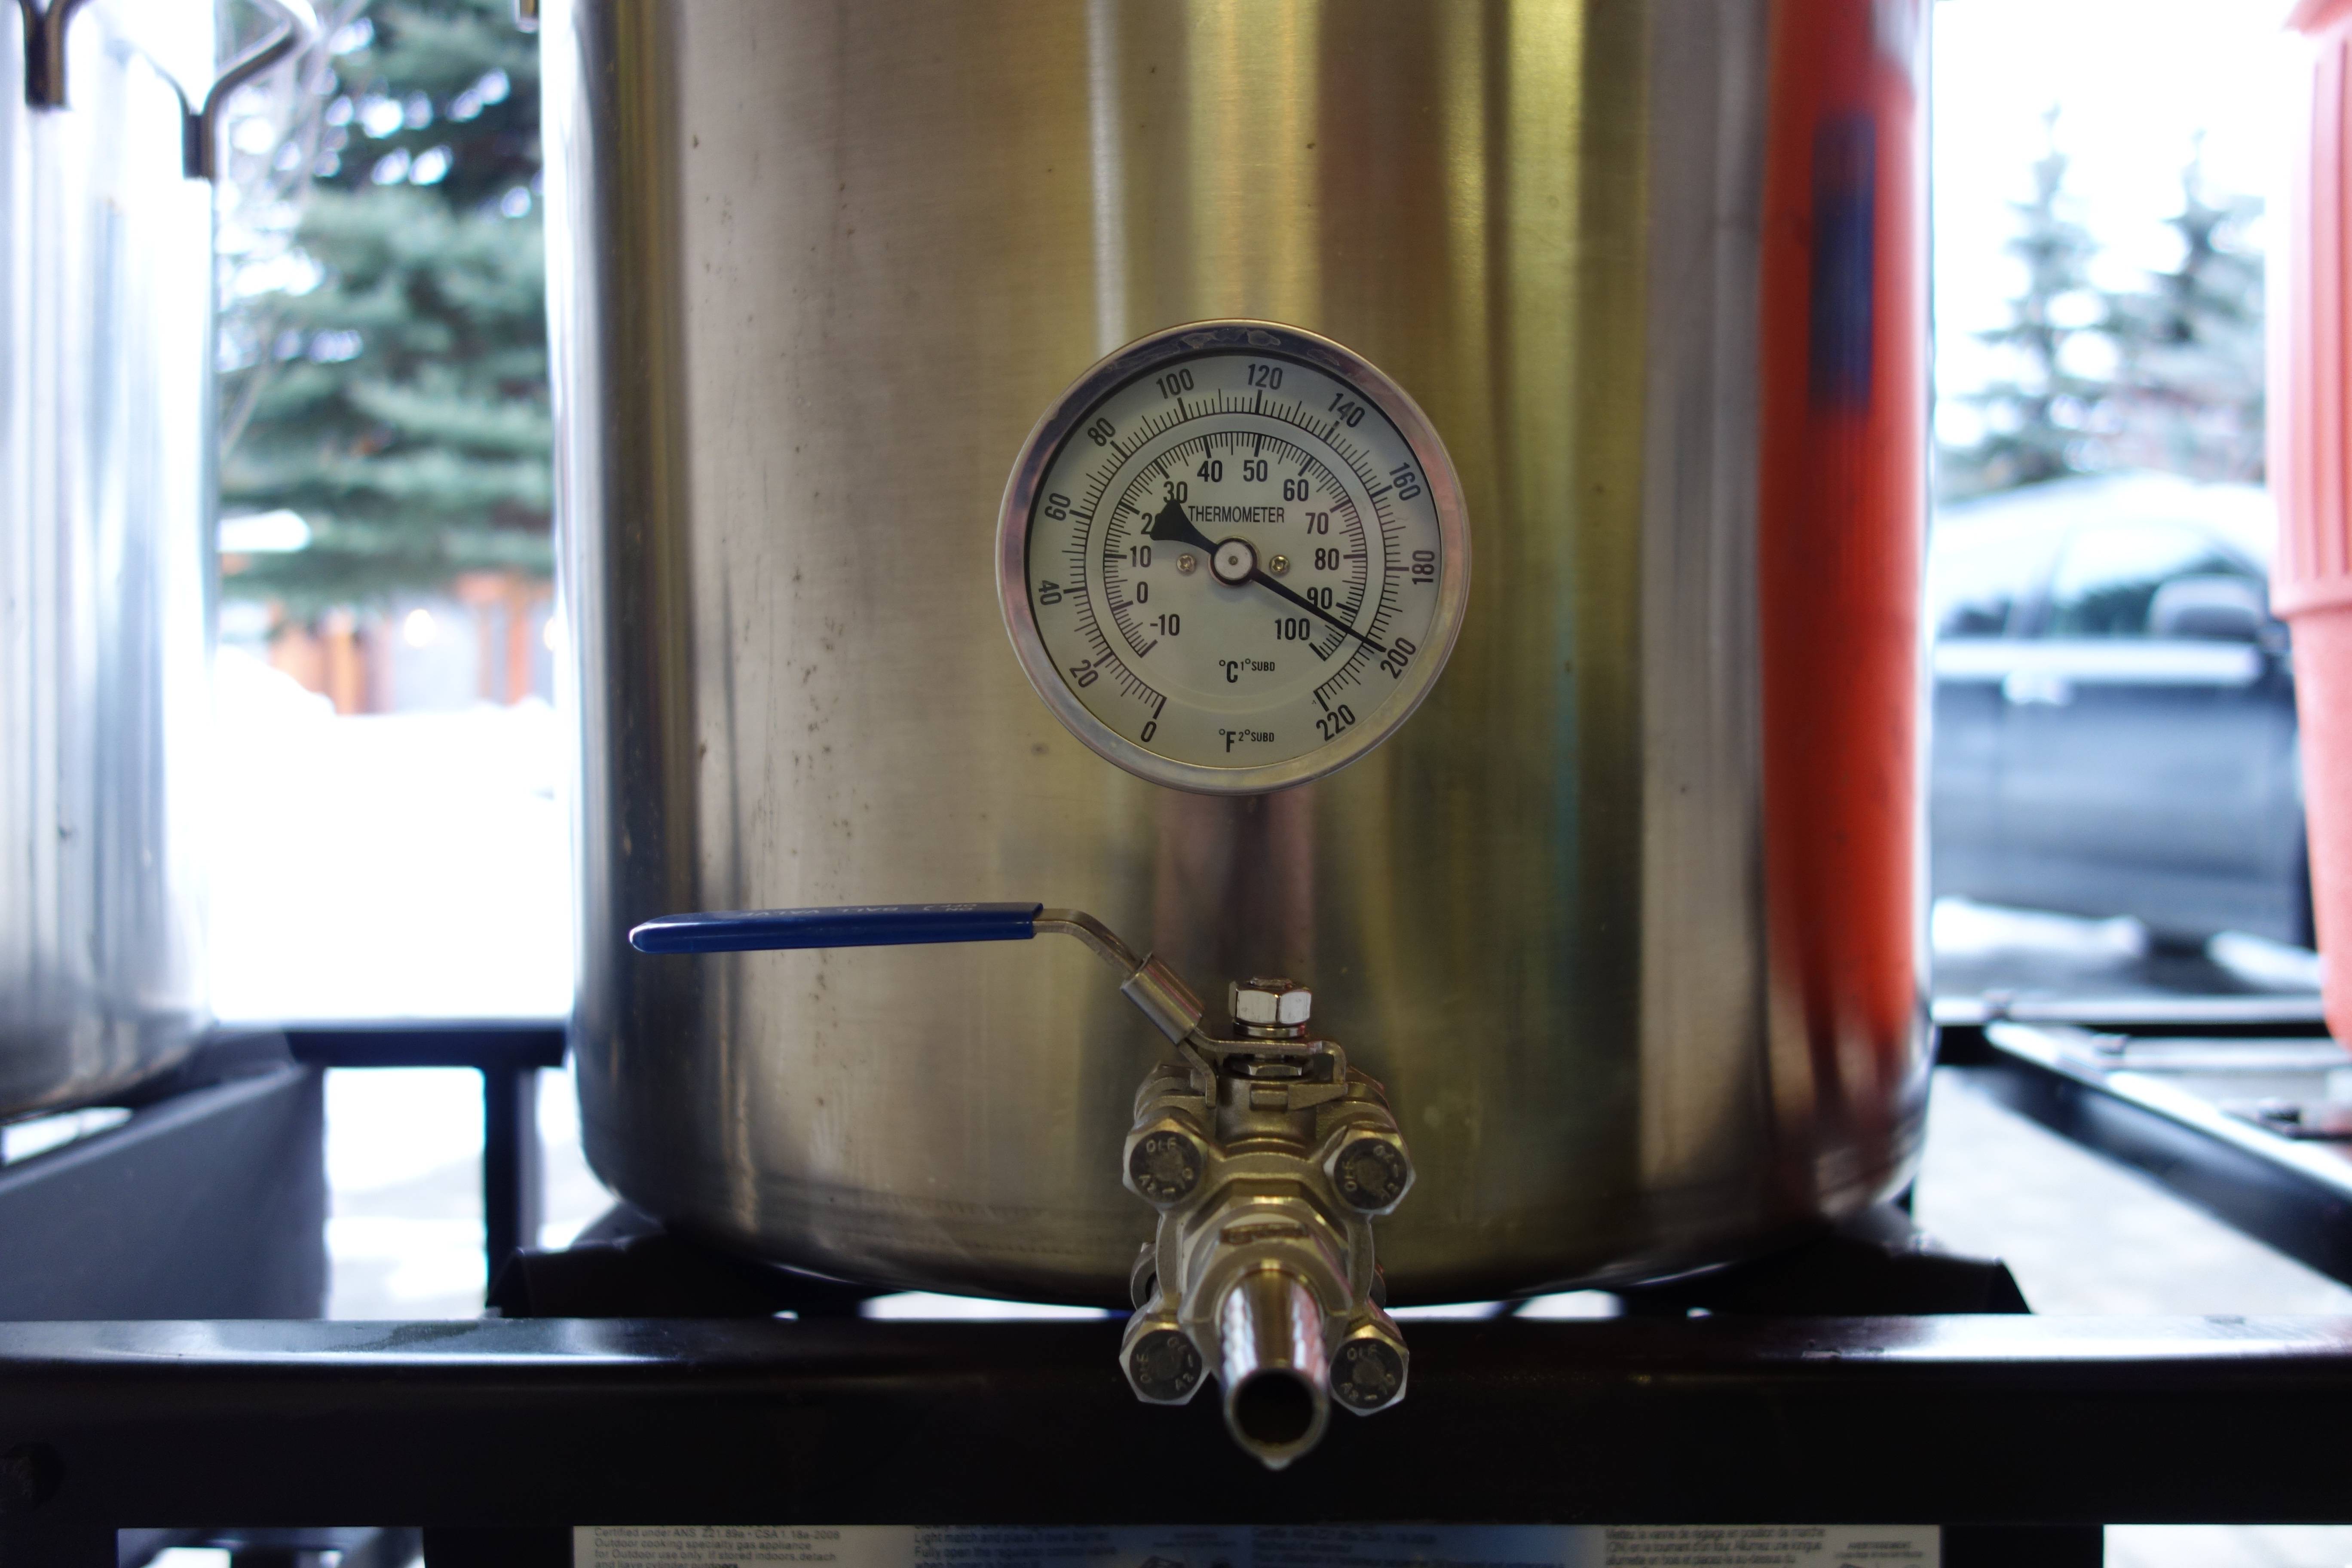
So far, positives to draw included the speed with which the Canadian Tire patio burners had managed to heat up the absolutely freezing tap water to strike temp. From about 5 to 75 degrees took 20 minutes, a pretty substantial improvement on the hour or so my electric system in the UK would have taken.
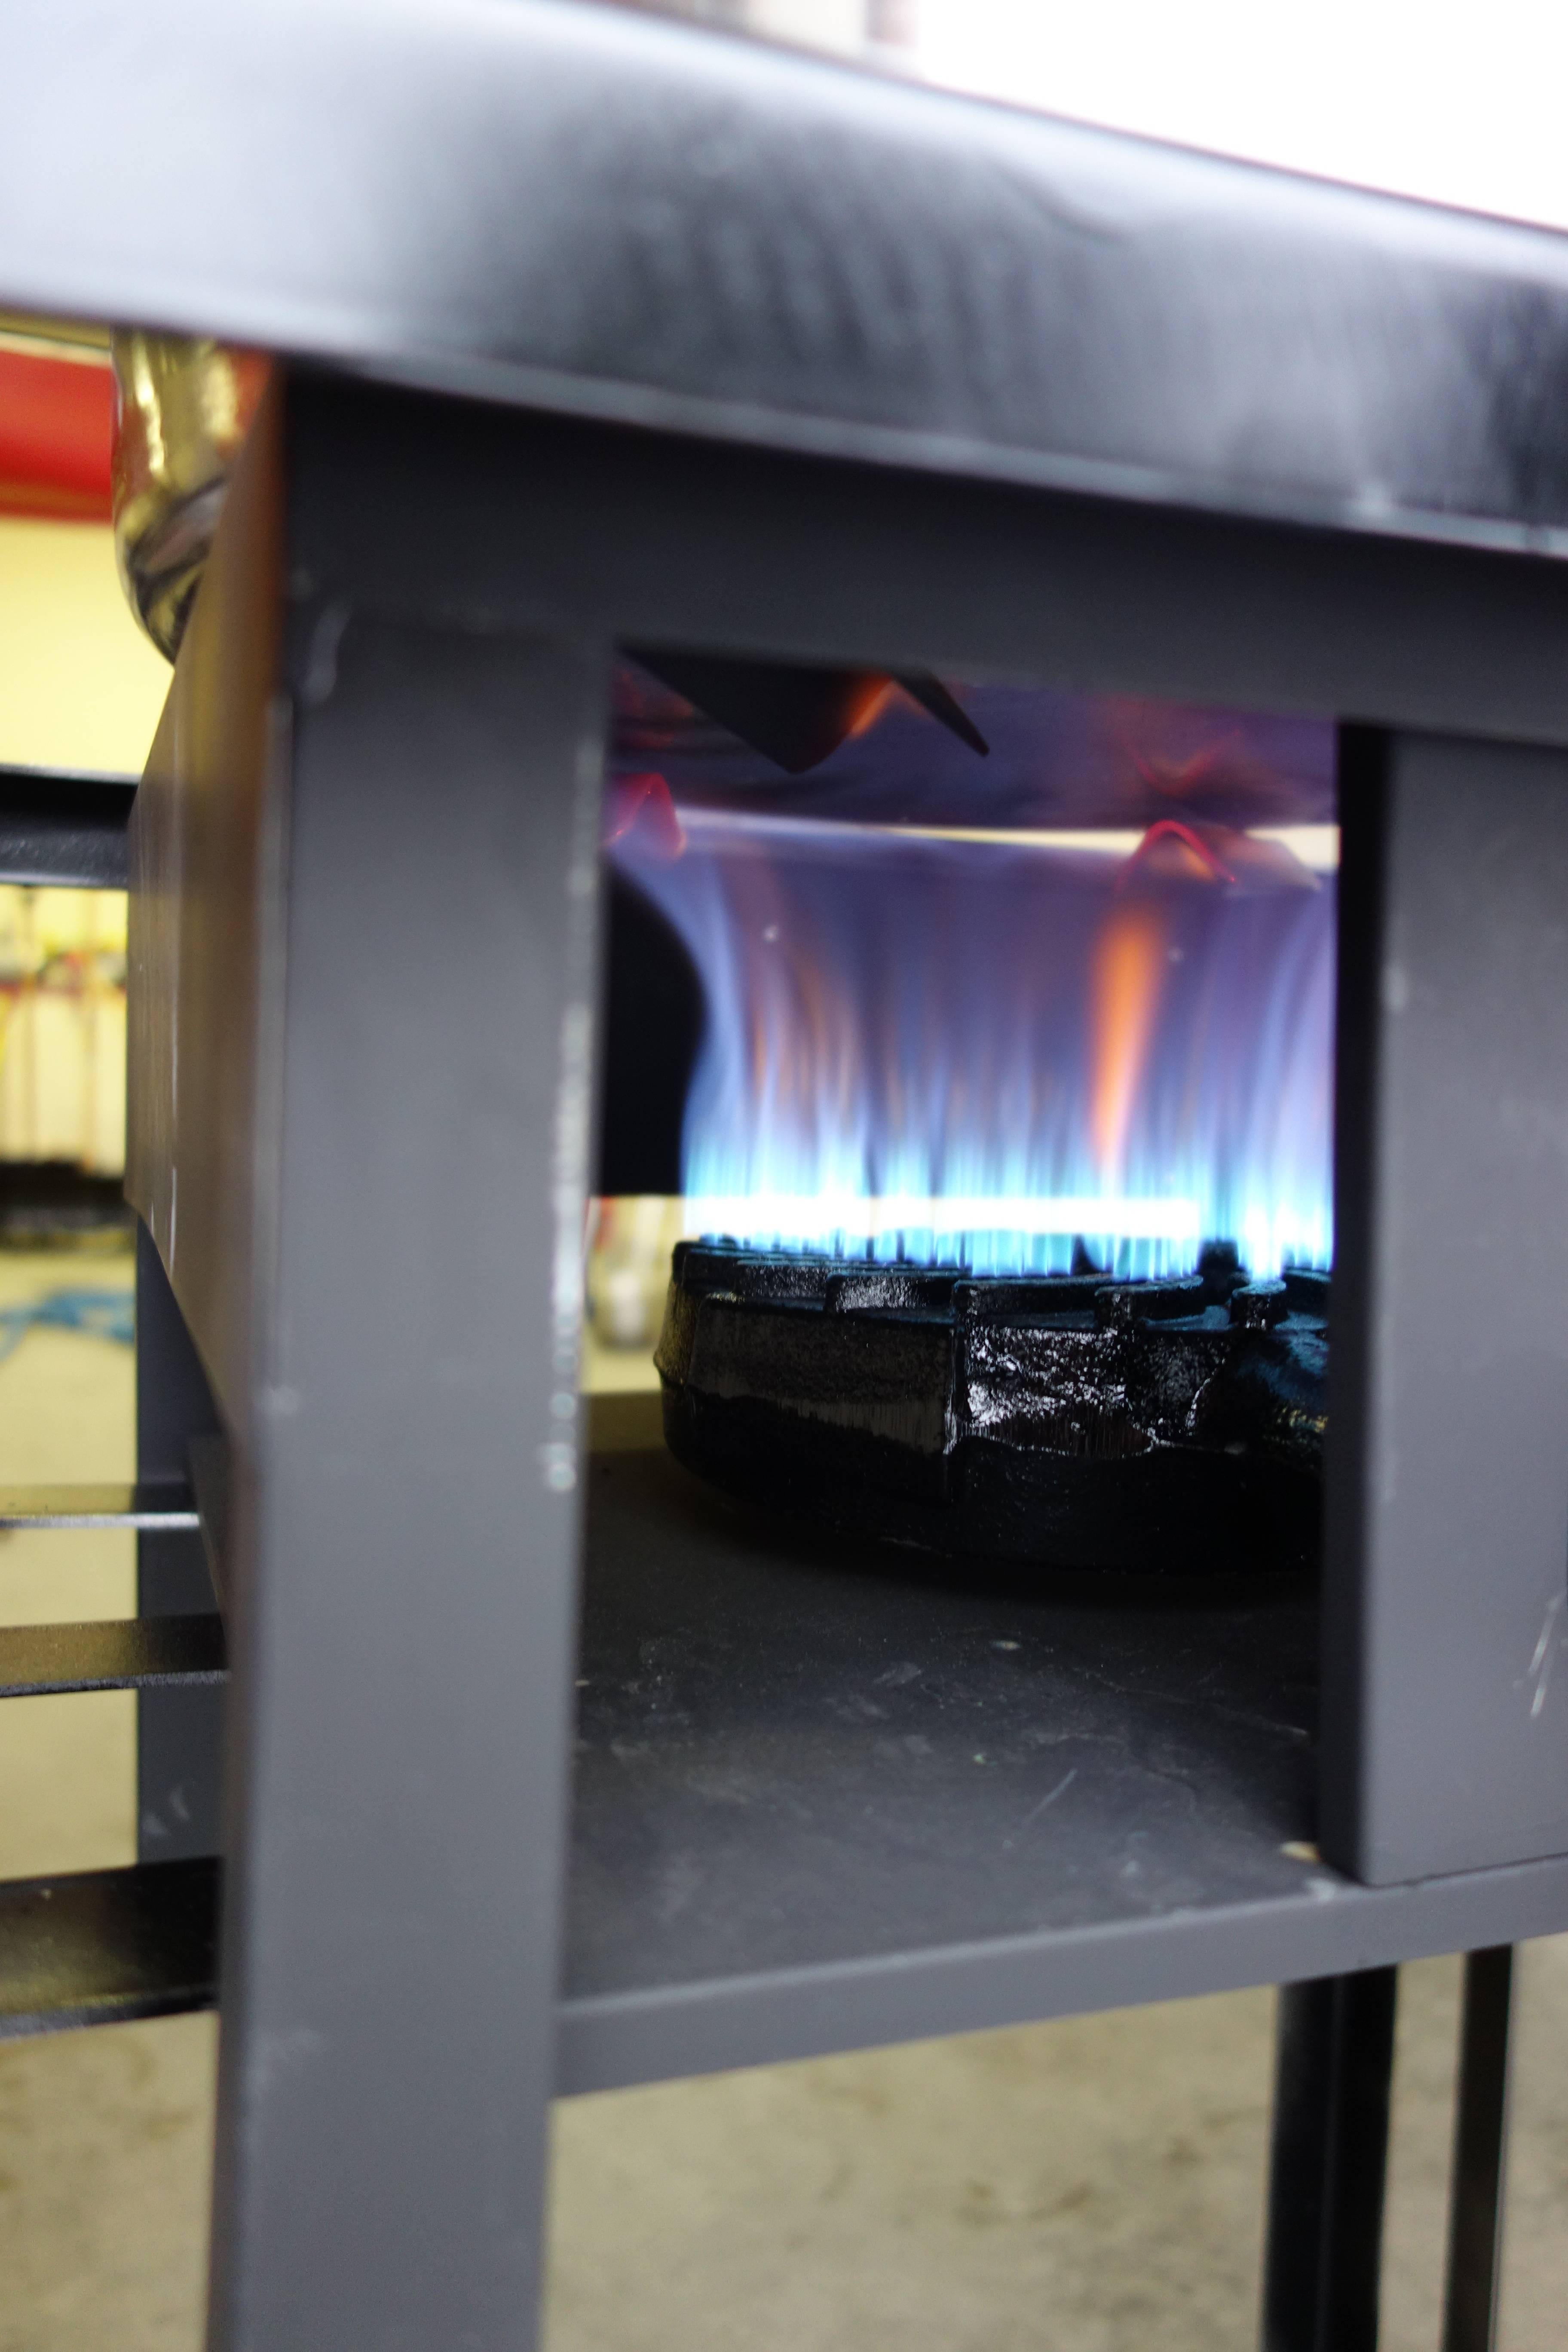
Fire!
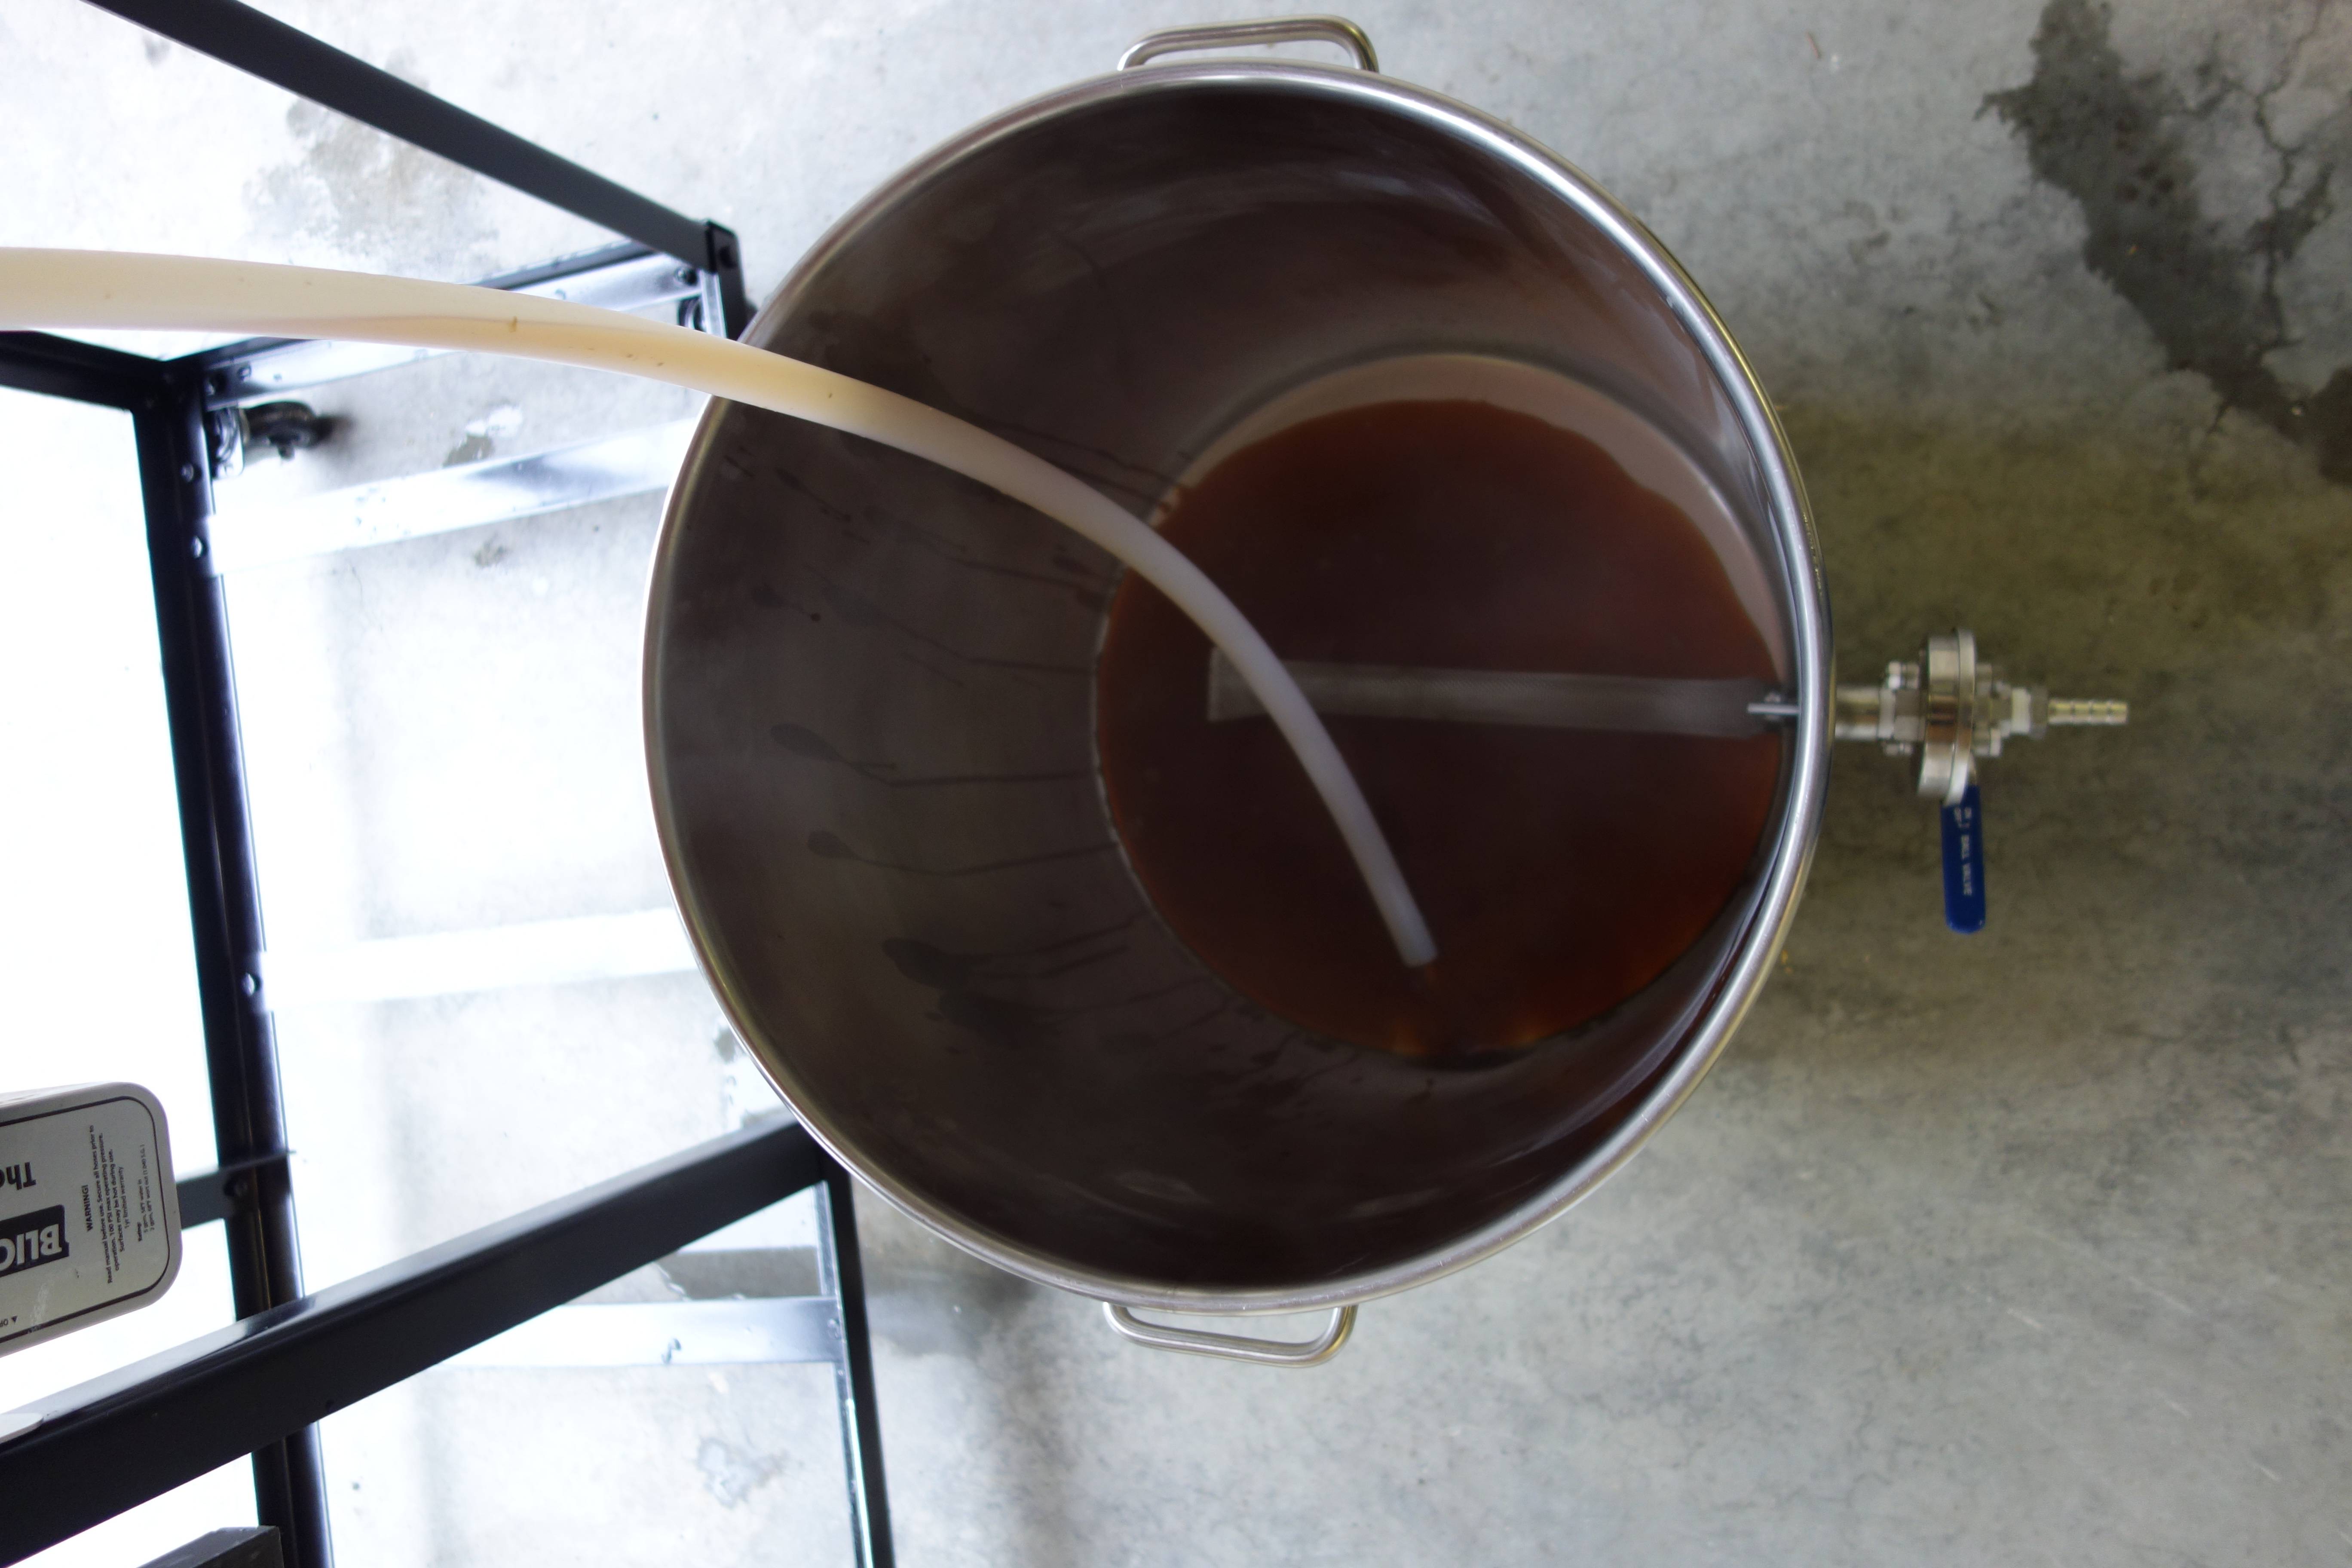
However, that heating power came back to bite me spectacularly when I finally got the runoff finished and the kettle on to boil. Thinking I had a bit of time to finish calculating and weighing out my hop bill, I took a bit of a break and stood watching the propane do its job while I wondered whether I was suffering from Carbon Monoxide poisoning or just feeling a bit sleepy. What I hadn’t bargained for though was the reduced boiling point caused by my 600 metres of elevation above sea level. And so, as I stood there watching, the wort hit 94 degrees and exploded out of the kettle before I could get any hops in to try and calm it down. Result- much lost wort and a horrible clean up job at the end of the day. Second lesson learnt.
94 degrees, the new 100 degrees
Aside from the mess on the floor, the rest of the boil passed uneventfully, except for a blizzard outside (we made a snowman later!). When it came time to cool and transfer the wort to FV, I did make a few new discoveries though. The first of these was that my new Blichmann Therminator plate chiller, combined with the ridiculously cold ground water (air temperature was probably around minus 5 C) led to a pitching temperature of about 10 degrees. More on this later. Another problem stemmed from my hop additions. I’d decided on a bittering addition of Magnum pellets, with Cascade pellets and Amarillo and Citra leaf hops at 10 minutes and flame out. The main reason for this was that at the local brewing shop here pellets were cheaper and there were more varieties available than leaf hops. Anyway this turned out to be a bit of a problem- I’m used to leaf hops, and didn’t anticipate how quickly such a high percentage of pellets would block the bazooka screen I was using during run off.
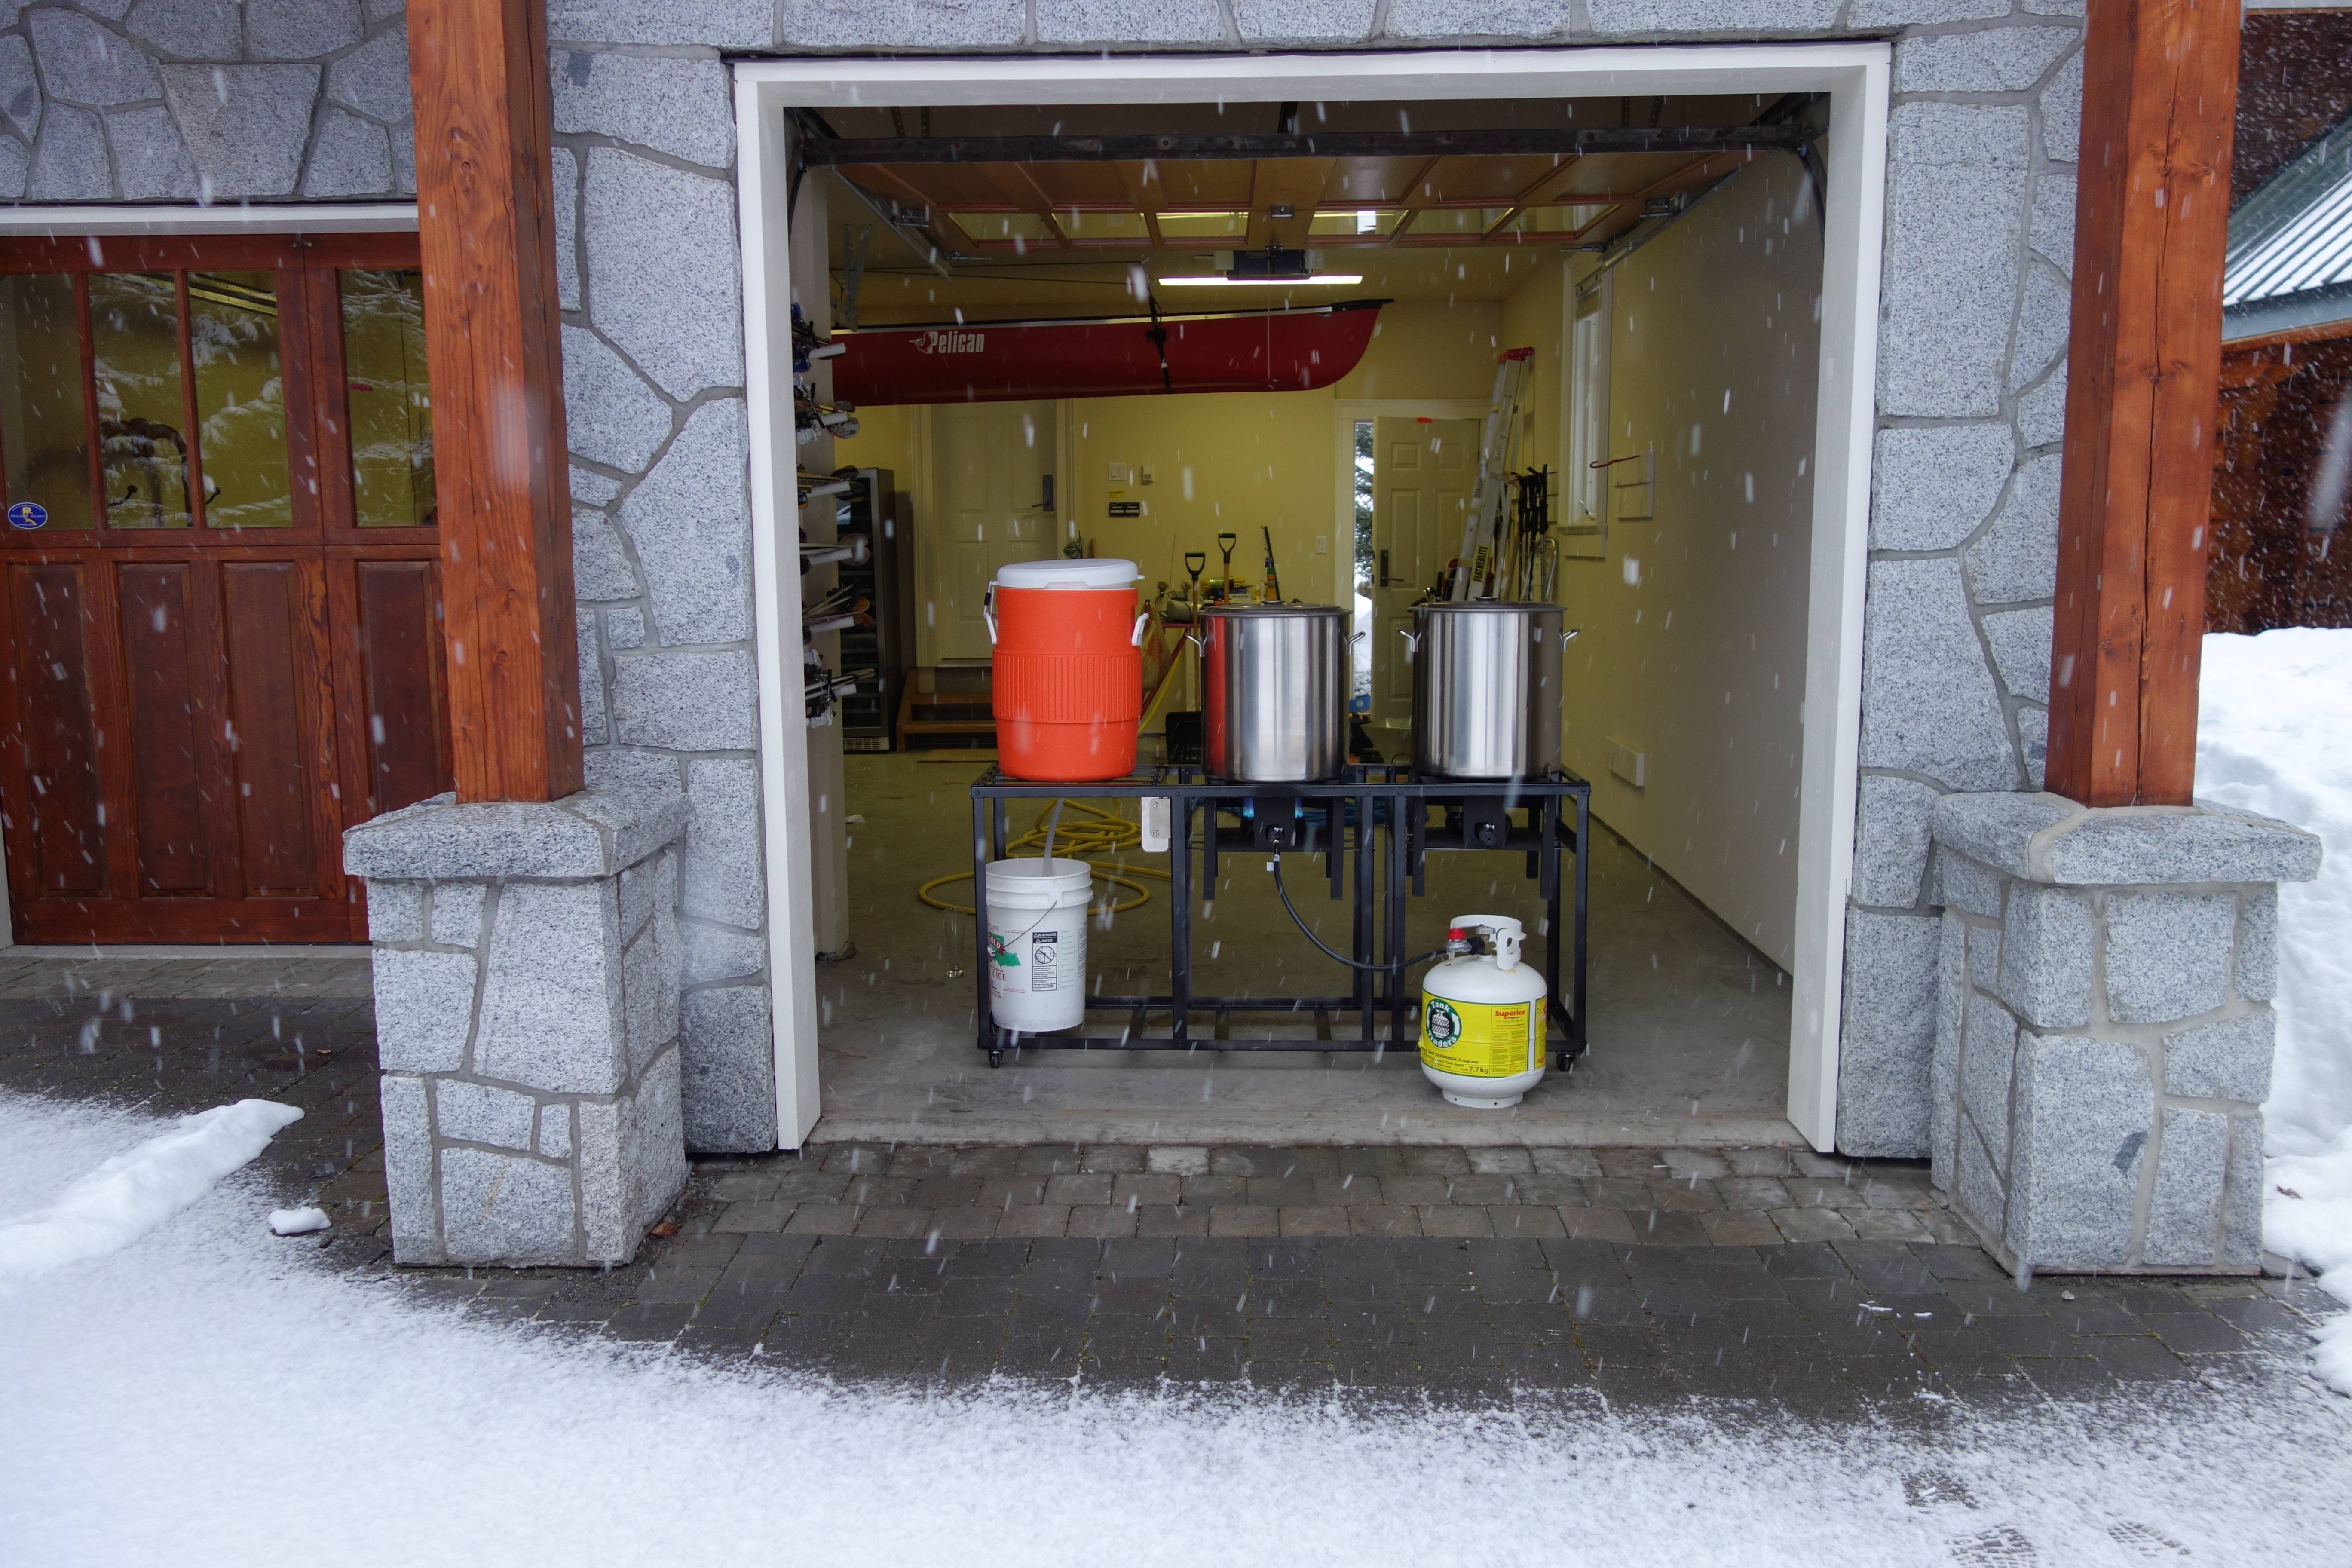
The red canoe
Back to that pitching temperature- it was so cold in the garage that after 24 hours of ‘fermentation’ there wasn’t much sign of activity, so I moved the two carboys I was using inside the house to warm up overnight. Unfortunately I forgot that the room I moved them to has underfloor heating, with the result that fermentation went from very cold to very hot in a very short space of time. Not exactly ideal.
The moment of truth came a couple of weeks later. Unfortunately, not until I’d experienced my first bottle bomb ever- even more cleaning up! And, all things considered, the beer turned out Okay for a first run through the brewing kit. There are some things I would change about the recipe (which you can find here) though. Although final gravity ended up at 1.010, which I thought would be low enough, it still has a bit more body than I would like, so I’d probably cut down on the crystal malt and use more black malt for colour. This sweetness is probably more noticeable because the bitterness is slightly less than I would ideally like it to be, so I’d probably bump that up a few BUs as well. And, though I thought my aroma additions of Citra and Amarillo would be enough to give a fairly strong hop aroma, it didn’t. I still probably wouldn’t want to dry hop this type of beer, so I’ll either need to add a bigger aroma addition next time of find another way of making the addition. Ideally I’d really like a hop back equivalent, but I haven’t decided how I’ll fit that into my current system. Finally, that hot fermentation ended up giving the beer some higher alcohol aromas, though at least that problem should be easier to fix. I’ve got one of these sitting on the kitchen table, so all I need is an old fridge and I should have a temperature controlled fermentation chamber. Or, I could just leave the fermenter in the garage next time...